
Get Started with the Creator Kit: FPS
Tutorial
Beginner
+0XP
5m
(5463)
Unity Technologies
When you’ve completed this project, you’ll be able to share your first-person shooter (FPS) game with friends and develop it further on your own. And you’ll have saved the patient from a terrible germ attack — double win!
In this first tutorial, you’ll:
- Set up the Unity Editor
- Explore the Unity Editor
- Try out the example Creator Kit game
When you’ve finished, you’ll be ready to get started making your own FPS game.
1. Update your version of Unity
So Doctor, before you can download the Project and begin to battle germs, you’ll need to:
- Download the Unity Hub
- Download the latest Unity Personal official release
- Log in with your Unity ID
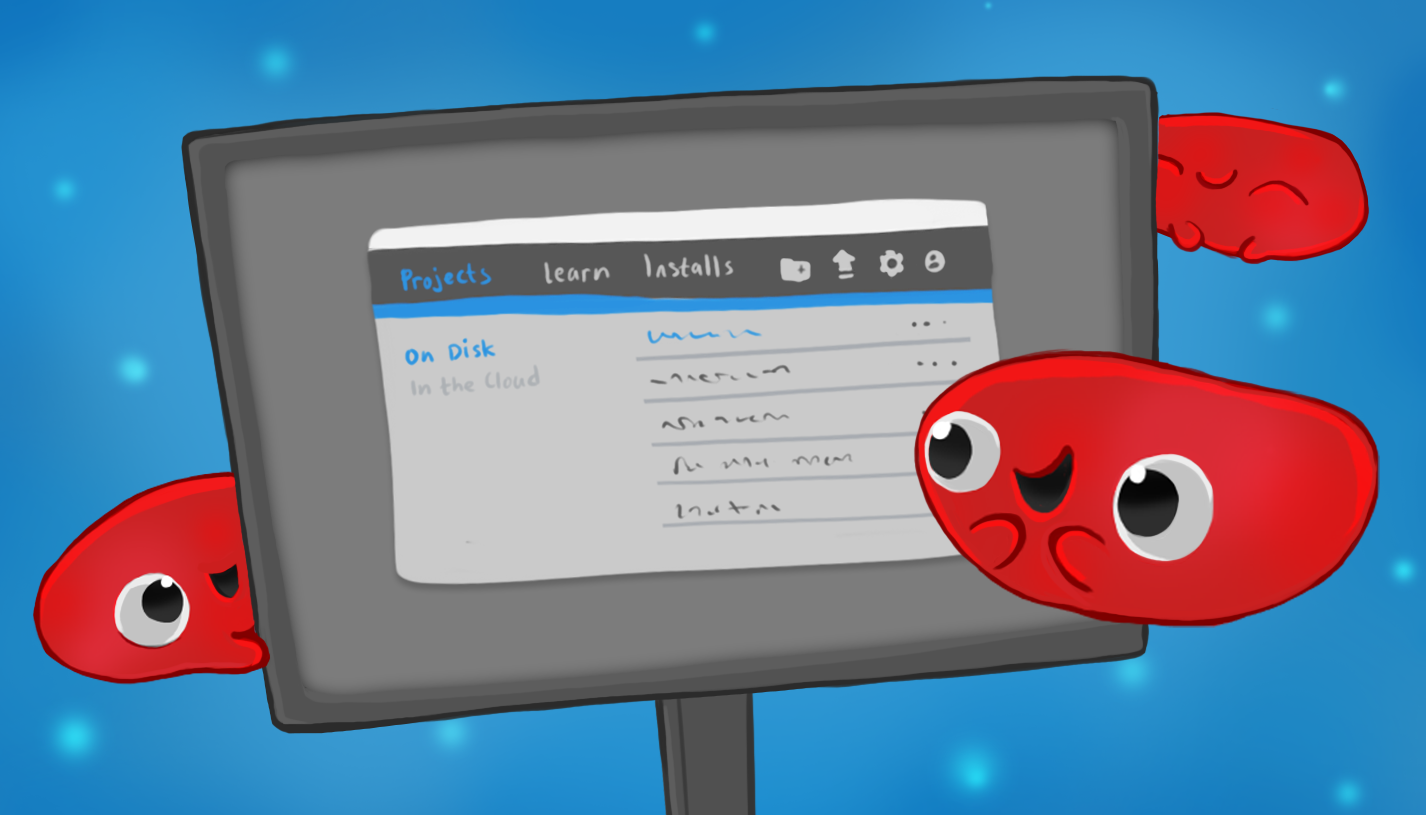
If you don’t have the latest official release, select the Installs tab from the menu to the left of the Unity Hub window to download it.
2. Download the Creator Kit: FPS Project
When you’ve got the latest version of Unity, download the Project for this Creator Kit:
1. Open the Unity Hub.
2. Select the Learn tab on the left side of the window.
3. Scroll down and select the correct Project from the available list.
4. In the project dialog window, select Download Project.
5. When the download is complete, select Open Project.
Unity Editor will import the Project, and update any necessary packages.
6. In the top menu, go to File > Save to save your version of the Project. Alternatively, you can use the shortcut Ctrl + S (Windows) or Cmd + S (macOS).
Note: If you have a problem downloading the project, you can find a link to download the assets in the Tutorial Materials tab at the top of the page.
That’s it! Now that you’re all set up, let’s explore how the Unity Editor works.
3. Important: If you cannot save your Unity Project
Note: Some users are currently experiencing an error which stops them from saving Unity Projects downloaded through the Hub. If you encounter this error, you can use the following workaround:
1. In the top menu, go to File > Close.
2. In the Keep Project? dialog window, select Keep.
3. Save your Project using your Operating System’s saving window. Choose an easily accessible location for your Project, such as a dedicated Projects folder or your Documents folder.
4. Once the Project is saved, re-open Unity Hub.
5. Select Add and navigate to the location of your saved Project. This will add your Project to the Project List in the Hub.
6. Left-click on the Project in the Project List to open it and continue with the tutorial.
You will be able to save the Project as normal after completing this process.
4. A rapid overview of Unity Editor
The Unity Editor can be intimidating when you’re just beginning to explore, but you only need to use four windows and the toolbar to complete this walkthrough and make your game.
The Unity Editor has four main sections:
1. Scene view
This is where you can edit the current Scene by selecting and moving objects in the 3D space for the game. In this kit, the game level is contained in one Scene.
2. Hierarchy window
This is a list of all the GameObjects in a Scene. GameObjects include the characters, props and scenery that you will use to populate your game. These can be placed in a parent-child hierarchy, which lets you group objects — this means that when the parent GameObject is moved, all of its children will move at the same time.
4. Inspector window
This displays all settings related to the currently selected GameObject. You will explore this window more during the walkthrough.
4. Project window
This is where you manage your Project Assets. Assets are what we call all the media files used in a Project (for example, images, 3D models and sound files). The Project window acts like a file explorer, and can be used to explore and create folders on your computer. When the walkthrough asks you to find an Asset at a given file path, use this window.
TIP: If your Editor layout doesn’t match the image above, use the layout drop-down menu at the top right of the toolbar to select Default.
5. Introduction to the Toolbar
The toolbar includes a range of useful tool buttons to help you design and test your game.
Play buttons
Play
Play is used to test the Scene which is currently loaded in the Hierarchy window, and enables you to try out your game live in the Editor.
Pause
Pause, as you have probably guessed, allows you to pause the game playing in the Game window. This helps you spot visual problems or gameplay issues that you wouldn’t otherwise see.
Step
Step is used to walk through the paused scene frame by frame. This works really well when you’re looking for live changes in the game world that it would be helpful to see in real time.
Manipulating objects
These tools move and manipulate the GameObjects in the Scene view. You can click on the buttons to activate them, or use a shortcut key.
Hand Tool
You can use this tool to move your Scene around in the window. You can also use middle click with the mouse to access the tool.
Move Tool
This tool enables you to select items and move them individually.
Rotate Tool
Select items and rotate them with this tool.
Scale Tool
You guessed it — this is the tool to scale your GameObjects up and down.
Rect Transform Tool
This tool does lots of things. Essentially, it combines moving, scaling and rotation into a single tool that’s specialized for 2D and UI.
Rotate, Move or Scale
Again, this tool does lots of things. It also enables you to move, rotate, or scale GameObjects, but is more specialized for 3D.
Navigating with the mouse
When you’re in the Scene view, you can also:
- Left click to select your GameObject in the Scene.
- Middle click and drag to move the Scene view’s camera using the hand tool.
- Right click and drag to rotate the Scene view’s camera using flythrough mode — a variation of the hand tool. While doing this, you can also move the camera left and right using A and D, forward and back using W and S, and down and up using Q and E.
For more advice on moving GameObjects in the Scene view, see Scene View Navigation.
6. Try the Game
Now you’re ready to try the game and get started. First, open the Creator Kit Scene:
1. In the Project window, navigate to the Assets/Creator Kit - FPS/Scenes folder.
2. Double-click the ExampleScene Scene icon.
Once you’ve opened the Scene, you can test the game. Select the Play button in the toolbar to begin.
You should be able to:
- Move around by pressing the W A S D keys on your keyboard
- Jump by pressing the spacebar
- Run by pressing and holding shift
- Aim your weapon using the mouse
- Destroy germs with medicine by clicking the mouse button when you have aimed
Destroying germs gives you points and uses up medicine ammunition. You can see your point score in the top left corner of the screen, and your remaining medicine for the weapon in the bottom right.
3. When you’ve finished testing the game, press escape on your keyboard to get your mouse cursor back.
4. Click the Play button again to stop the game.
7. Change the Default Keys
If you’re using a non-QWERTY keyboard, you may want to change the default keys used to play this game. To do this:
1. In the top menu bar, go to Edit > Project settings... and select Input.
2. Click the arrow to expand the Axes section.
3. Expand the Horizontal section and change the Alt Negative Button and Alt Positive Button:
4. Expand the Vertical section and change the Alt Negative Button and Alt Positive Button:
5. Press Ctrl + S (Windows) or Cmd + S (macOS) to save your changes.
8. Creator Kit: FPS release note for Unity 2019.1
This Creator Kit is best used with the most recent release of Unity. If you find any technical issues when working through the tutorials, please report them to us in the forum.
The Creator Kit has been created with scope for further level design and exploration. In the FPSKIT menu, you will find a Game Database option. This feature can be used to create episodes — groups of levels which can be used to organise a game. This and other additional functionality will be outlined in full in a forthcoming manual for the kit.
Although this system can be used now, at the moment some visuals display incorrectly:
- If you use the “Select Level” option in the in-game pause menu to load a Scene you have created as part of an episode, this will load unlit (without full game lighting).
- If you try to select “Next Level” when you reach the end game screen, this problem will also occur. If a second level has been created through the Game Database, this level will load unlit. If no second level has been created, the first level will reload unlit.
This issue will not affect the build of your game, and has been fixed for future Unity Editor releases. We’ll update this Creator Kit as soon as the manual is available.