Launch Your Games Career: Industry Access For UK Unity Creators
Realitjam’s Unity-Focussed UK Apprenticeship Program Is Here. UK Residents apply now

Lesson 4.1 - Watch Where You’re Going
Tutorial
Beginner
+10XP
60 mins
(1659)
Unity Technologies
Overview:
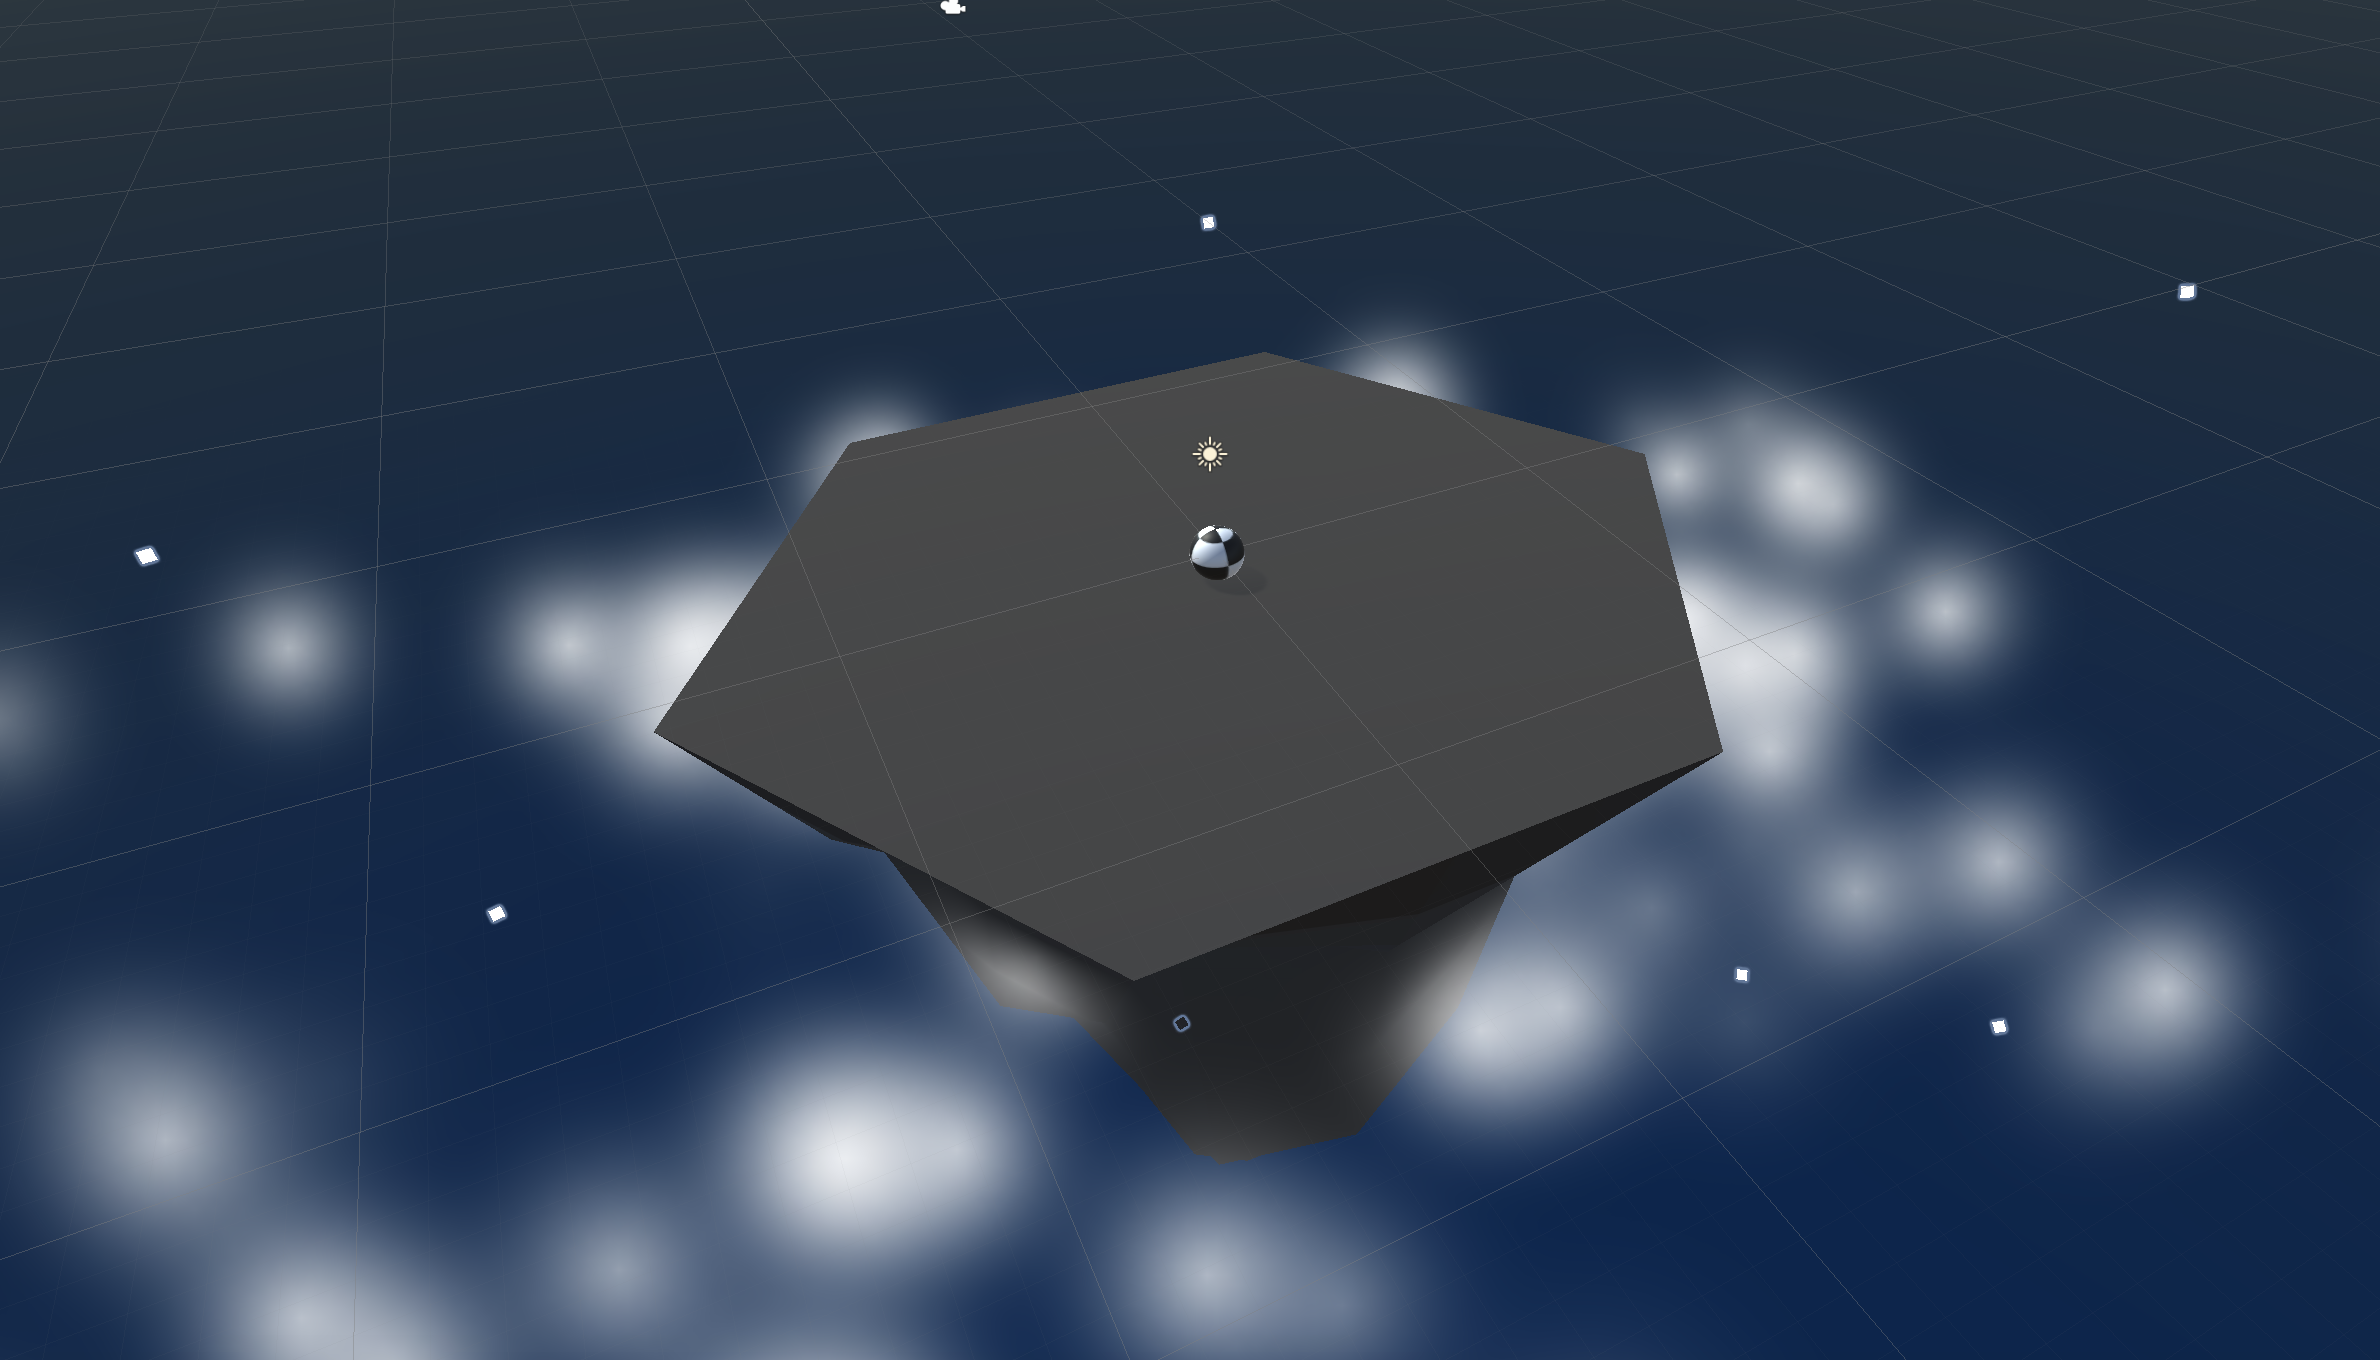
First things first, we will create a new prototype and download the starter files! You’ll notice a beautiful island, sky, and particle effect... all of which can be customized! Next you will allow the player to rotate the camera around the island in a perfect radius, providing a glorious view of the scene. The player will be represented by a sphere, wrapped in a detailed texture of your choice. Finally you will add force to the player, allowing them to move forwards or backwards in the direction of the camera.
Project Outcome:
The camera will evenly rotate around a focal point in the center of the island, provided a horizontal input from the player. The player will control a textured sphere, and move them forwards or backwards in the direction of the aforementioned focal point.
Resources
Overview Video
1. Create project and open scene
You’ve done it before, and it’s time to do it again... we must start a new project and import the starter files.
- Open Unity Hub and create a new Universal 3D project using the Unity version specified in this tutorial. Name the project Prototype 4.
If you forget how to do this, refer to the instructions in Lesson 1.1 - Step 1. - Click to download the Prototype 4 Starter Files, extract the compressed folder, and then import the .unitypackage into your project.
For instructions on importing packages, refer to the Import local asset packages documentation. - Open the Prototype 4 scene and delete the Sample Scene without saving.
- Click Run to see the particle effects.
2. Set up the player and add a texture
We’ve got an island for the game to take place on, and now we need a sphere for the player to control and roll around.
- In the Hierarchy, right click (or select “+”) > 3D Object > Sphere
- Rename it “Player”, reset its position and increase its XYZ scale to 1.5
- Add a RigidBody component to the Player
- From the Course_Library > Textures, drag a texture onto the sphere
3. Create a focal point for the camera
If we want the camera to rotate around the game in a smooth and cinematic fashion, we need to pin it to the center of the island with a focal point.
- Create a new Empty Object and rename it “Focal Point”,
- Reset its position to the origin (0, 0, 0), and make the Camera a child object of it
- Create a new “Scripts” folder, and a new “RotateCamera” script inside it
- Attach the “RotateCamera” script to the Focal Point
4. Configure project settings for the Input System
The code you’ll add in the following steps uses the Input System to handle player controls. To ensure the code works correctly, verify that your project is configured to allow both input systems to run side by side.
Follow the video and instructions below.
Instructions
1. Open the Player Settings:
- From the main menu, select Edit > Project Settings, then select the Player category from the leftmost menu.
2. Enable support for both input systems:
- Find the Configuration section.
- From the Active Input Handling dropdown, select Both.
- Select the Apply button to confirm the change.
The Unity Editor will automatically restart to apply this setting. After restarting, your project will be correctly configured to handle input from both the original Input Manager and the newer Input System.
5. Explore the default Input Action Map
Now let’s talk about a built-in alternative to declaring new InputActions in scripts: the default Input Actions asset that ships with many 3D templates.
- We’ve been declaring actions in code and binding them in the Inspector window:
- Example: public InputAction jumpAction; then jumpAction.Enable(); and binding Space in the Inspector window.
- This works well for quick setups or isolated actions per component.
- Many default 3D projects include a complete Input Action asset (an InputActionMap) ready to use:
- In the Project window, look for an asset named InputSystem_Actions or similar (often a .inputactions file).
- Double-click it to open the Input Actions editor.
- You’ll see Action Maps (like Player, UI, etc.), Actions (Move, Jump, Fire, Look), and Bindings for multiple devices (keyboard, mouse, gamepad, etc.).
- Explore what’s inside:
- Actions: Named inputs like Move, Jump, Look, Fire.
- Bindings: Each action can have multiple bindings (WASD + Left Stick, Space + Gamepad South, Mouse Delta + Right Stick).
- Processors/Interactions: Fine-tune behavior (for example, Press, Hold, Tap, Deadzones).
- Benefits of using an Input Action asset:
- Centralized management: All actions and bindings live in one place—easy to update without touching code.
- Multi-platform ready: Add bindings for gamepads, keyboards, touch, etc., under the same action.
- Consistent code: Your scripts read the same actions regardless of device:
- Move uses a Vector2, Jump is a Button, Look is a Vector2.
- Easy rebinding: You can support runtime rebinding without changing scripts.
- Collaboration-friendly: Designers can tweak inputs in the asset, while code remains stable.
6. Generate a C# class for the Input_Actions
Create a strongly typed C# wrapper from your .inputactions asset so scripts can access input actions safely, without needing to set them up in the Inspector.
- Why generate a C# class?
- Strongly typed access: You get properties for maps and actions (for example, Player.Move) instead of string lookups — fewer typos and easier refactors.
- Runtime representation: The .inputactions asset is data; scripts need a runtime object to interact with. The generated class constructs and manages that for you.
- Cleaner code vs. direct asset references: MonoBehaviours can’t directly “read” actions from the asset without either:
- Adding InputActionReference fields and assigning each action in the Inspector, or
- Instantiating the generated class and using its maps/actions in code.
- Easy enabling/disabling: Enable entire maps or specific actions with simple calls.
- How to generate the class:
- Open your .inputactions asset in the Inspector window.
- In the upper-right, enable Generate C# Class.
- Set the Class Name (for example, InputSystem_Actions) and choose a path/namespace.
- Select Apply/Save to generate the script.
7. Get a reference to the Player Action Map
The camera is rotating perfectly around the island, but now we’ll wire up the new Input System so we can read movement from the Player action map.
- Open your RotateCamera script.
- Add a private controls field using your generated class.
- Initialize the controls in the Awake() function.
- Enable the Player action map in the OnEnable() function and print the Move action for verification
- controls = new InputSystem_Actions(); instantiates your generated input class, which builds a runtime copy of your .inputactions asset. Think of it like new Vector3(…), but for an input wrapper that gives you typed access to actions such as Player.Move and Player.Jump.
- Lifecycle: Awake runs once when the script instance is created—good for constructing GameObjects and initializing references. OnEnable runs each time the component or GameObject is enabled—ideal for enabling input maps and subscribing to events. Pair OnEnable with OnDisable to cleanly enable/disable inputs with the object’s active state.
8. Rotate the focal point by user input
Now that the camera is attached to the focal point, the player must be able to rotate it - and the camera child object - around the island with horizontal input.
- Create the code to rotate the camera based on rotationSpeed and horizontalInput
- Tweak the rotation speed value to get the speed you want
9. Rotate the player based on forward input
The camera is rotating perfectly, so let’s make a temporary player script that mirrors the camera’s setup—just to confirm we have input control with the arrow keys. We’ll swap horizontal input for forward input (use .y instead of .x) so Up/Down rotate the player, while Left/Right keep spinning the camera.
- Create a new PlayerController script, apply it to the Player GameObject, and open it.
- Copy the setup from RotateCamera, but switch horizontal to forward and use moveInput.y
- Read the Move action (Vector2) and use the y component to rotate the player around Y.
10. Add forward force to the player
Now let’s turn that temporary rotation into actual forward movement using a Rigidbody and a player speed.
- Rename the speed field and add a Rigidbody reference:
- Change rotationSpeed to playerSpeed.
- Add a private Rigidbody field.
- Get the Rigidbody reference in Awake. Awake is the best place to cache component references because it runs before Start and before other scripts might query this GameObject. Start often works, but Awake is preferred for setup and dependency gathering.
- Replace the rotate call with AddForce for forward movement
11. Move in direction of focal point
We’ve got the ball rolling, but it only goes forwards and backwards in a single direction! It should instead move in the direction the camera (and focal point) are facing.
- Declare a new private GameObject focalPoint; and initialize it in Awake(): focalPoint = GameObject.Find("Focal Point");
- In the AddForce call, Replace Vector3.forward with focalPoint.transform.forward
Optional: Take a moment to experiment with the Global vs Local dropdown menu, and how toggling between the two changes your coordinates and positioning.
12. Lesson Recap
New Functionality:
- Camera rotates around the island based on horizontal input
- Player rolls in direction of camera based on vertical input
New Concepts and Skills:
- Texture Wraps
- Camera as child object
- Global vs Local coordinates
- Get direction of other object
Next Lesson:
- In the next lesson, we’ll add more challenge to the player, by creating enemies that chase them in the game.
Check your scripts:
RotateCamera.cs
using UnityEngine;

public class RotateCamera : MonoBehaviour
{
    public float rotationSpeed = 150f;
    private InputSystem_Actions controls;

    void Awake()
    {
        controls = new InputSystem_Actions();
    }

    private void OnEnable()
    {
        controls.Player.Enable();
        Debug.Log(controls.Player.Move);
    }

    private void Update()
    {
        Vector2 moveInput = controls.Player.Move.ReadValue<Vector2>();
        float horizontalInput = moveInput.x;
        transform.Rotate(Vector3.up, horizontalInput * rotationSpeed * Time.deltaTime);
    }
}
PlayerController.cs
using UnityEngine;

public class PlayerController : MonoBehaviour
{
    public float playerSpeed = 150f;
    private InputSystem_Actions controls;
    private Rigidbody playerRb;
    private GameObject focalPoint;

    void Awake()
    {
        controls = new InputSystem_Actions();
        playerRb = GetComponent<Rigidbody>();
        focalPoint = GameObject.Find("Focal Point");
    }

    void OnEnable()
    {
        controls.Player.Enable();
    }

    void Update()
    {
        Vector2 moveInput = controls.Player.Move.ReadValue<Vector2>();
        float forwardInput = moveInput.y;
        playerRb.AddForce(focalPoint.transform.forward * forwardInput * playerSpeed * Time.deltaTime);
    }
}