
3.3 Creating and configuring Animator States
Tutorial
Beginner
+10XP
35m
(280)
Unity Technologies
In this tutorial, you’ll explore Animator States (often just referred to as States).
Languages available:
1. Overview
In this tutorial, you’ll explore Animator States (often just referred to as States).
Each Animator State contains a Motion. A Motion is either an Animation Clip or collection of Animation Clips combined in a Blend Tree. When an Animator State plays, the Motion it contains plays too.
Animator States are one of the core building blocks of State Machines, which are in turn one of the core building blocks of an Animator Controller.
2. Before you begin
This tutorial uses the Introduction to 3D Animation Systems Unity project. If you haven't already done so, download this before continuing.
When you’ve downloaded the project:
1. Open the project in Unity Editor.
2. In the Project window, go to Assets > 3.3 - Creating and configuring Animation States > Scenes and double-click AnimatorStateSettingsExample to open the Scene.
3. Creating Animator States
Let’s start by exploring the process to create Animator States. There are two main ways you can create an Animator State:
- To create a state containing an Animation Clip, drag the Animation Clip asset from the Project window onto the grid background of the Animator window
- To create a state without a Motion, right-click on the grid background of the Animator window and choose Create State > Empty
The approach you choose will depend on the Motion you want your Animator State to contain.
Note: There are other techniques for creating Animator States, but these are the most common.
4. Create a new Animator State from an Animation Clip
To create an Animator State from a single Animation Clip:
1. In the top menu, go to Window > Animation > Animator to open the Animator window.
2. In the Hierarchy, select the MazeLowMan GameObject.
3. In the Project window, go to Assets > 3.3 - Creating and configuring Animator States > AnimationClips.
4. Expand the HumanoidRun model to find the Run Animation Clip.
5. Drag the Run Animation Clip from the Project window onto the grid background of the Animator window to create a new Animator State called Run.
5. Basic Animator State settings: Name and Tag
You’ve already learned that most of the animation features in Unity are to either manipulate the playing of animation or for blending animation. There are, however, a few exceptions which are there to make things easier for you. Animator States are one of these exceptions.
When you create a state, the first two properties are the Name and the Tag.
These are both strings that are purely used for identification. You can find out if the Animator State that is currently playing has a specific Name or Tag.
When you’re entering these settings, the Name must be unique but the Tag doesn’t need to be.
6. State playing control settings: Motion, Speed and Multiplier
Now let’s review the settings you can use to control how the Animator State plays.
Motion
The next setting when you’re configuring an Animator State is the Motion. You can set this to either be an Animation Clip or a Blend Tree containing multiple Animation Clips.
Speed and Multiplier
You can use the next group of settings to manipulate how the Motion is played. First, let’s review the Speed and Multiplier settings. Both these settings are for controlling the rate at which the Motion plays.
A Speed of 2 will make the Motion play twice as fast as normal, taking half the time to play. Similarly, a Speed of 0.5 will make the Motion play half as fast and therefore take twice as long to play.
You can adjust the Speed by setting a default value in the Inspector. You can then choose to use the Multiplier setting. The value you input here will be multiplied by the value of an Animator Parameter, resulting in a change in animation speed.
7. Adjust the animation speed
To adjust the speed of the example Run animation:
1. In the Animator window, with the Run state selected, enable Parameter (to the right of the Multiplier field).
The Animator Controller already has a single Animator Parameter called SpeedMultiplier. This will populate the dropdown.
2. Press Play to enter Play mode and test out the speed control.
A script has been created for this tutorial which you can use to set the SpeedMultiplier’s value between 1 and 4 using the Alpha Numeric 1 to 4 keys on your keyboard. Pressing one of the numbers will smoothly change the speed to its new value.
3. Press Play again to exit Play mode when you’ve finished testing.
8. Animator State playing control settings: Normalized Time
Another way to control how an Animator State plays is by directly controlling its Normalized Time.
Normalized Time is the concept of having the current time of the Motion being measured between 0 and 1. This means that:
- When the Normalized Time is 0, the Animator State is at its start
- At 0.5, it’s half-way through
- At 1, the Animator State is at its end
You can use the value of an Animator Parameter as the Animator State’s Normalized Time, setting the value every frame to progress through the Animator State’s Motion.
If you want to do this:
1. In the Animator window, enable Parameter for the Motion Time property.
2. Choose the Animator Parameter you want to use.
9. Animator State playing control settings: Cycle Offset
The last setting you’re going to review is the Cycle Offset.
This setting works alongside Normalized Time, in that it sets the Normalized Time the State will start playing at. If you want to change this, you can set it to a Float or have it controlled by a Float Parameter.
10. Humanoid settings
If you create an Animator State in an Animator that’s controlling a Humanoid Rig, there are two extra settings to explore:
- Mirror
- Foot IK
Mirror
Mirror reflects an animation from left to right. You can use it to do things like changing a right turn into a left turn.
Foot IK
Foot IK uses the Muscle Clip data to estimate when each foot is supposed to be planted on the ground. When using Foot IK, the foot’s position is locked.
This is a useful setting for situations such as when:
- The Animation Clip’s compression causes the feet to move during an idle animation
- Blending two animations causes the feet to slide slightly when they should be planted.
Note: Remember that this setting is based on estimations and cannot be guaranteed to work for all animation data.
11. Additional settings
There are two additional settings to consider when you’re configuring Animator States.
Write Defaults
One of the most commonly misunderstood animation settings in Unity is Write Defaults.
To understand how it works, you first need to understand the way the Animator System treats the bindings of its animations:
- An Animator gathers all the bindings from all the Animation Clips it contains and writes to each of them every frame.
- If the Motion of an Animator State doesn’t write to a particular binding, what happens is determined by the Write Defaults setting.
- If you enable Write Defaults, the default value of that binding is written to it. If you disable it the binding is not written to, and therefore keeps its previous value.
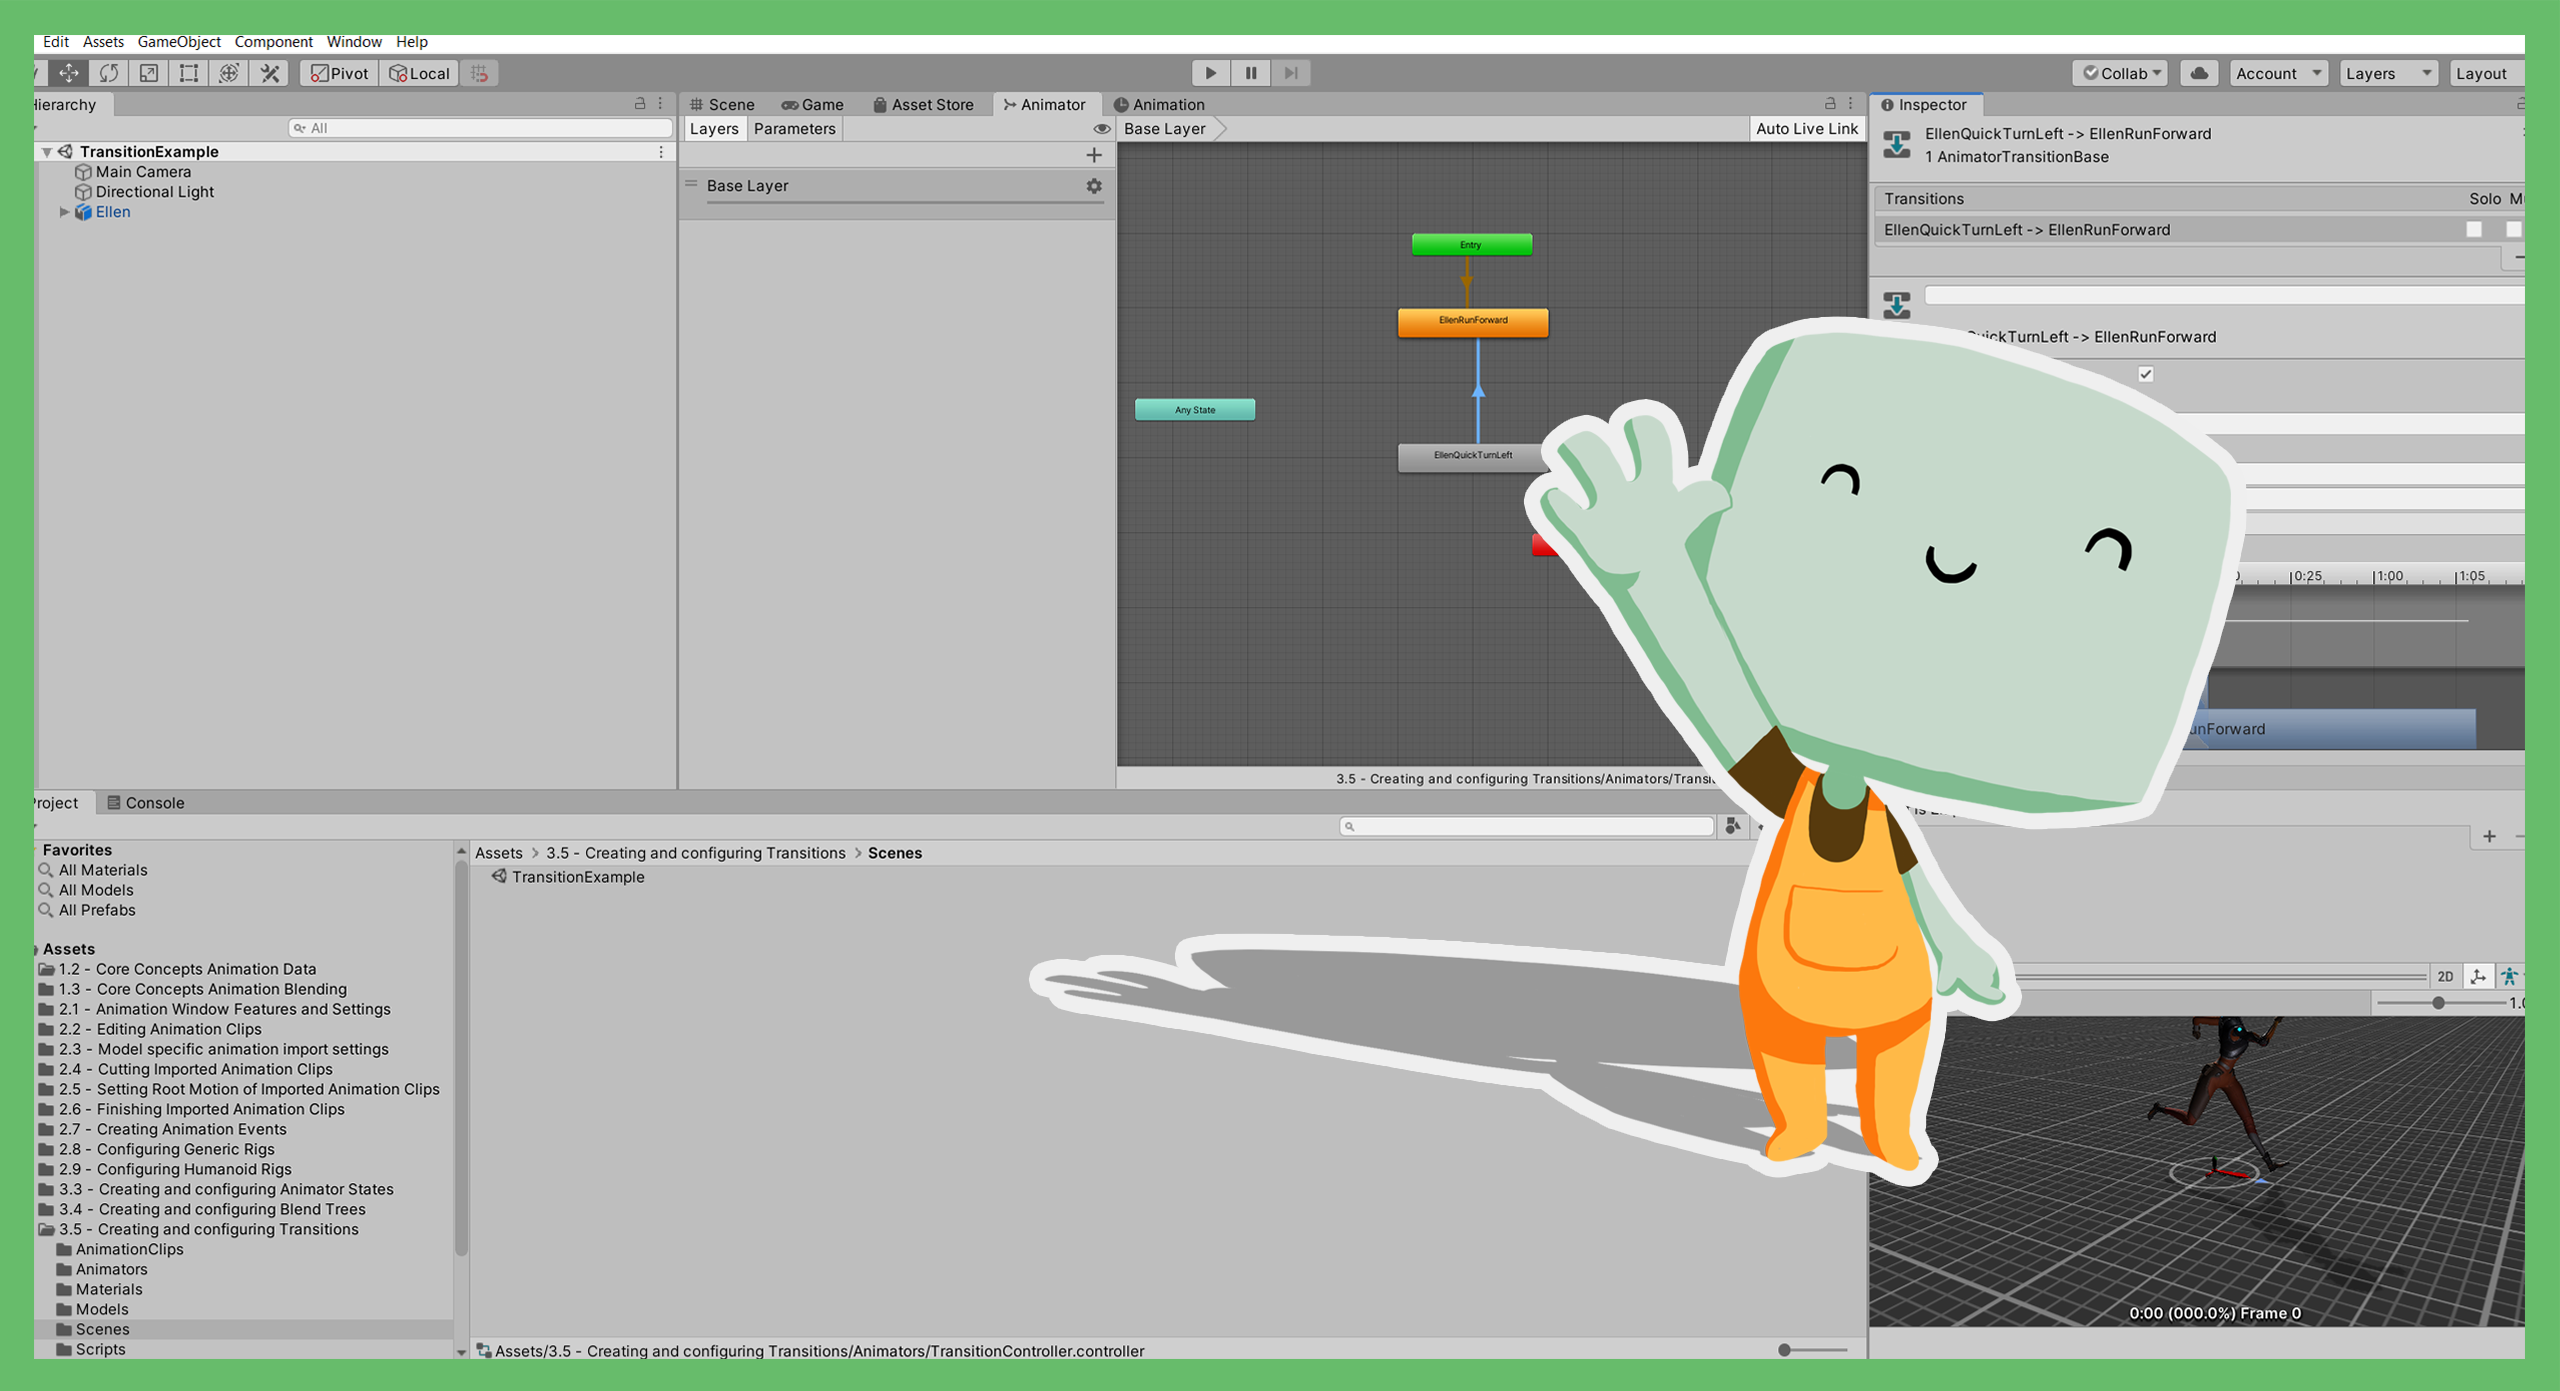
List of Transitions
The last setting is the list of Transitions that start from the selected state.
The list is the priority order for the Transitions, meaning that their conditions will be checked in the order that’s shown on the list. You'll explore Transitions in detail in 3.5 Creating and configuring Transitions.
12. Summary
In this tutorial, you’ve explored how Animator States work. You’ve learned:
- That you can either create an Animator State containing an Animation Clip or create one without a Motion.
- How to create an Animator State containing an Animation Clip.
- How to configure the settings in an Animator State including animation speed, Normalised Time and Cycle Offset.
- About the settings available when you’re working with a Humanoid animation.
In the next tutorial, you’ll explore Blend Trees in more detail.