
4.2 Introduction to Humanoid-specific animation scripting
Tutorial
Beginner
+10XP
40 mins
(203)
Unity Technologies
In this tutorial, you will explore some of the features exclusive to humanoid rigs.
This tutorial is an introduction to Humanoid-specific animation scripting for learners who have some C# scripting experience. Step by step guidance on animation scripting is beyond the scope of this course.
Languages available:
1. Overview
In this tutorial, you will explore some of the features exclusive to humanoid rigs. Humanoid rigs have predictable structures and their animations are converted into “muscle space” before Unity sets the Transform values. This means that features such as IK and target matching can be built in.
This tutorial is an introduction to Humanoid-specific animation scripting for learners who have some C# scripting experience. Step by step guidance on animation scripting is beyond the scope of this course.
2. Before you begin
This tutorial uses the Introduction to 3D Animation Systems Unity project. If you haven't already done so, download this before continuing.
When you’ve downloaded the project:
1. Open the project in Unity Editor.
2. In the Project window, go to Assets > 4.2 - Introduction to humanoid-specific animation scripting.
3. Target Matching and IK basics
Under normal circumstances, Transform hierarchies work on a system called Forward Kinematics (or FK for short).
Each Transform’s position and rotation is set relative to its parent. This means that changing the position or rotation of a parent affects the global position and rotation of their children. For a humanoid rig, this is the kind of behaviour you want for your animation. Changing the position of a Character’s shoulder should change the position of the elbow and so on right down to the finger-tips.
However, sometimes you might want to set the position or rotation of a bone near the bottom of the hierarchy (called the effector) separately. In this case, the rest of the hierarchy needs to change to accommodate the effector’s position or rotation.
You can do this in one of two ways:
- Target matching
- Inverse kinematics (IK for short)
4. Introduction to target matching
Target matching moves the root of the hierarchy so that the effector is in the correct position or rotation without changing the rest of the hierarchy.
For example, consider a situation where the player of your game controls a humanoid who is running down an alley. In the alley, there is a low fence the character must jump over by placing their hand on the top of the fence to help themselves over. It might be impossible to know exactly where the player will jump from, but regardless of where they do, the character’s hand should touch the fence.
This is a good case for target matching. The character’s pose shouldn’t change, they should maintain the jumping pose set in the animation, but the character’s hand needs to be at a specific point in the game world.
5. Introduction to inverse kinematics
IK doesn’t move the root of the hierarchy, but it does change the pose of the character. There are many different algorithms used for IK, but what they all have in common is that they set the position or rotation of bones further up the hierarchy so that the effector is at its desired position or rotation.
When used on a humanoid rig, IK uses two bones for either the arms or legs. For example, consider a situation where the player is controlling a character sitting at a table and they need to reach for something. If you don’t know exactly where the character is sat or exactly where the item they need to reach for is positioned, you’ll need to adjust the hand position to reach it using IK.
6. Target Matching
Target matching is done using the MatchTarget method of the Animator Controller. The method should be called once during the State where you wish to target-match at any time before you want the matching to start.
The parameters for the MatchTarget method can be split into three groups, with two parameters each. These three groups are:
- Information about the target to be matched.
- Information about the effector to be matched.
- Information about when the target matching should happen.
The target information parameters are simply the world-space position to be matched and the world space rotation to be matched.
AvatarTarget
The first of the effector information parameters is an enumeration to determine which body part is the effector. It’s called the AvatarTarget because it’s used to determining which part of the humanoid Avatar is getting matched to the target and has the following values:
- Root
- Body
- LeftFoot
- RightFoot
- LeftHand
- RightHand
The hands and feet are self-explanatory. The Root means the root of the character, usually between the feet, and the Body means the centre of mass for the character.
MatchTargetWeightMask
The second of the effector information parameters is a struct called MatchTargetWeightMask. It determines what balance of the original position and the target position the effector should take.
It has two parts:
- Positional weight
- Rotational weight
The positional weight (called positionXYZWeight) is a Vector3 that should have a value between 0 and 1 for each axis to control how much the effector should use that axis of the target position.
The rotational weight (called rotationWeight) is a float allowing for linear interpolation between the original rotation and the target rotation.
The final two parameters are floats giving the Normalized Time of the State. They are when the target matching should start and when it should reach the target.
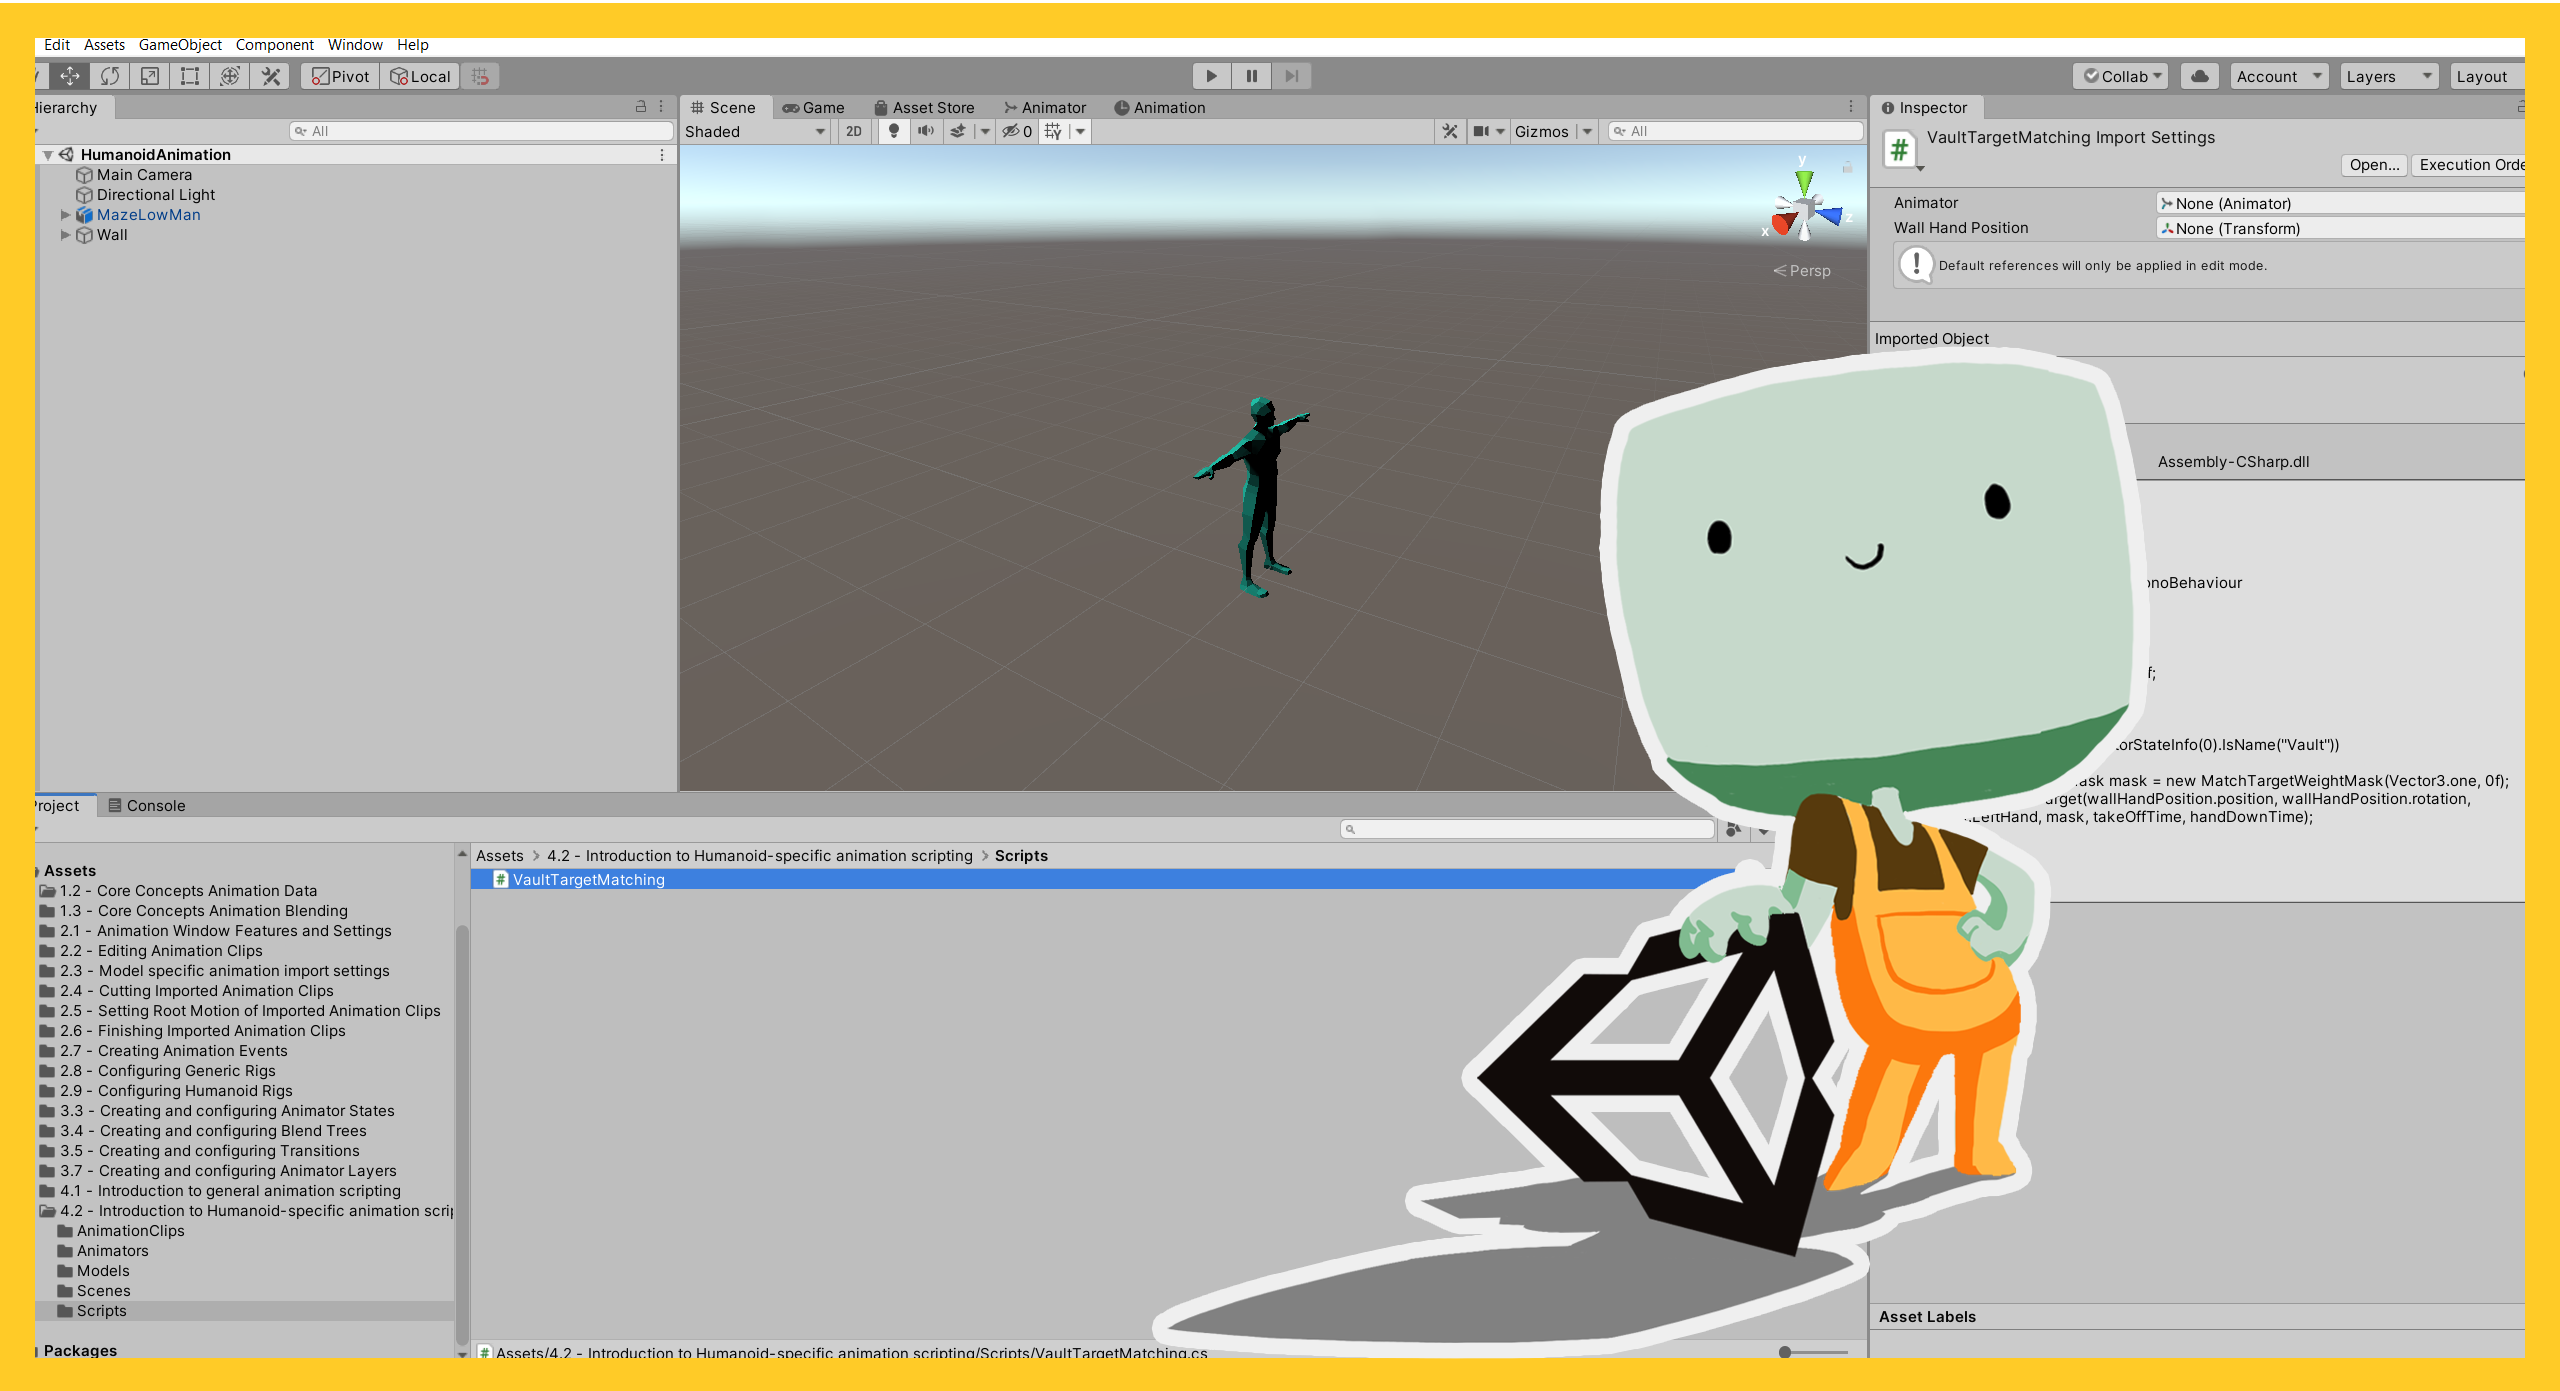
7. Review a target matching example
Let’s review using the MatchTarget using the low fence example:
1. In the Project window, go to Assets > 4.2 - Humanoid-specific animation scripting > Scenes.
2. Double-click the HumanoidAnimation Scene to load it.
3. In the Hierarchy, select the MazeLowMan GameObject.
4. In the Inspector, disable the Vault Target Matching script. This will prevent the target matching that’s been set up so we can see what it looks like normally.
5. Press the Play button to enter Play Mode.
Note: The character goes through the wall slightly. You can correct this by matching the left hand of the character to the top of the wall.
6. Press the Play button to exit Play Mode.
7. In the Inspector, re-enable the Vault Target Matching script.
8. Press the Play button again to re-enter Play Mode.
Now the character vaults the wall correctly. It’s important to note that the character’s vault animation has been stretched slightly further than you would normally do in a game. This is just to illustrate the change made by the script. When you implement similar systems in your projects, you should aim for slightly closer target matching.
9. Press the Play button to exit Play Mode.
8. Humanoid inverse kinematics
There are three important variables that are used with the two-bone inverse kinematics (IK) algorithm that the animator uses:
- The target position
- The target rotation
- The hint position
The target position and rotation are the position and rotation that the hand or foot will try to reach. The hint position is the position that the elbow or knee for that limb will try to reach.
For example, consider a humanoid that is sat at a table and reaching for the fan on their desk. The target position is the fan. The target position, the shoulder and the hint position form a plane. The elbow will be on that plane as close to the hint position as it can.
9. Review the IK methods
Each of the three important variables has its own weight and can be applied to either an arm or leg. The Animator Controller has a method to set each of these and their weights, so there are six methods in all. They are:
- SetIKHintPosition
- SetIKHintPositionWeight
- SetIKPosition
- SetIKPositionWeight
- SetIKRotation
- SetIKRotationWeight
All these methods follow a pattern. They have two parameters:
- The body part to affect
- The value to set
Both the type representing the body part and the value vary between methods. For the methods affecting the hint, the body part is an enumeration called AvatarIKHint which can be either the knee or elbow on the left or right.
For the other methods, the body part is an enumeration called AvatarIKGoal and can be either the foot or hand on the left or right.
The methods that set a weight take a float as their value. Those which set a position take a Vector3 as their value and the SetIKRotation method takes a Quaternion as its value.
Using the OnAnimatorIK method
These methods should be called during the IK pass of the Animator. To do this, you need to use the OnAnimatorIK method of a MonoBehaviour.
OnAnimatorIK works very similarly to Update in MonoBehaviours. It’s called during the update of the Animator, which happens just after either Update or FixedUpdate (depending on the Update Mode of the Animator).
OnAnimatorIK is called once per update for every Animator Layer which has its IK Pass enabled. Each call has the Layer’s index passed as a parameter. This means you can deal with various uses of IK separately.
10. Summary
In this tutorial, you have explored scripting specifically for Humanoid rigs. You’ve reviewed:
- The difference between Target Matching and Inverse Kinematics and when to use each.
- How to configure each of these using scripting.
You’ve now finished Introduction to 3D Animation Systems! We can’t wait to see what you create.