Build basic shapes
Tutorial
foundational
+10XP
15 mins
298
Unity Technologies
In this tutorial, you'll learn how to build various basic shapes using ProBuilder.
Languages available:
1. Selecting shapes
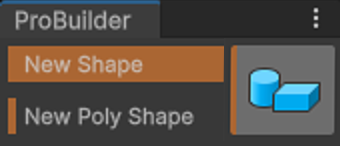
To begin building basic shapes in ProBuilder, select New Shape in the ProBuilder window. The Create Shape window will then appear in the corner of the Scene view.
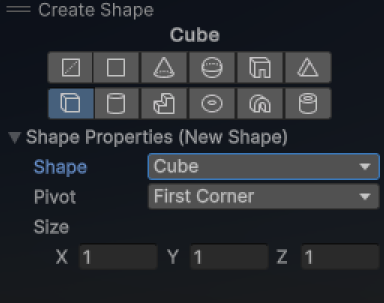
Select a basic shape of your choice. You can choose from the following types:
- Sprite
- Plane
- Cone
- Sphere
- Door
- Prism
- Cube
- Cylinder
- Stair
- Torus
- Arch
- Pipe
2. Set up the Snap tool
Before you begin drawing your shape, there’s a tool that will make it much easier for you to adjust the size of the shape later on: the Snap tool.
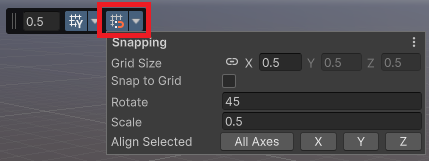

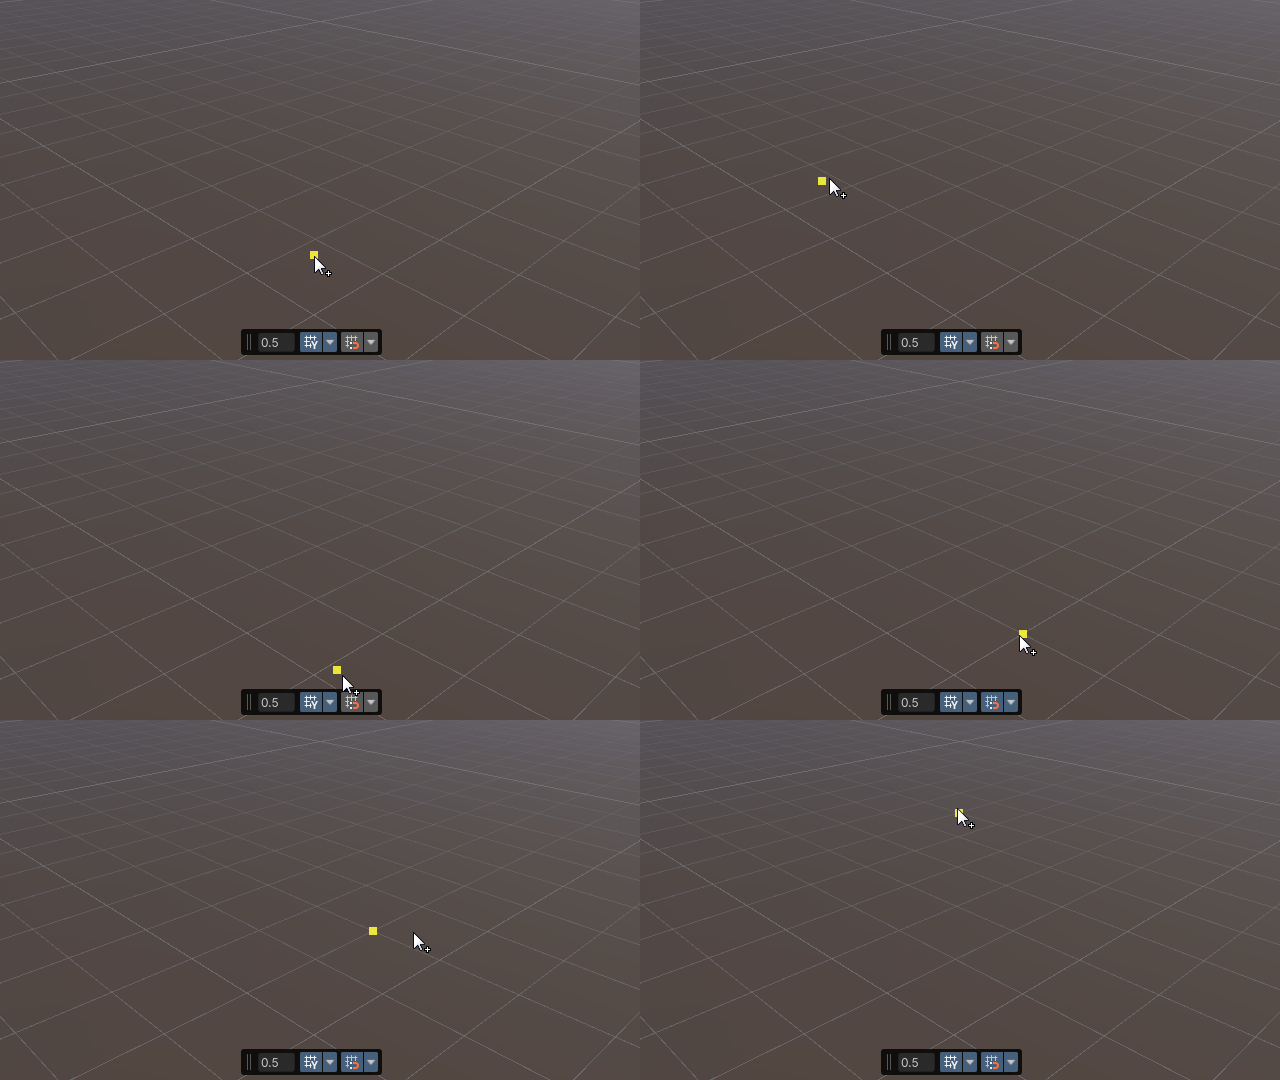
By default, the Snap tool is disabled. To enable it, select the Toggle Grid Snapping icon, then move your cursor over the Scene view to check that it's enabled. You’ll see the yellow square that follows your cursor snap to the vertices of the grid in the Scene view.
3. Draw shapes
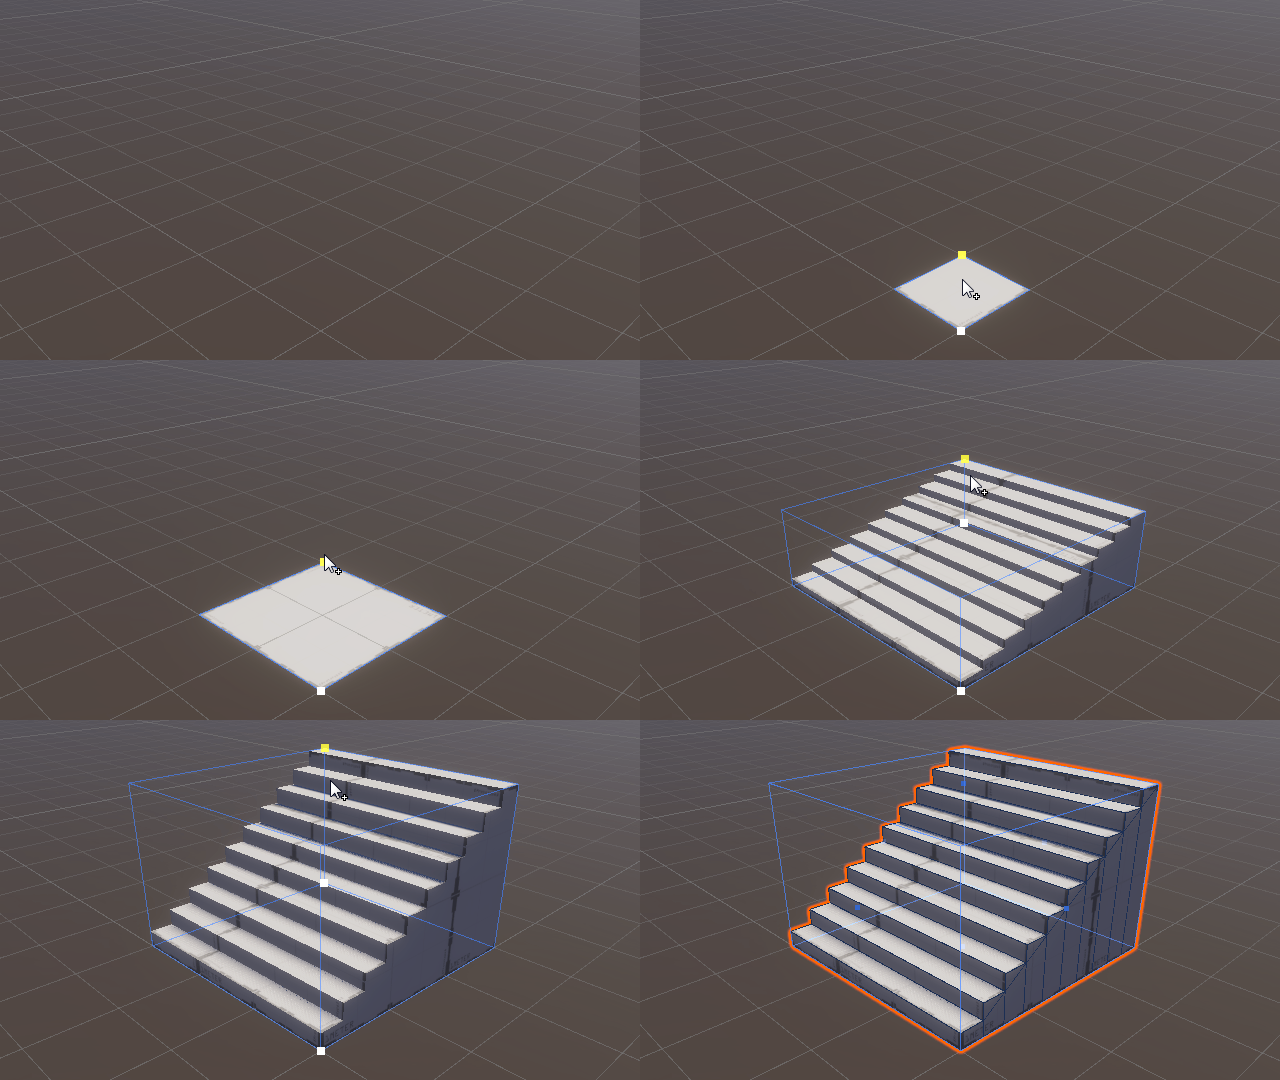
To begin drawing shapes, follow these instructions:
1. Click the point where you want your shape to start in the Scene view, then, while still holding the left mouse button drag your cursor across the grid to set the shape's width. Finally, release the left mouse button.
2. For 3D shapes, select one of the corners highlighted in yellow and move your cursor upward holding the left click to set the shape's height. Click the left mouse button again when you reach the desired size.
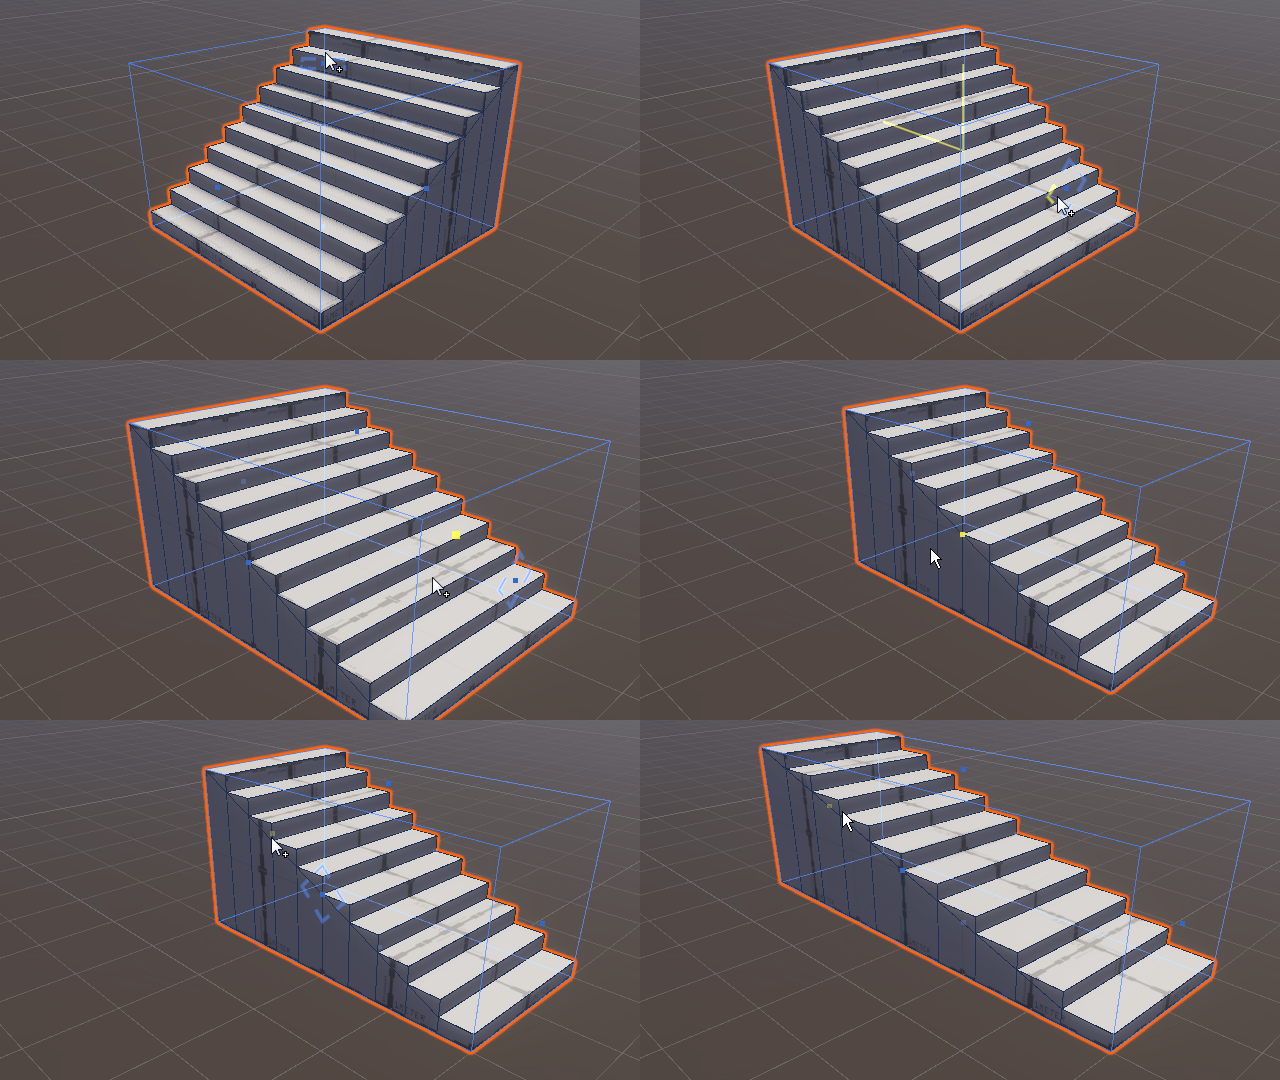
The size and rotation interface allows you to intuitively switch the orientation and adjust the size of completed shapes. To do this, select the arrows on the interface, which look like a directional pad to rotate the shape, and drag the point in the middle to adjust the size of that face.
4. Detailed shape settings
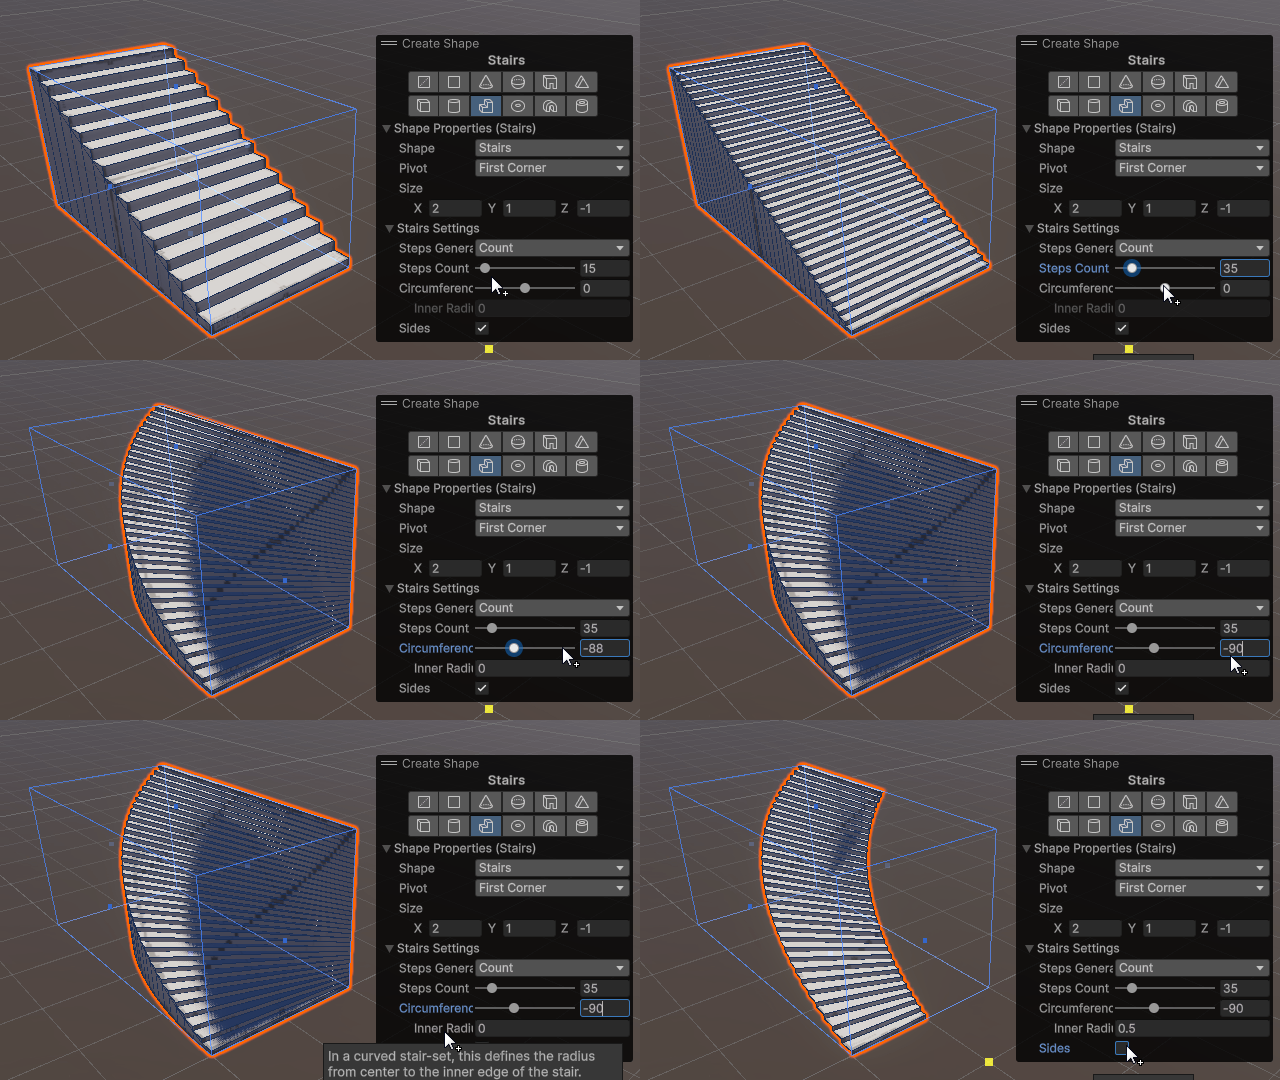
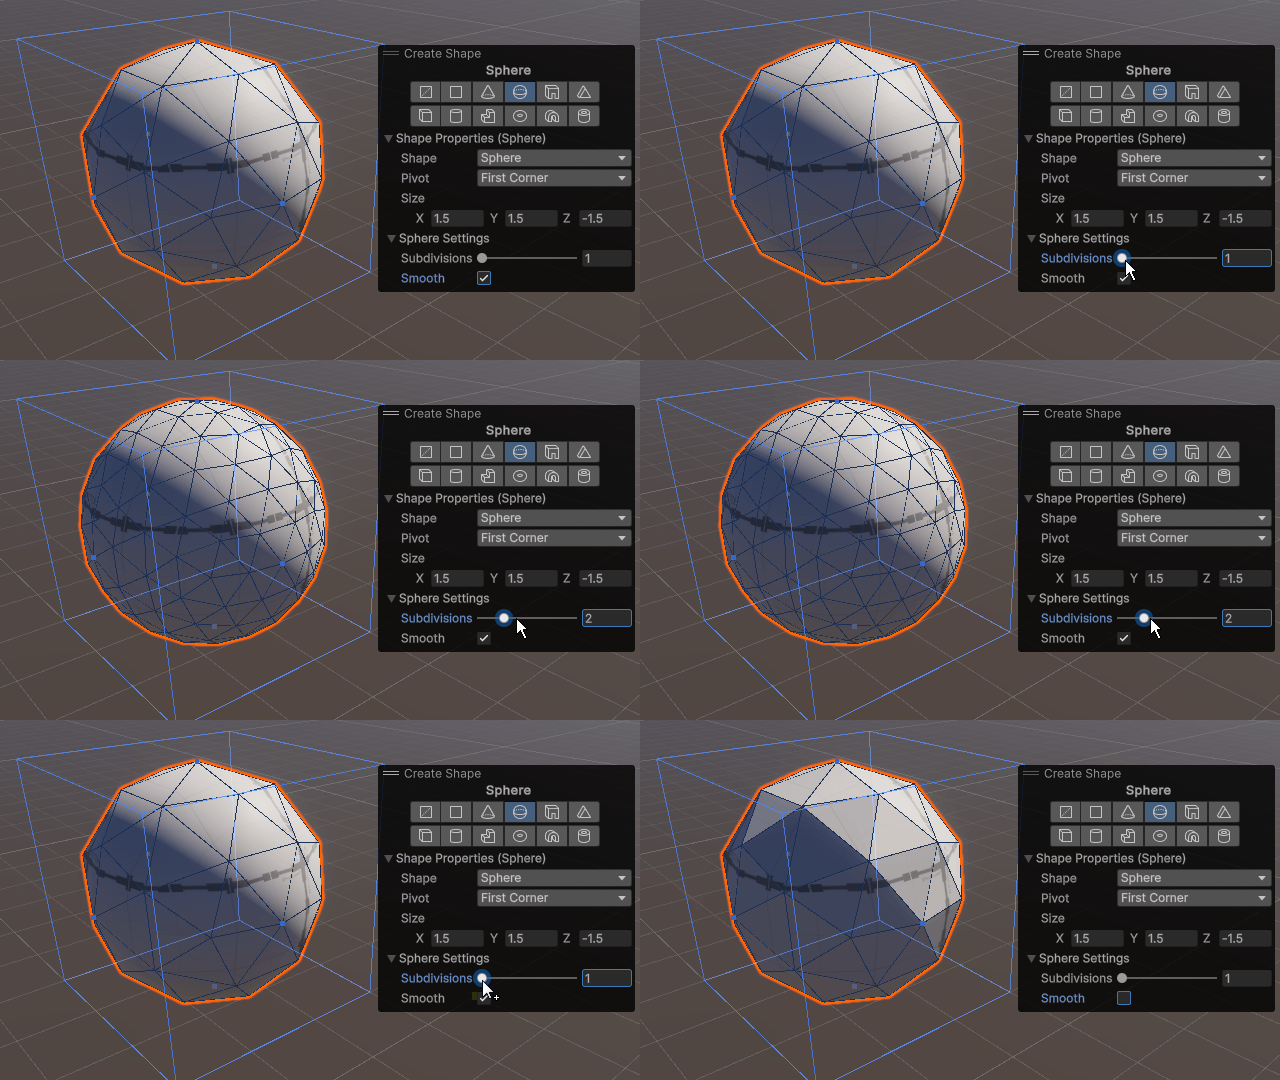
After you have drawn your shape, you can set up additional properties to alter the shape’s form.
Note: The properties available differ depending on the original shape you chose.
When you’re done with the detail’s settings, click an empty space in the Hierarchy window to end the selection and complete the ProBuilder mesh.
5. Editing shapes
Already completed shapes do not have rotation or size interfaces, nor do they have the Create Shape window as shown before.
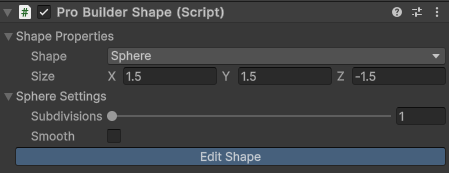
To edit an already completed shape, follow these instructions:
1. Select the ProBuilder Shape component in the Inspector window.
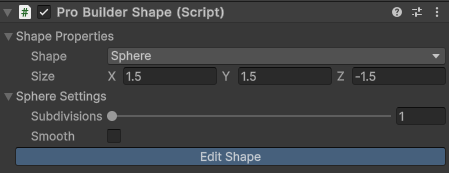
2. Select the Edit Shape button.
The Edit Shape window will open.
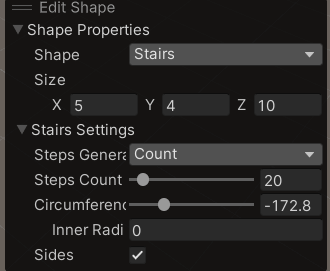
You can adjust various properties of the completed shape in the Edit Shape window.
3. Click an empty space in the Hierarchy window to exit and confirm the final shape.
6. Set up pivots
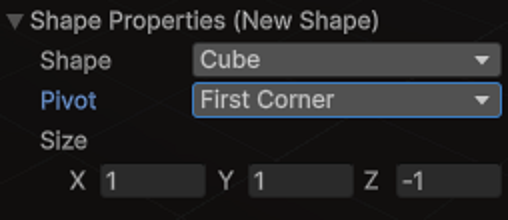
3D meshes have pivots, which function as their center points. You can change the pivot type for the shape you are drawing in the Create Shape window. Pivot types in ProBuilder are as follows:
- First Corner: the corner you first click becomes the pivot.
- Center: the center of mass of the complete shape becomes the pivot.
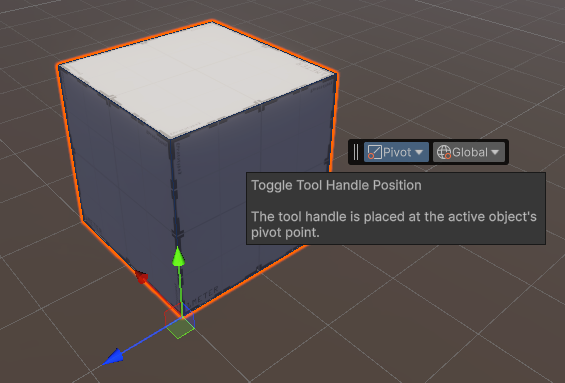
When you set the pivot type, make sure you consider that the Transform controls (movement, rotation, and size) of the object change depending on the pivot location. Once complete, you cannot make changes using the Edit Shape window.
7. Check the real-size in real time
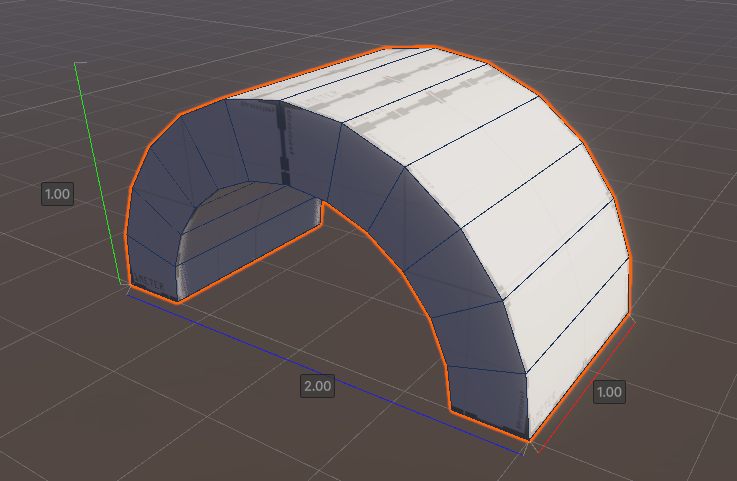
ProBuilder includes tools that allow you to quickly check the real-size of objects while making them.
To enable the size overlay, go to Tools > ProBulider > Dimensions Overlay > Show.

8. Challenge: Level-design with basic shapes
Try to design a simple platform scene based on what you have learned so far. Make a floor, place some stairs to go up, and add shapes that can enrich your world. Use your creativity!