More ProBuilder tools
Tutorial
·
foundational
·
+0XP
·
60 mins
·
Unity Technologies
In this tutorial, you'll learn how to perform more diverse modeling using various tools offered by ProBuilder.
Languages available:
1. Splitting surfaces with editing tools
To do more detailed 3D modeling, you can add more faces to the shape. You can split surfaces using various tools from the ProBuilder window.
The editing tools for adding, deleting, or splitting components are indicated by the red category. These new tools will appear in the ProBuilder window after you switch between vertex, face, and edge selection.
To do more specific 3D modeling, there have to be more surfaces. You can split surfaces with various tools in the ProBuilder window.
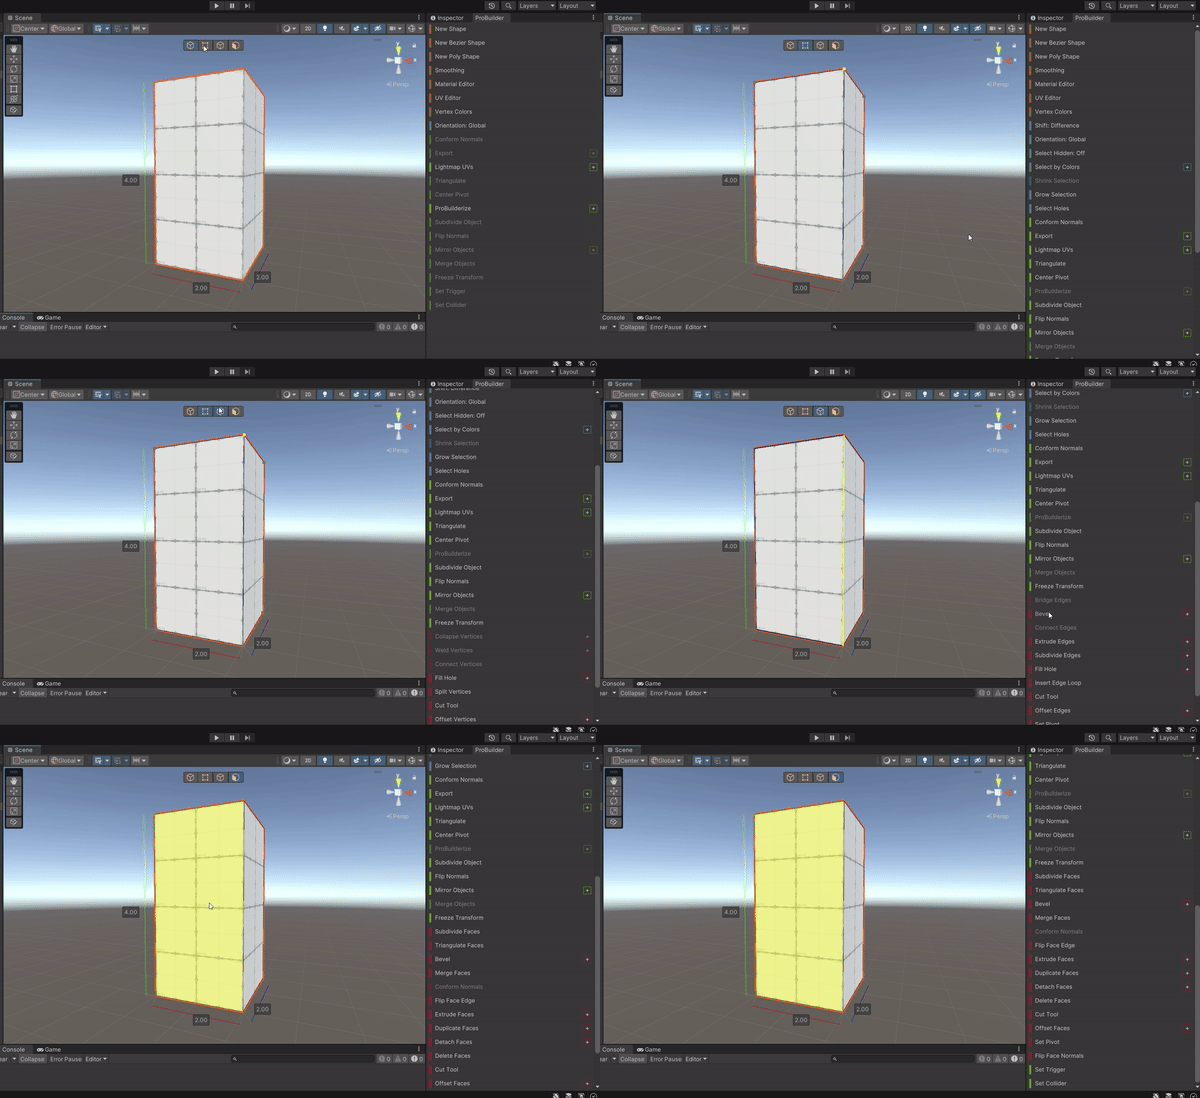
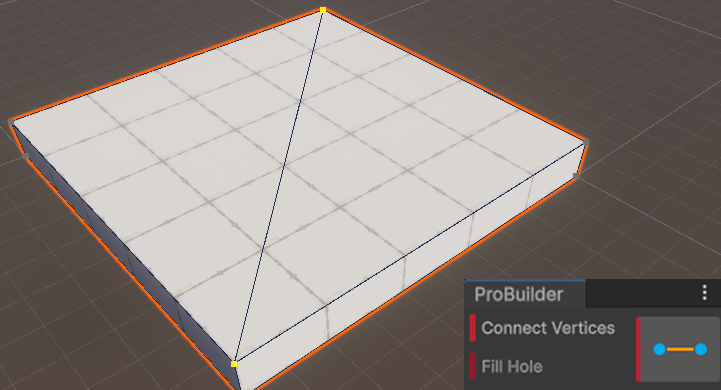
Connect Vertices tool to divide faces by adding a line connecting two points at the point level
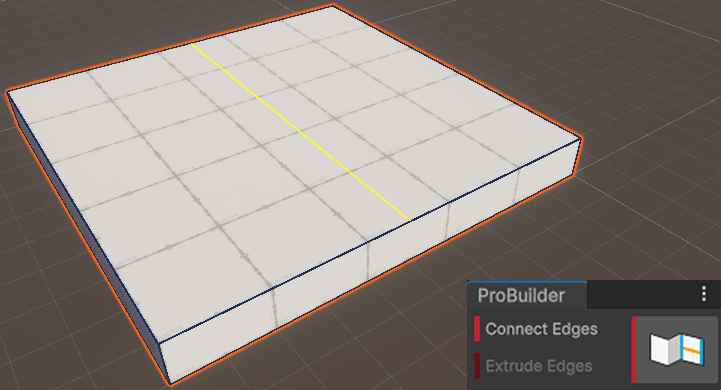
Connect Edges tool to divide faces by adding a line connecting two lines at the line level
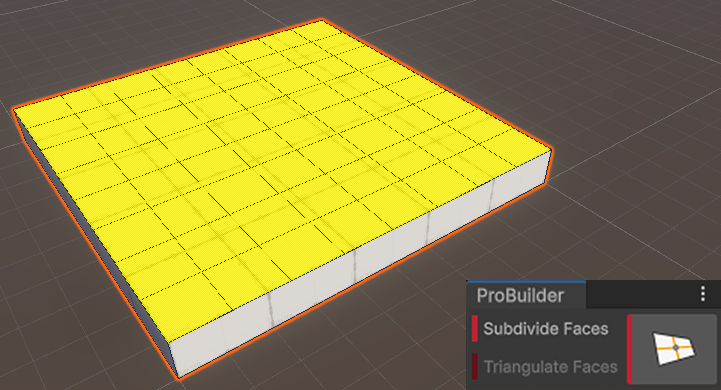
Subdivide Faces tool to evenly divide selected faces at the face level
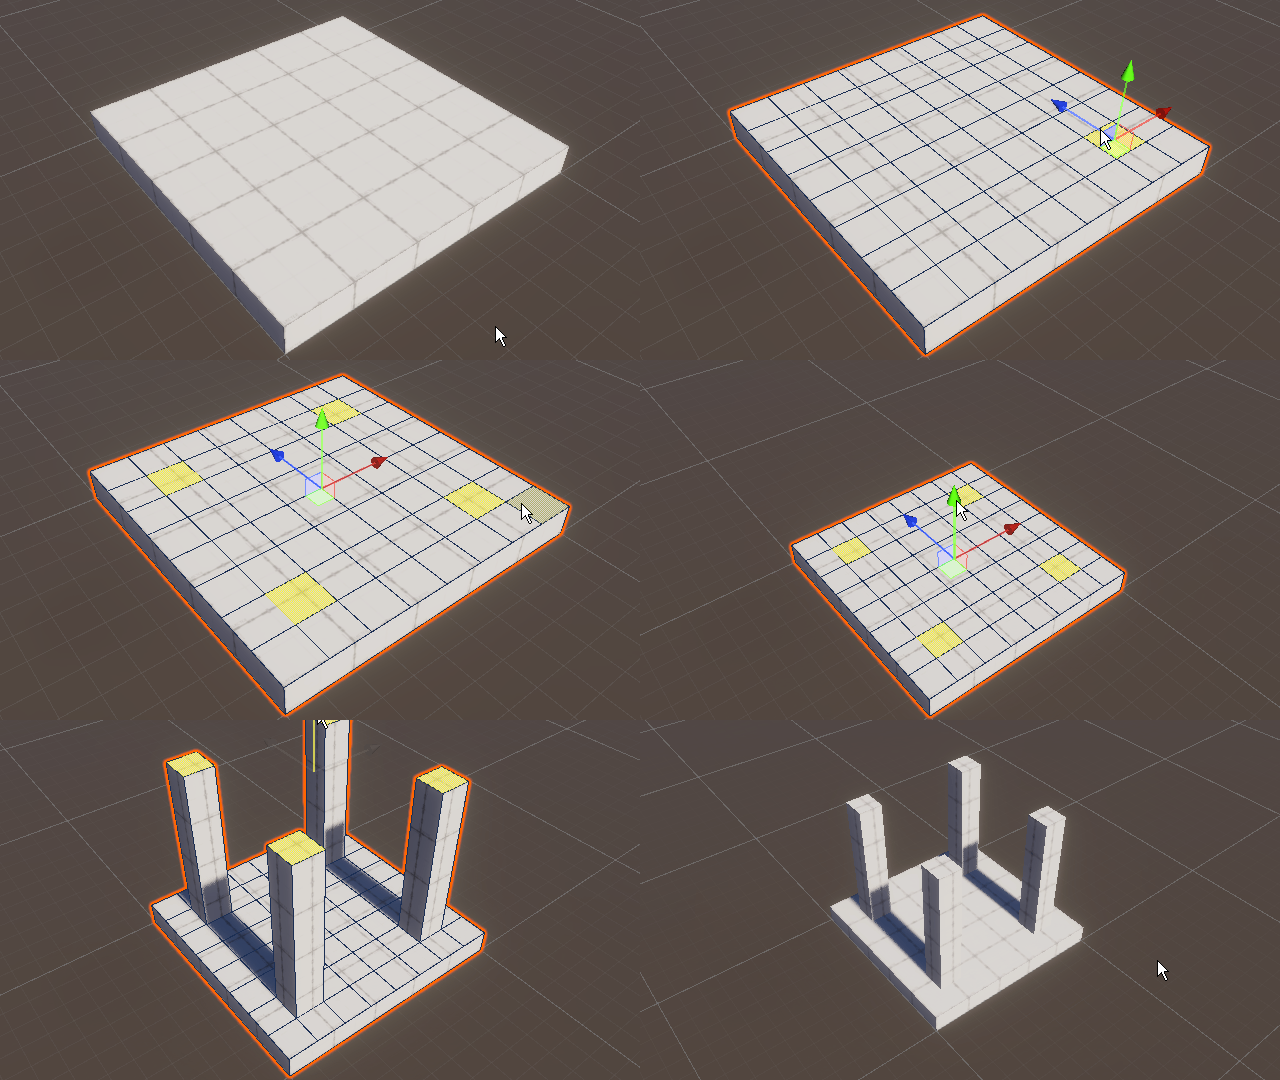
The editing tools for adding, deleting, or splitting components are indicated as red categories.
2. Use the quick selection tool to select multiple faces
If there aren't many faces, you can simply select them manually using Ctrl+left-click (macOS: Cmd+left-click). However, ProBuilder also offers quick selection tools to simplify this process when there are many components..
The tools for selection are indicated by the blue category. These new tools will appear in the ProBuilder window after you switch to face selection.
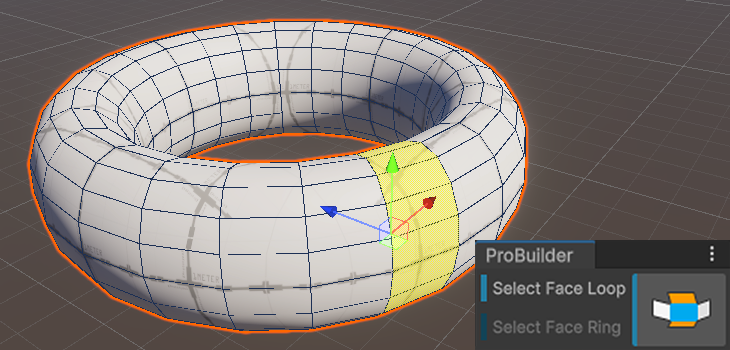
Face Loop tool to select all perimeter faces vertically
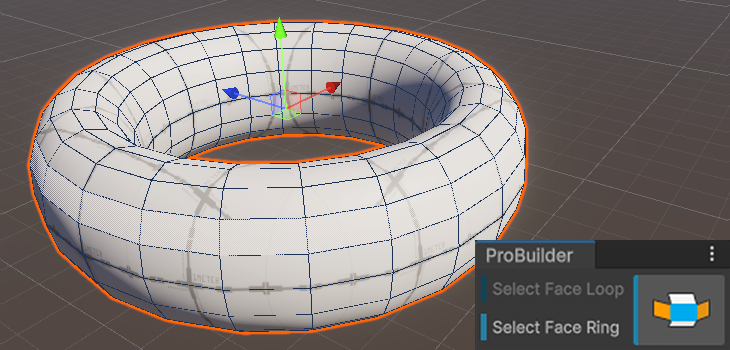
Face Ring tool to select all perimeter faces horizontally
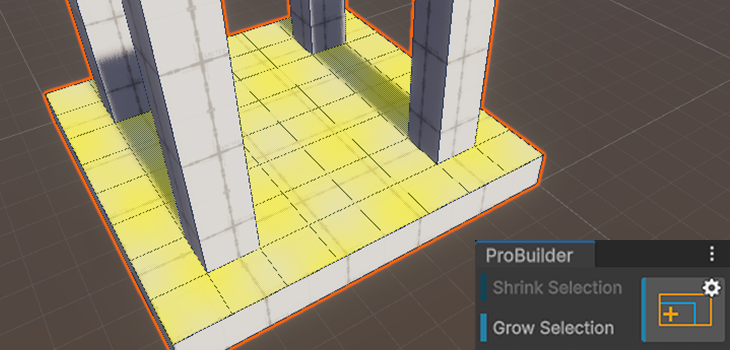
Grow Selection tool selects by expanding adjacent faces
3. Smoothing edges
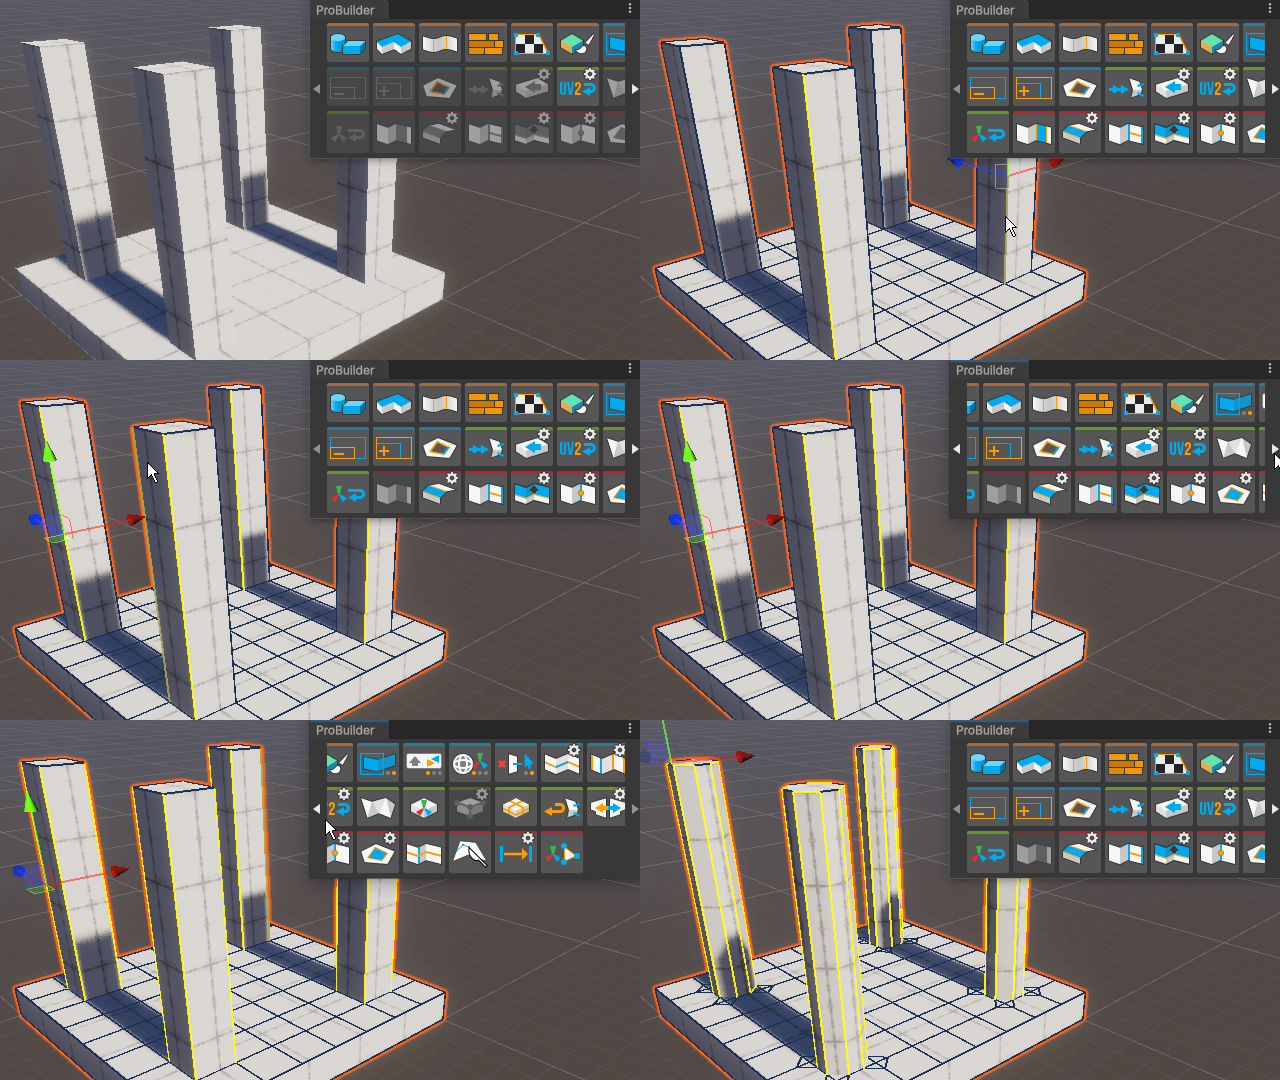
First, choose one of the edges of the shape (or from multiple shapes while holding Shift), then check the Selection Edge Ring tool, which searches horizontally around the perimeter of the shape to choose all the edges around it, then add a new face between each edge using the Bevel tool.
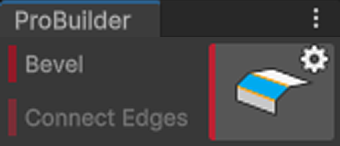
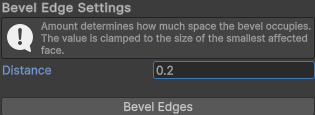
There is an additional settings icon in the Bevel tool. Hold Alt+left-click (macOS: hold Option+left-click) to open the Settings window. Here you can set the size of the bevel (this will depend on the shape you are working on.)
4. Deleting faces
There are two main ways to delete faces:
- Using shortcut keys: press the Backspace key (macOS: Delete key) after selecting the desired faces.
- Using ProBuilder tools: select the Delete Faces tool after selecting the desired surfaces.
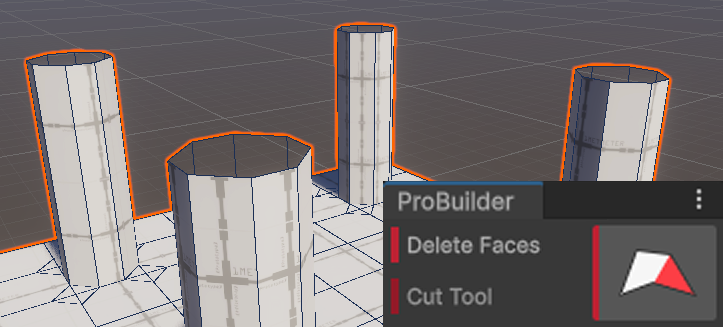
5. Merge surfaces
You can also merge surfaces if they are unnecessarily split. This can be also helpful to set up UV mapping more easily in some cases.
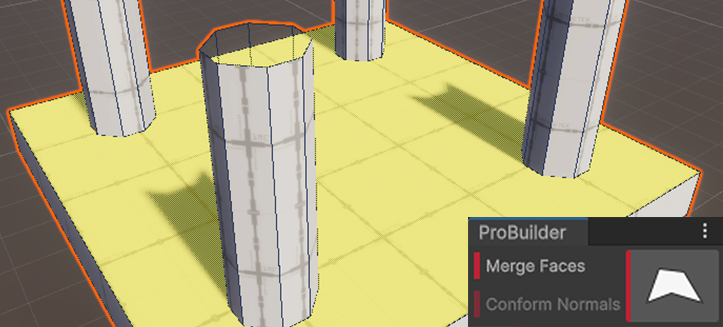
Note: Merging faces does not delete the vertices in between.
6. Using object tools
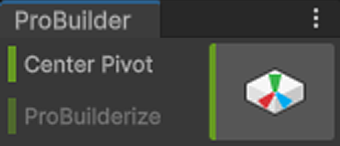
Sometimes, after editing the shape, the center pivot might have moved. To rotate the object around its center correctly, you will need to reset the pivot to the center.
Select the Center Pivot tool to reset the pivot to the center of the object, regardless of the previous pivot point.
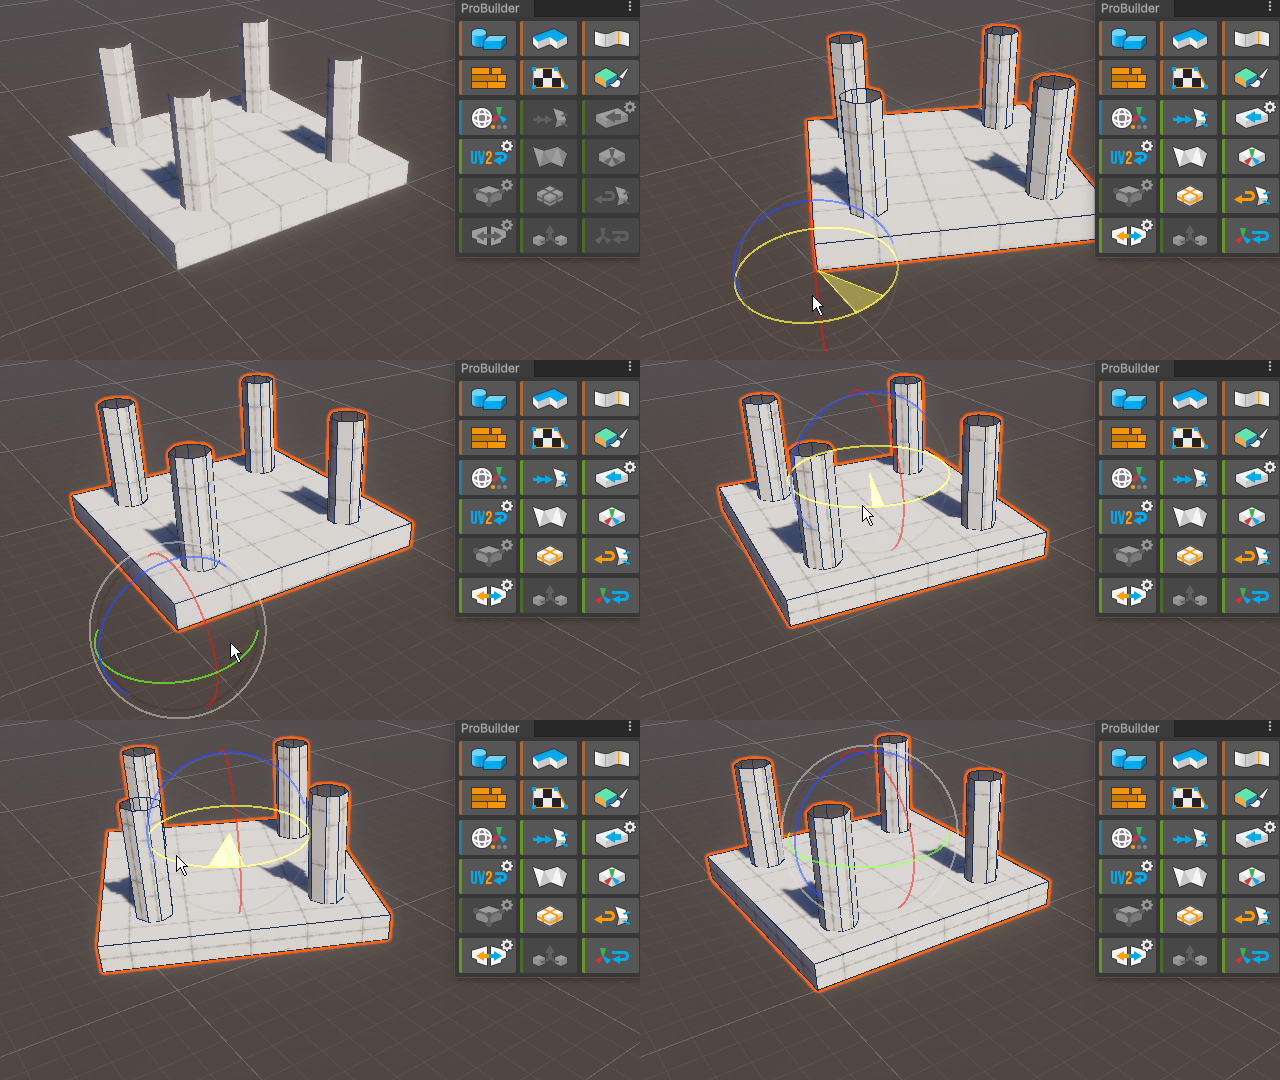
Let’s make a new shape by overlaying the object with its upside down version. To do this, follow these instructions:
1. Select the object and copy it using Ctrl+D (macOS: Cmd+D).
2. Rearrange the copied object on top of the original one using the Transform component and gizmos.
3. Multi-select the two objects with Ctrl+left-click (macOS: Cmd+left-click).
4. Merge the two objects into one using the Merge Objects tool.
5. Reset the location, rotation, and size of the new shape with the Freeze Transform tool.
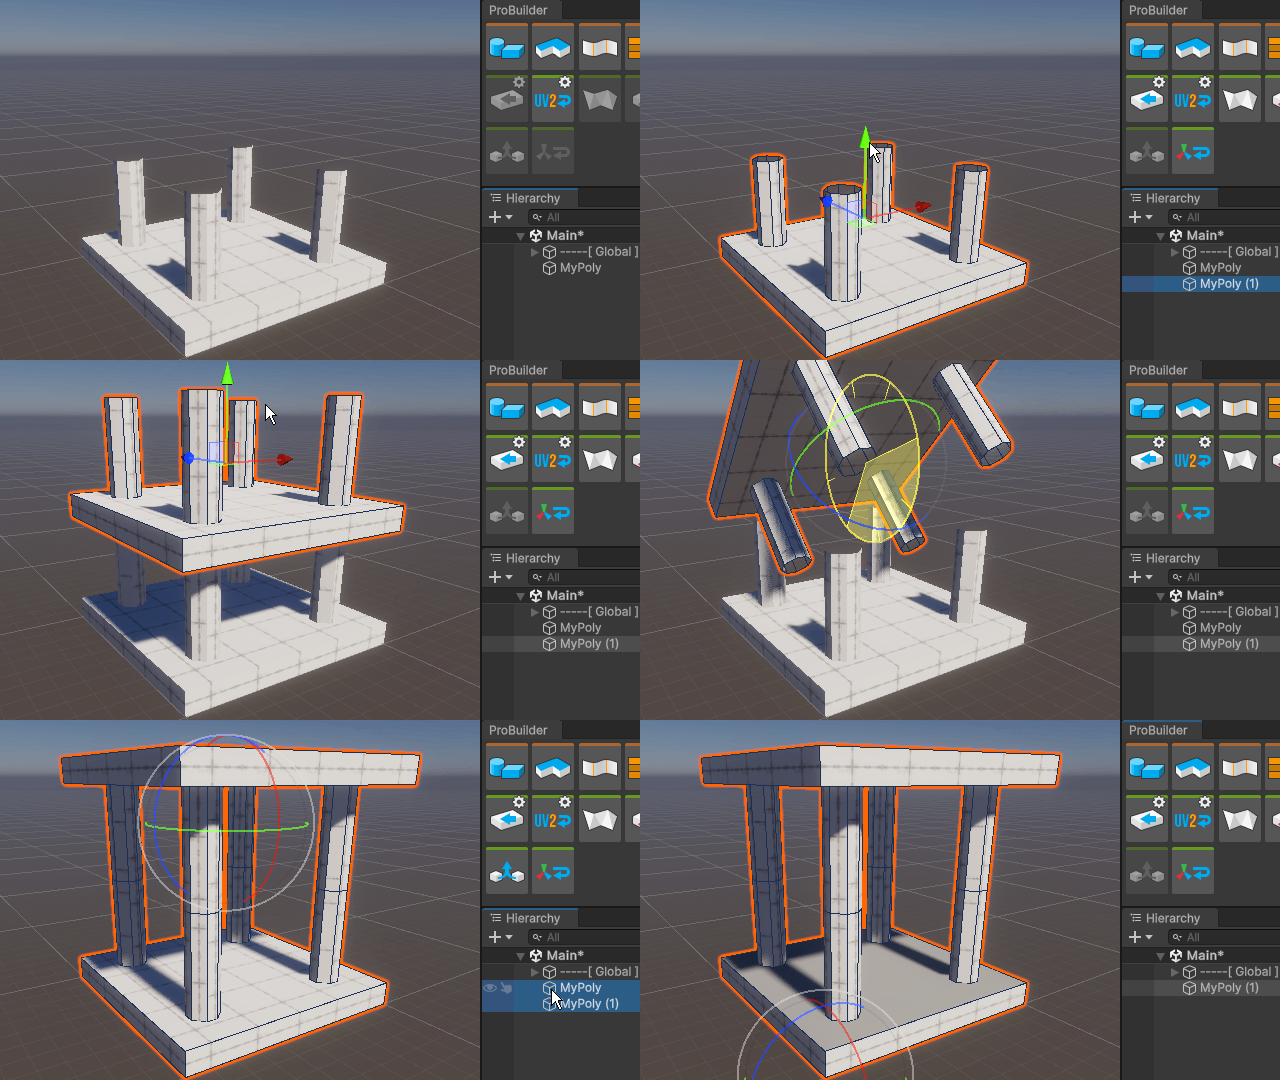
The object tools that handle object-related features are indicated by the green category.
7. Merging vertices
The merged object might seem OK on the outside, but having two vertices sticking together in the same position might result in an unstable model.
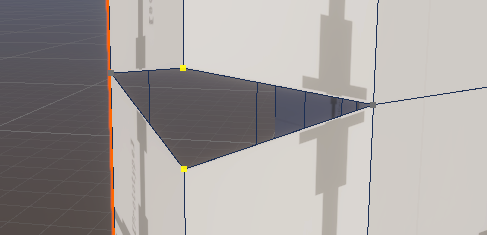
This can be solved using the Weld Vertices tool.
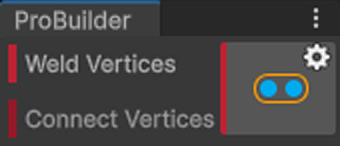
Merge the aligned vertices with the Weld Vertices tool, then try to move the same vertices around to see if they are merged correctly.
Note: Make sure you select all the vertices, even the ones that are hidden behind some visible faces.
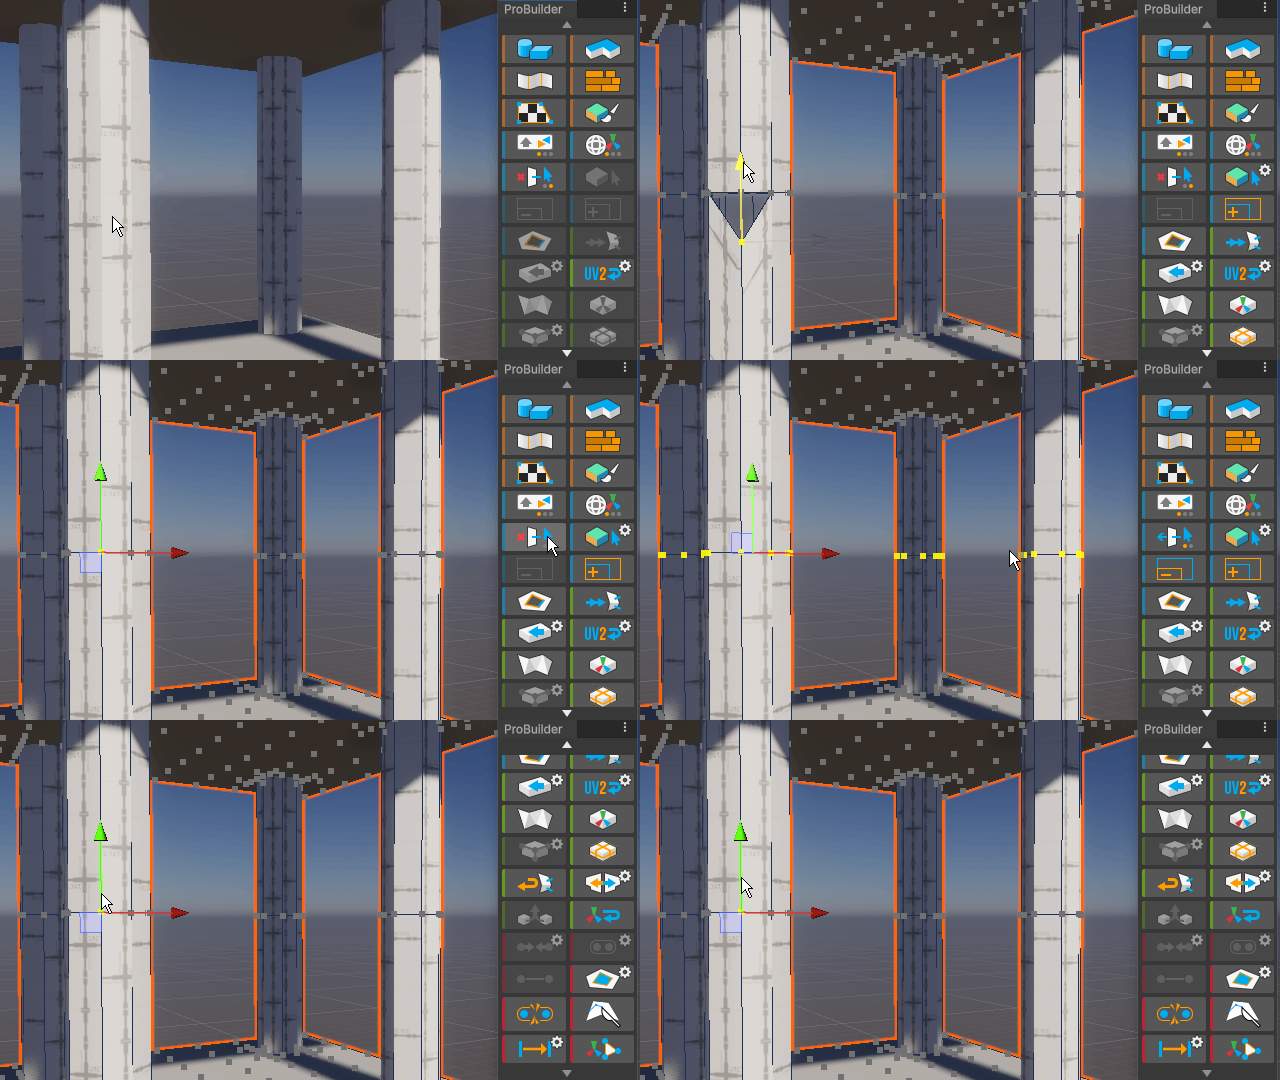
Change Select Hidden: On to select points that are not visible on the back side and work
8. Challenge: Create a unique structure using various tools
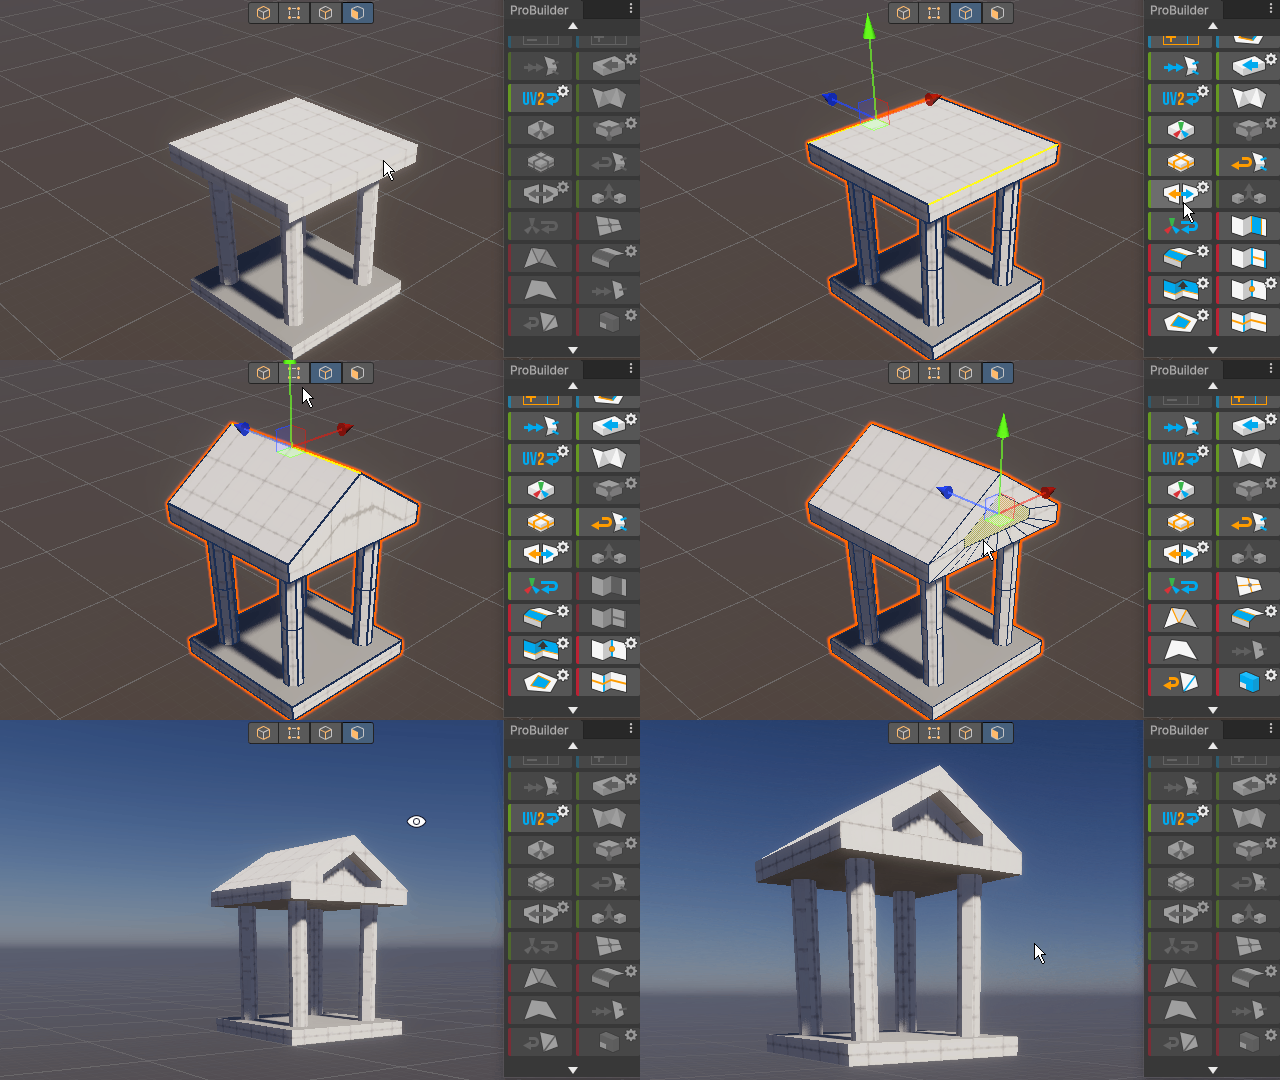
Try to create a more complex 3D model based on the basic editing and tool skills you have learned so far.
You can check out the descriptions of all the other ProBuilder tools in the official manual.