Assign colors
Tutorial
foundational
+10XP
10 mins
96
Unity Technologies

In this tutorial, you'll learn how to assign colors to a model by applying color data to the vertices without separately setting up materials.
Languages available:
1. Vertices and color data
So far, you have altered models by working on their fundamental components: vertices, edges, and faces.
When it comes to assigning colors to shapes, the vertices are the most important component of a 3D model.
Vertices come together to form an edge, and edges come together to form a face. This is why vertices save very important data of the 3D model. One of which is the color data.
2. Change selection mode
To change colors of various faces more easily, it can be helpful to select the vertices hidden behind other faces as well.

There is a Select Hidden toggle among the Select tools that allows you to select all the hidden components when turned on. Turn the toggle on before the next step.
3. Color palette
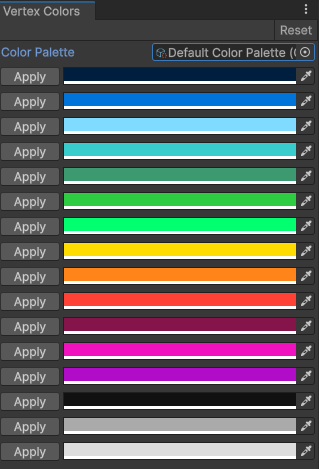
The Vertex Colors tool is at the top of the ProBuilder window. Select this to open the Vertex Colors editor.

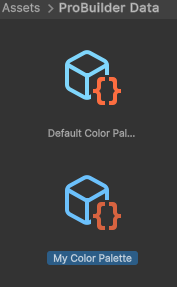
These colors are the default palette in ProBuilder. You can select each color and change them to another to create a custom palette.

4. Apply colors
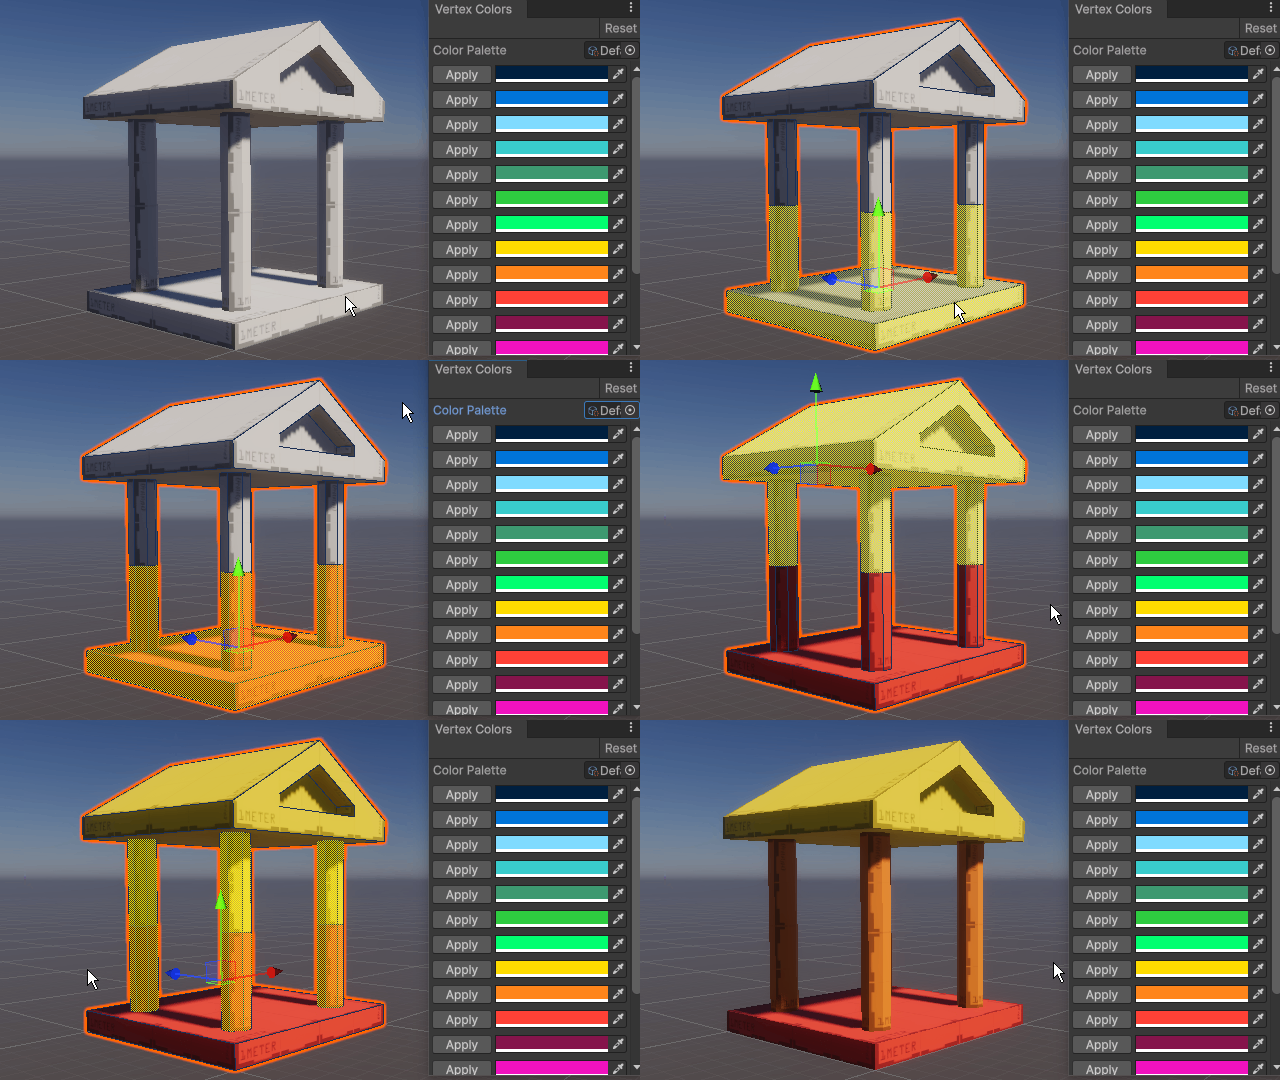
It's easy to apply colors. You can apply them to having Face Selection on to create sharp edges between changes of colors.

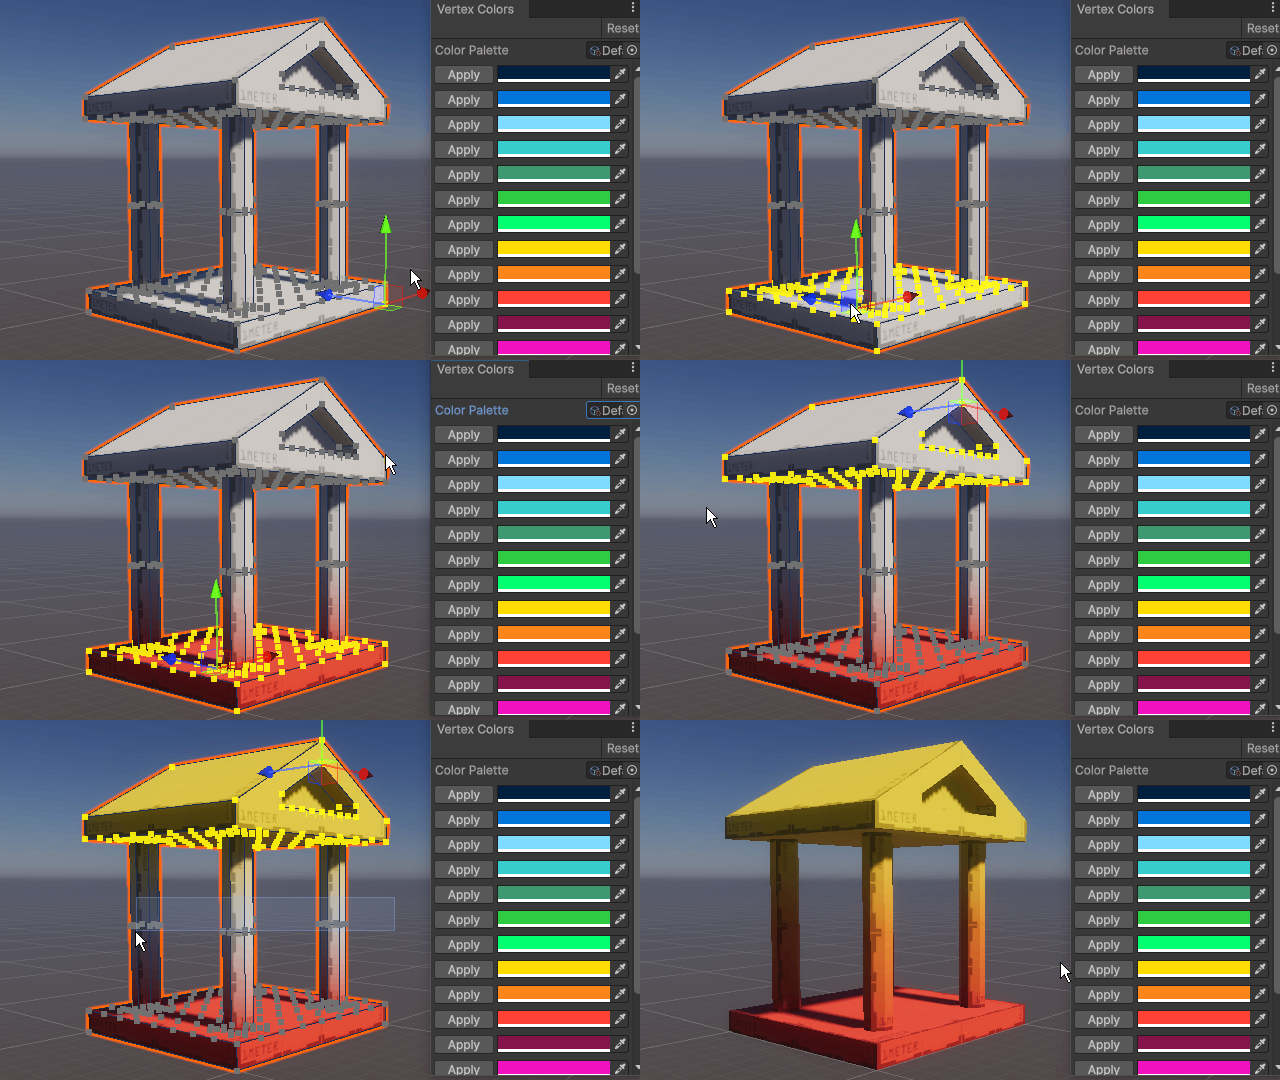
However, when you select the faces you want to color by dragging over the area with the Vertex Selection on, you can create a softer change between colors. Select the Apply button of the color you want in the Vertex Colors window.

You'll see that in this case applying different colors results in the blending of those colors on the surface between them.