
Accessibility considerations for audio
Tutorial
Beginner
+10XP
15 mins
(129)
Unity Technologies
In this tutorial, you’ll add closed captioning to your scene to add an extra level of accessibility to your project.
By the end of this tutorial, you'll be able to:
- Add subtitles to a Unity project.
- Recommend optimization techniques for audio, given a target platform.
- Choose time-based or action-based methods, such as triggers or events in order to play audio clips.
- Add special audio effects to a scene.
Languages available:
1. Overview
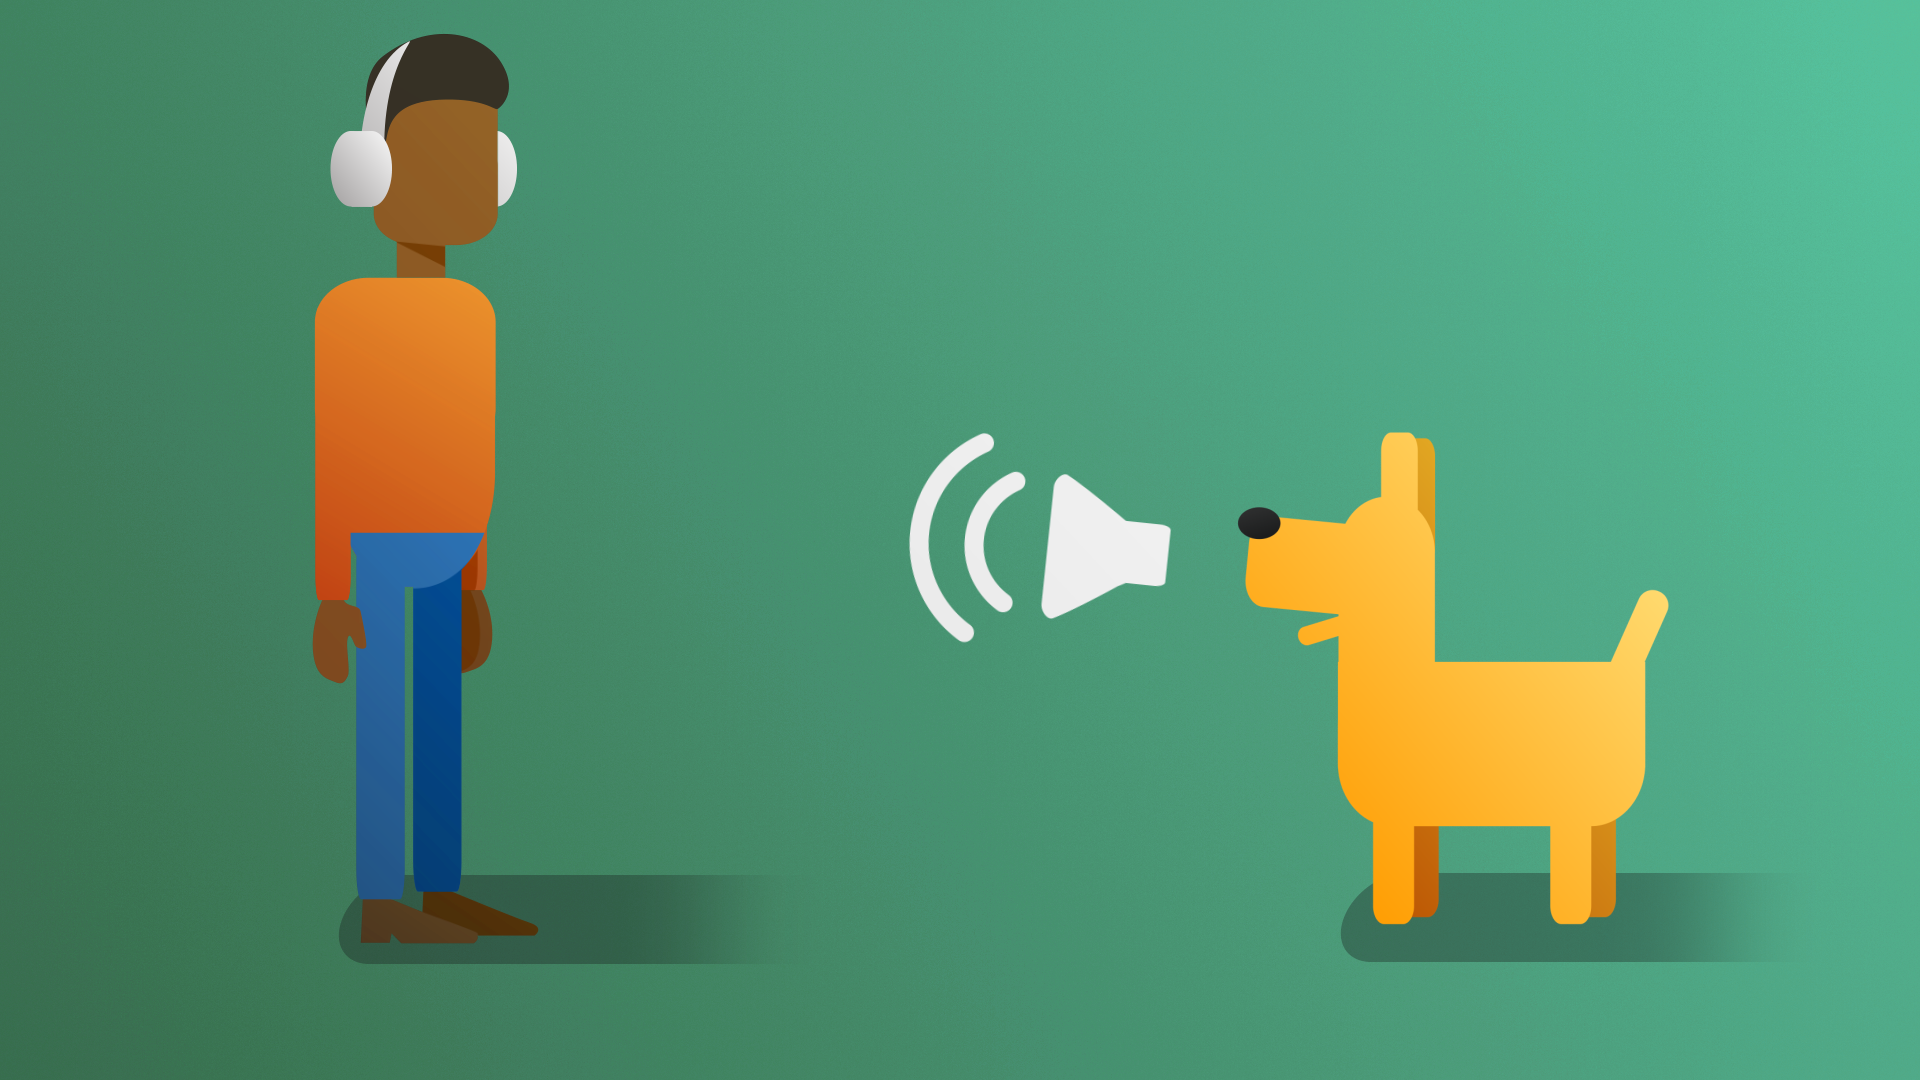
Throughout these tutorials, you’ve learned how audio can be used to add believability and depth to an interactive experience. It’s important to keep in mind that audio isn’t universally experienced in the same way. Some users may turn off sound or keep it very low due to their environment, while others may have variable hearing capabilities.
A good designer should always be thinking about the accessibility of their projects, and audio is no exception to this process. In this tutorial, you’ll add closed captioning to your scene to add an extra level of accessibility to your project.
2. Audio accessibility best practices
For the vast majority of interactive experiences, adding accessibility options for audio isn’t a difficult task, but it does require some consideration early on in the production process. The goal with any type of subtitling or captioning is to ensure that users are able to understand the full scope of the experience without having to rely upon being able to hear the audio. In order to accomplish this, at a minimum, experiences should include:
- Subtitles for any dialogue.
- Captions for important audio events.
- Subtitle and caption fonts that are easily readable on screen (including a legible font and appropriate size).
- Subtitles/captions that remain on screen long enough to be easily read.
The most accessible experiences allow the user to customize these values so that they fit their own personal needs. This can be accomplished by creating a dedicated settings UI menu, similar to what’s set up in the UI project. To learn more about accessibility guidelines and some tips for good subtitles, check out the Hearing section of the Game Accessibility Guidelines and 10 Golden Rules on Subtitles for Games written by Theodore Nikitin and based on a presentation by Ian Hamilton.
3. Create the closed caption database
In this tutorial, you’ll be using a simple closed caption database script system that we developed specifically for this project. This is just one of many ways to approach closed captioning in Unity. There are two main components in this system: a directional indicator that will appear next to the player character and point to a major audio source, and a label identifying that audio source that will scale based on the player character’s distance from it. You’ll begin by setting up the database that will keep track of what these audio sources are.
1. In the Project Audio folder, right-click and select Create > Closed Caption > CCDatabase.
2. Name the new CCDatabase “Waterfall Scene Database”.
3. Double-click the Waterfall Scene Database to open up the database editor.
4. Drag the ambient waterfall loop into the blank area of the database editor.
5. Select the sound to reveal the line editing section.
6. Select New Line. In the Line field that is now displayed, enter “[Water rushing]” and press Enter. This will be the closed caption line that appears when the player character gets close to the waterfall. You can now close the database editor window.
4. Configure the Closed Caption System prefab
Now that you’ve created a Closed Caption Database, you need to add the Closed Caption System prefab to your project to make sure that the captions you create will be displayed for users. Follow these instructions to add and configure the prefab:
1. In the Project window, go to Assets > CreativeCore_Audio > ClosedCaptionSystem > Prefabs > System.
2. Drag the CCSystem prefab from the Project window into the Hierarchy and select the GameObject.
3. In the Inspector, find the CC Manager (Script) component.
4. Select the Database property object selector (circle icon) and choose your new Waterfall Scene Database asset to assign it to the property. Alternatively, you can drag the asset from the Project window and release it over the property field to assign it there.
5. Select the Tracked For Pos property object selector (circle icon) and assign the Main Camera GameObject.
5. Add closed captions to the Audio Source
The database now knows that there’s a waterfall closed caption, but it doesn’t know which audio source in the scene it's connected to. This means that the database doesn’t know when to display the caption. You’ll fix this next.
1. Select the Waterfall Audio GameObject, and in the Inspector, select Add Component. Search for and add a CCSource(Script) component.
2. In the Assets > CreativeCore_Audio > ClosedCaptionSystem > Prefabs > System folder, locate the CCCanvas prefab and drag it into the CC Source Canvas.
3. Set the Max Distance to 15.
4. Playtest the scene and walk toward the waterfall. As the player character approaches the waterfall, the closed captioning will appear in 3D space at the base of the waterfall.
To change the placement of the closed captioning, adjust the values on the Root Offset to your liking.
5. Exit Play mode and adjust the Max Distance if desired.
6. Add a directional indicator for the waterfall
Imagine a situation where you would want to direct a player character to find the waterfall in a much larger scene. For those who could listen for the audio effects you have in place, this would be a reasonable challenge. However, without access to those audio cues, it becomes a much greater challenge.
In scenarios where audio cues are important, implementing visual indicators of the direction of an audio source can level the playing field.
1. Select the Waterfall audio source, and on the CC Source, select the Always Tracked box.
2. Playtest the scene.
An arrow now points the player character toward the waterfall. These directional indicators should be reserved for important audio cues only.
The indicator disappears when the closed caption is visible on screen.
7. Explore: Add closed captions to other audio sources
Repeat the process of adding closed captions to other significant audio sources. Note that closed captions are best used for sounds with a definitive source.
Birdsong likely won't have closed captions, while the water drops in the cave could.