
Add light sources to your scene
Tutorial
Beginner
+10XP
25m
(303)
Unity Technologies
At the moment, the amphitheater space in the outdoor scene is lit by natural light in the scene you’re working on — now you’re ready to add additional light sources.
By the end of this tutorial, you'll be able to:
- Identify the differences between the different types of Light component.
- Configure Light components to achieve common lighting effects.
- Configure the ambient (diffuse environmental) light in your scene.
Languages available:
1. Overview
At the moment, the amphitheater space in the outdoor scene is lit by natural light in the scene you’re working on — now you’re ready to add additional light sources.
By the end of this tutorial, you'll be able to:
- Identify the differences between the different types of Light component.
- Configure Light components to achieve common lighting effects.
- Configure the ambient (diffuse environmental) light in your scene.
2. Add a street lamp
Aside from Directional Lights, there are some additional sources of light that you can use in your scene that can be useful in a range of scenarios.
You can use two different types of light source for this:
- Point Lights: These lights send out light in all directions equally from a point in space. You can use them to simulate light sources like lamps. They are represented in the Scene view with a light bulb icon.
- Spot Lights: These lights send out light in a cone-shape from a point in space. You can use them to simulate light sources like flashlights. They are represented in the Scene view with an icon that looks a bit like a spotlight.
Note: The colored feature lights from the example scene you explored are Area Lights, which must be baked. They are represented in the Scene view with a square icon. You’ll learn about them in the next tutorial.
In the example image below, you can see all four different light types, including the Directional light. Notice that each light has a distinct icon to help you identify it and matches the color of the light it’s emitting.
Let’s start with a Spot Light in your scene. You’ve made the amphitheater scene darker now to make it feel like late at night. Street lamps will help illuminate the space better.
Start by adding a new light source:
1. Open the Creative Core: Lighting project in the Unity Editor, if you haven’t already done so.
2. In the Project window, go to Assets > CreativeCore_Lighting > Scenes and open TutorialScene_Lighting_Outdoor.
3. Go to Assets > CreativeCore_Lighting > Prefabs and drag in the StreetLamp Prefab into the Scene view to instantiate it. Position it anywhere you like in the amphitheater.
4. In the Hierarchy, expand the parent StreetLamp GameObject and select the Spot Light GameObject. This is the source of the light for this object that appeared when it was instantiated.
Note: If you were adding a light without using a prop Prefab, you can create a GameObject with a Light component already added via the Add (+) menu in the Hierarchy. You can also add a Light component to any GameObject.
5. In the Inspector, find the Light component and disable it. This turns the light off in the Scene view — enable the component again before continuing.
6. In the Light component, find the Type property and change it to Point using the dropdown. Notice the difference this makes to the shape of the light cast by the street lamp: the light it emits is now being sent out in all directions equally, rather than constrained by the cone shape of a Spot Light.
7. Switch the Type back to Spot for now.
3. Configure your street lamp
Next, configure the Light component’s properties to customize it:
1. In the Light component, drag right or left on the Range property to increase or decrease how far the light can spread in the scene. You can also manually input a value; the higher the number, the greater the range.
The Range of a Spot Light is capped due to the limitations of its shape. Increasing the value beyond that cap will not result in any further range increase.
2. Drag right or left on the Intensity property to increase or decrease the strength of the light within its set range. As with Range, you can also manually input a value.
In the real world, there’s an inverse relationship between how far away from a light source you are and the intensity of the light emitted. For example, imagine that you are walking in the dark with a flashlight. The area within the flashlight's beam will be brightly illuminated. The further away from the beam you move, the lower the strength of the light and the weaker the illumination.
3. Try setting a very high Intensity value — over 1500. You can take the intensity of a light beyond a natural intensity for the source and range in Unity, though for motivated lighting you should use this with care. In this case, setting the Intensity property too high makes the street lamp look more like a floodlight than an actual street lamp!
4. Set the Intensity property to a more realistic value between 200 and 600 for now.
5. The Indirect Multiplier property impacts the intensity of the indirect light provided by this light source (light that bounces multiple times before being received by a sensor). If you set it:
- Below 1, the indirect light will be dimmer each time it bounces off an object. This is the way real light behaves, but you might want to override that behavior to achieve a particular lighting effect.
- Above 1, the indirect light will become brighter with each bounce. This is not natural, but it can be very useful if you’re trying to illuminate a dark, enclosed space in your scene.
For now, leave this set to 1.
6. Select the Color property box to open the Color picker window and adjust the color of the light. Take a moment to experiment with things that fit with your goals for the outdoor scene.
4. How do light and color work?
While you’re thinking about it in the context of your scene, let’s take a brief detour into the science of light and color.
How do you perceive color?
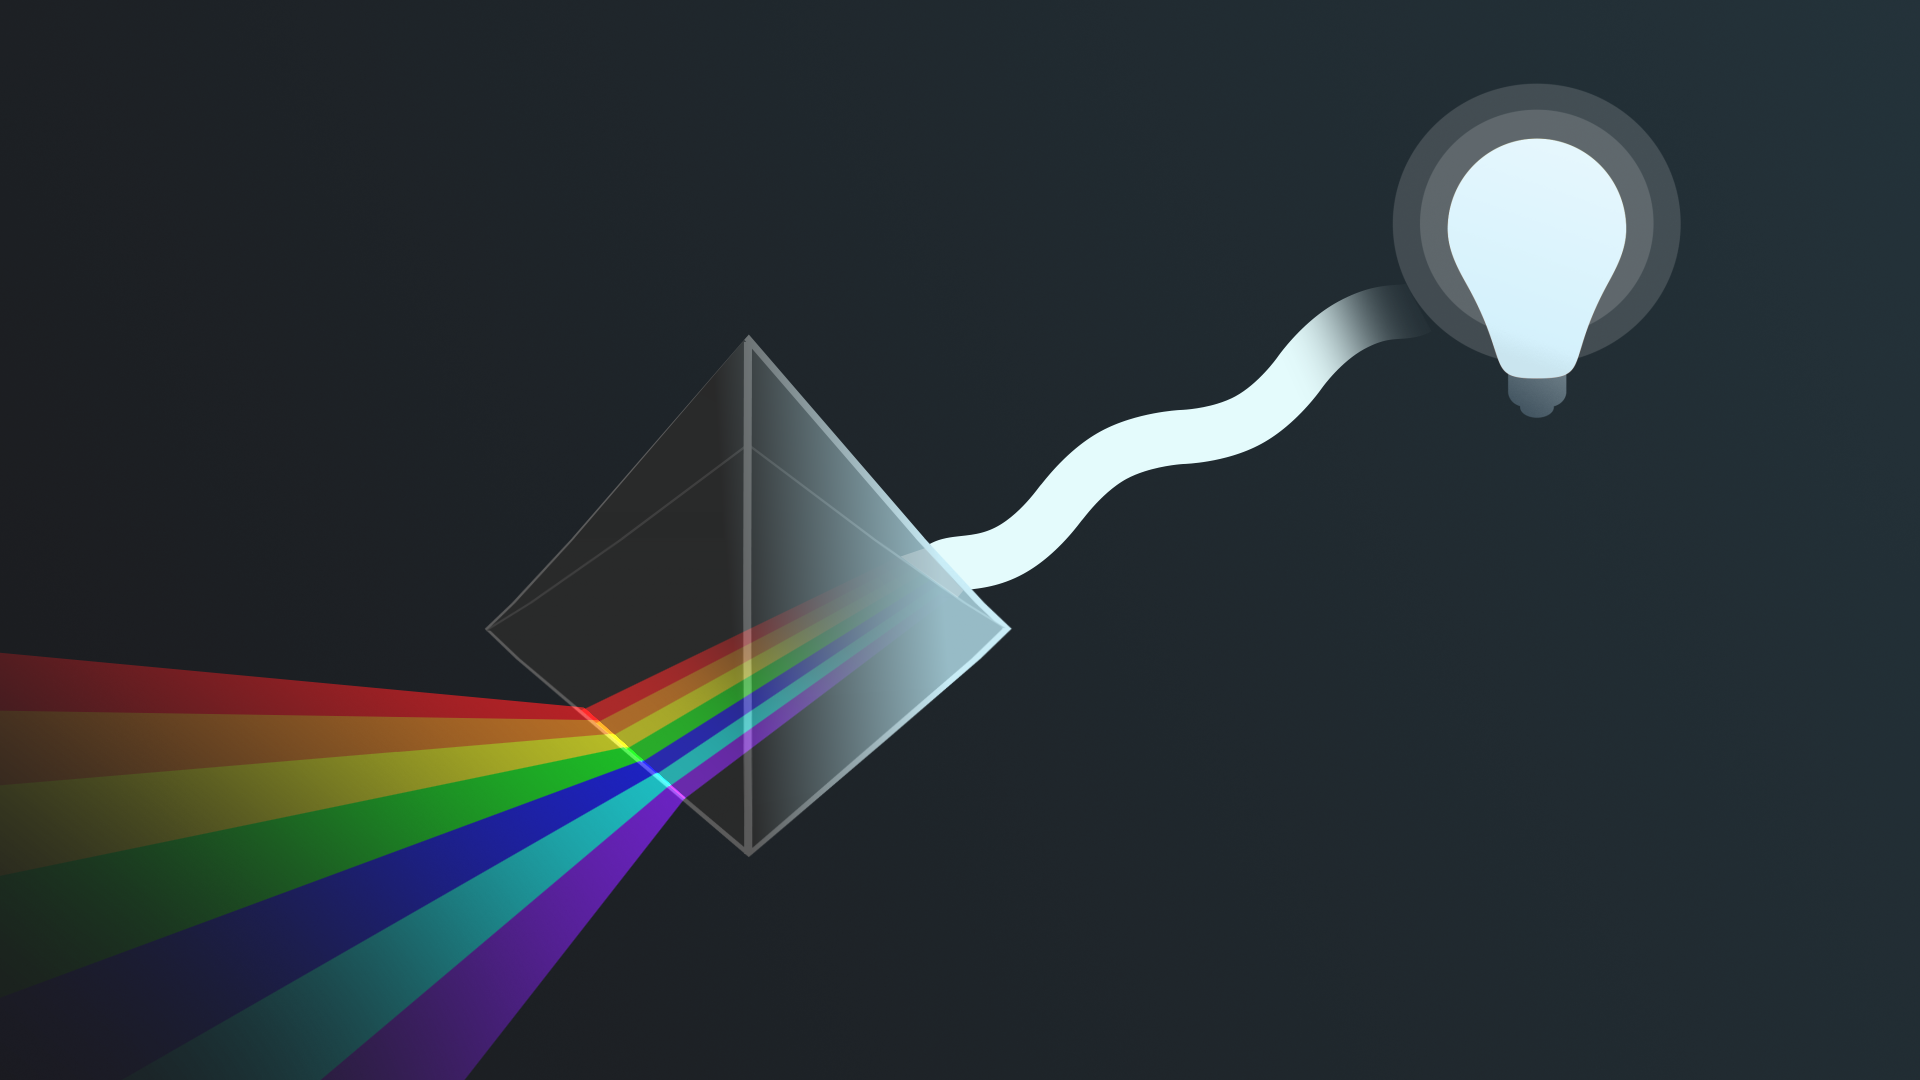
White light, like the light emitted by the sun, is actually a spectrum of colors that humans perceive as white when those colors are combined. A prism can be used to disperse white light back into that spectrum — you might notice a rainbow effect created by light hitting pieces of glass sometimes too.
The color of an object impacts how it absorbs and reflects light. When light waves hit an orange, for example, orange light is reflected and the rest of the colors in the spectrum are absorbed by the orange, so you won’t see them. When the reflected light hits a sensor (like the retina in your eye), you will perceive the orange as the color orange.
You can test this out in physical space: try putting a bright object with an intense color on a white piece of paper or sheet. Can you see a little of the color reflected on the white sheet?
When light hits a black object, almost all the light is absorbed. People have worked to create black substances that absorb the greatest possible amount of light for technical and artistic purposes, but ordinary black objects do this very well too!
If you’re interested in exploring this in more detail, you might like to start with the following short article: Why doesn’t a plain, white piece of paper reflect light, but a mirror does? (Ask an Engineer, MIT)
Color resources for lighting
Exploring color more deeply is beyond the scope of this learning experience, but you may find independent research very helpful as you work on lighting real-time experiences.
You might like to start with the following free resources:
- Khan Academy’s Pixar in a Box course unit on color science: A foundational primer that will take you deeper into the science of color than this learning experience.
- Draw Paint Academy’s Color theory guide for artists: An artist-perspective guided tour through color theory, and a useful refresher for those with a background in visual art.
- Massachusetts College of Art and Design’s Color theory research guide: A starting point to help you begin your own research journey into the aspects of color theory that interest you most.
- Bill Williams’s Stage Lighting Design on General Design Methods: Although written with a focus on theater lighting design, the basic concepts are still relevant for lighting for 3D digital spaces.
5. Add and configure more lights in the space
Now that you’ve practiced adding and configuring a street lamp prop, take some time to add more light sources to the space. As you’ll be working on shadows soon, make sure to include one area where street lamp shadows can be seen.
Tips:
- If you’re unsure on prop placement to achieve visible shadows, review the street lamp placement in the outdoor example scene (FinalScene_Lighting_Outdoor).
- You may find it helpful to make some of your lights bright white or yellow for now to make it simpler to configure shadows for the first time.
- Remember to save your changes regularly!
This is also a great opportunity to begin to play around with and explore how the colors and intensity that you choose influence the mood in your scene. How do cool-colored lights set to low intensity make you feel? How is it different with warm, intense lights?
6. Check your color space
Lighting in projects can be delicate work with lots of interlinked factors in play — troubleshooting is a very common activity for lighting artists. If your lights are disproportionately blown out (bright) or mismatched after other troubleshooting, it’s important to check that your project is set to Linear color space.
The color space selected for your project will impact how the lighting is rendered. Color space can also often be the cause of lights that you’re trying to troubleshoot rendering strangely.
There are two different kinds of color space:
- Gamma, the default in the 3D Template
- Linear, the default in the URP Template
The Linear color space workflow results in more precise rendering, so is generally the preferable one for you to use. This project was created using the URP Template, and so it’s set to the Linear color space by default.
Note: This is a very high level reference to color space. If you’d like to learn more in the context of Unity, start with Color space in the Unity Manual.
If you want to preview how a scene would render in Gamma space:
1. In the Project window, go to Assets > CreativeCore_Lighting > Scenes and open FinalScene_Lighting_Outdoor — there’s currently more to see there.
2. In the main menu, go to Edit > Project Settings….
3. In the side navigation bar, select Player and expand the Other settings foldout.
4. In the Rendering section (at the top), change the Color Space property to Gamma using the dropdown.
5. When you’ve finished reviewing the scene in this color space, make sure to reset the Color Space property to Linear before closing the Project Settings window.
6. Open the TutorialScene_Lighting_Outdoor scene again to continue working there.
Next, you’ll configure the ambient lighting in the scene.
7. Configure the ambient lighting
Ambient light is light that’s present in your scene but that doesn’t have a specific source. This can be really useful for increasing visibility or creating specific stylistic effects through your lighting, as it applies unifying color to all of the objects in your scene. Unity’s ambient real-time lighting is calculated and stored in a lightmap.
It’s rarely something you can configure once and forget about — as with all lighting design and implementation, it’s often iterative. Let’s start by reviewing some of the basic settings:
1. Go to where you have docked the Lighting window (or open it again via the top menu: Window > Rendering > Lighting).
2. In the Lighting window, select the Environment tab.
3. In the Environment Lighting section, find the Source property. At the moment, this is set to the skybox that you created earlier in this learning experience, which means that the skybox is providing environmental lighting in the scene. This is simple but often effective.
4. The Intensity Multiplier property controls the brightness of the ambient light in a scene and can be a value between 0 and 1 (the default value is 1). Experiment with the difference this makes to the lighting in your scene.
Note: GameObjects need to be flagged as Static to be included in the lightmap for ambient lighting. This is because lightmap data is precalculated and can only be calculated for GameObjects that don’t move at runtime. You’ll learn more about this when you bake lighting for this scene. To see changes as you experiment, press Generate Lighting at the bottom of your Lighting Tab.
5. Set the Source property to Gradient. Now you can use the color picker to set specific colors for the Sky, Equator and Ground level environment lighting in the scene. Have a go at changing these and see what the impact is.
Notice how every 3D object in the scene is affected by the ambient light, allowing you to achieve a unifying style very quickly.
6. When you’re done experimenting, set the Source back to your skybox for now. You can use a different Source when you make your final customizations for the outdoor scene if you’d like to!
7. Save your changes.
8. Next steps
Now that you’ve set up your own light sources in the scene, you’re ready to configure the shadows. This is an important step to make your scene feel realistic and help those experiencing it feel immersed.