
Lesson 3.1 - Jump Force
Tutorial
Beginner
+10XP
90 mins
(2243)
Unity Technologies
Overview:
The goal of this lesson is to set up the basic gameplay for this prototype. We will start by creating a new project and importing the starter files. Next we will choose a beautiful background and a character for the player to control, and allow that character to jump with a tap of the spacebar. We will also choose an obstacle for the player, and create a spawn manager that throws them in the player’s path at timed intervals.
Project Outcome:
The character, background, and obstacle of your choice will be set up. The player will be able to press spacebar and make the character jump, as obstacles spawn at the edge of the screen and block the player’s path.
Resources
Languages available:
Overview Video
1. Open prototype & change background
The first thing we need to do is set up a new project, import the starter files, and choose a background for the game.
- Open Unity Hub and create an empty “Prototype 3” project in your course directory on the correct Unity version.
If you forget how to do this, refer to the instructions in Lesson 1.1 - Step 1. - Click to download the Prototype 3 Starter Files, extract the compressed folder, and then import the .unitypackage into your project.
For a reminder on how to import packages, see the referenced documentation.
Note: If you see warnings in the Console after importing the package into your project, you can safely ignore them. Open the Console and click the Clear button.
- Open the Prototype 3 scene and delete the Sample Scene without saving
- Select the Background object in the hierarchy, then in the Sprite Renderer component > Sprite, select the _City, _Nature, or _Town image
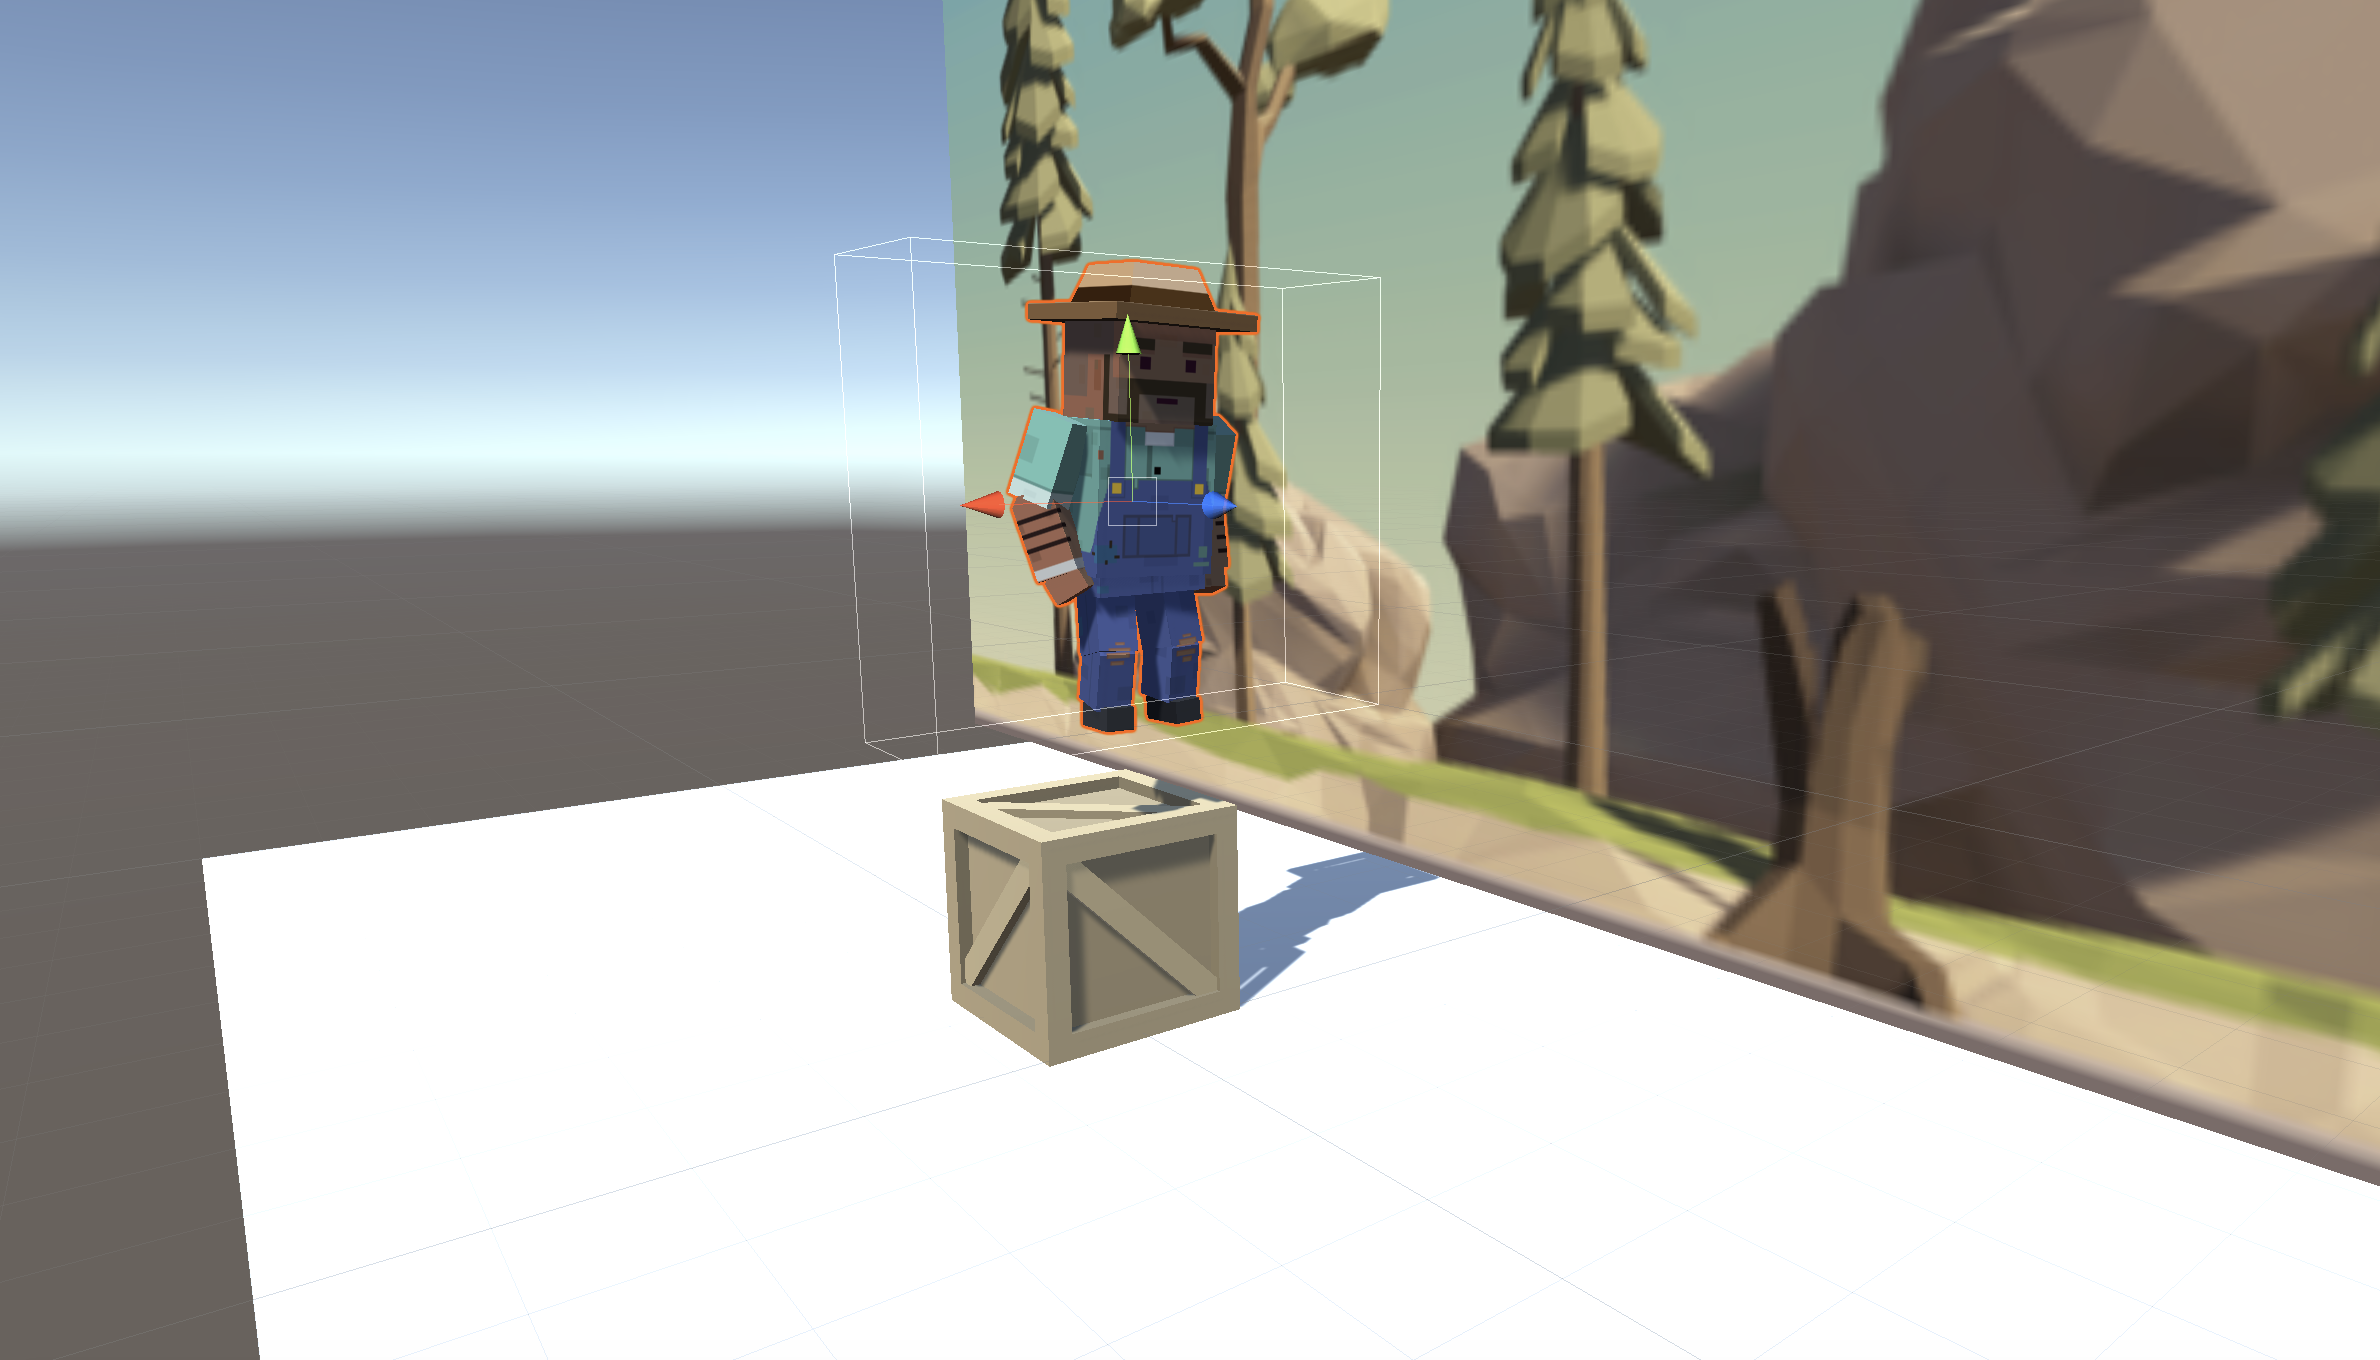
2. Choose and set up a player character
Now that we’ve started the project and chosen a background, we need to set up a character for the player to control.
- From Course Library > Characters, Drag a character into the hierarchy, rename it “Player”, then rotate it on the Y axis to face to the right
- Add a Rigid Body component
- Add a Box collider, then edit the collider bounds
- Create a new “Scripts” folder in Assets, create a “PlayerController” script inside, and attach it to the player
3. Make player jump at start
Until now, we’ve only called methods on the entirety of a gameobject or the transform component. If we want more control over the force and gravity of the player, we need to call methods on the player’s Rigidbody component, specifically.
- In PlayerController.cs, declare a new private Rigidbody playerRb; variable
- In Start(), initialize playerRb = GetComponent<Rigidbody>();
- In Start(), use the AddForce method to make the player jump at the start of the game
4. Configure project settings for the Input Manager
The code you’ll add in this project uses a system called the Input Manager to handle player controls. If you’re using Unity 6.1 or higher, your Unity project is likely set up to use a different system called the Input System. To ensure the Input Manager code works correctly, you need to change a project setting to allow both systems to run side-by-side.
Follow the video and instructions below.
Instructions
1. Open the Player Settings:
- From the main menu, select Edit > Project Settings, then select the Player category from the leftmost panel.
2. Enable support for both input systems:
- Find the Configuration section.
- From the Active Input Handling dropdown, select Both.
- Select the Apply button to confirm the change.
The Unity Editor will automatically restart to apply this setting. After restarting, your project will be correctly configured to handle input from both the original Input Manager and the newer Input System.
5. Make player jump if spacebar pressed
We don’t want the player jumping at start - they should only jump when we tell it to by pressing spacebar.
- In Update() add an if-then statement checking if the spacebar is pressed
- Cut and paste the AddForce code from Start() into the if-statement
- Add the ForceMode.Impulse parameter to the AddForce call, then reduce force multiplier value
6. Tweak the jump force and gravity
We need give the player a perfect jump by tweaking the force of the jump, the gravity of the scene, and the mass of the character.
- Replace the hardcoded value with a new public float jumpForce variable
- Add a new public float gravityModifier variable and in Start(), add Physics.gravity *= gravityModifier;
- In the inspector, tweak the gravityModifier, jumpForce, and Rigibody mass values to make it fun
7. Prevent player from double-jumping
As you may have noticed, the player can spam the spacebar and send the character hurtling into the sky. In order to stop this silly exploit and make the jump more realistic, we need an if-statement that makes sure the player is grounded before they jump.
- Add a new public bool isOnGround variable and set it equal to true
- In the if-statement making the player jump, set isOnGround = false, then test
- Add a condition && isOnGround to the if-statement
- Add a new void OnCollisionEnter method, set isOnGround = true in that method, then test
8. Make an obstacle and move it left
We’ve got the player jumping in the air, but now they need something to jump over. We’re going to use some familiar code to instantiate obstacles and throw them in the player’s path.
- From Course Library > Obstacles, add an obstacle, rename it “Obstacle”, and position it where it should spawn
- Apply a Rigid Body and Box Collider component, then edit the collider bounds to fit the obstacle
- Create a new “Prefabs” folder and drag it in to create a new Original Prefab
- Create a new “MoveLeft” script, apply it to the obstacle, and open it
- In MoveLeft.cs, write the code to Translate it to the left according to the speed variable
- Apply the MoveLeft script to the Background
9. Create a spawn manager
Similar to the last project, we need to create an empty object Spawn Manager that will instantiate obstacle prefabs.
- Create a new “Spawn Manager” empty object, then apply a new SpawnManager.cs script to it
- In SpawnManager.cs, declare a new public GameObject obstaclePrefab;, then assign your prefab to the new variable in the inspector
- Declare a new private Vector3 spawnPos at your spawn location
- In Start(), Instantiate a new obstacle prefab, then delete your prefab from the scene and test
10. Spawn obstacles at intervals
Our spawn manager instantiates prefabs on start, but we must write a new function and utilize InvokeRepeating if it to spawn obstacles on a timer. Lastly, we must modify the character’s RigidBody so it can’t be knocked over.
- Create a new void SpawnObstacle method, then move the Instantiate call inside it
- Create new float variables for startDelay and repeatRate
- Have your obstacles spawn on intervals using the InvokeRepeating() method
- In the Player Rigid Body component, expand Constraints, then Freeze all but the Y position
11. Lesson Recap
New Functionality
- Player jumps on spacebar press
- Player cannot double-jump
- Obstacles and Background move left
- Obstacles spawn on intervals
Key Concepts and Skills
- GetComponent
- ForceMode.Impulse
- Physics.Gravity
- Rigidbody constraints
- Rigidbody variables
- Booleans
- Multiply/Assign (“*) Operator
- And (&&) Operator
- OnCollisionEnter()
Next Lesson
- We’re going to fix that weird effect we created by moving the background left by having it actually constantly scroll using code!