
Lab 5 - Swap out your Assets
Tutorial
Beginner
+10XP
90 mins
(694)
Unity Technologies
Overview:
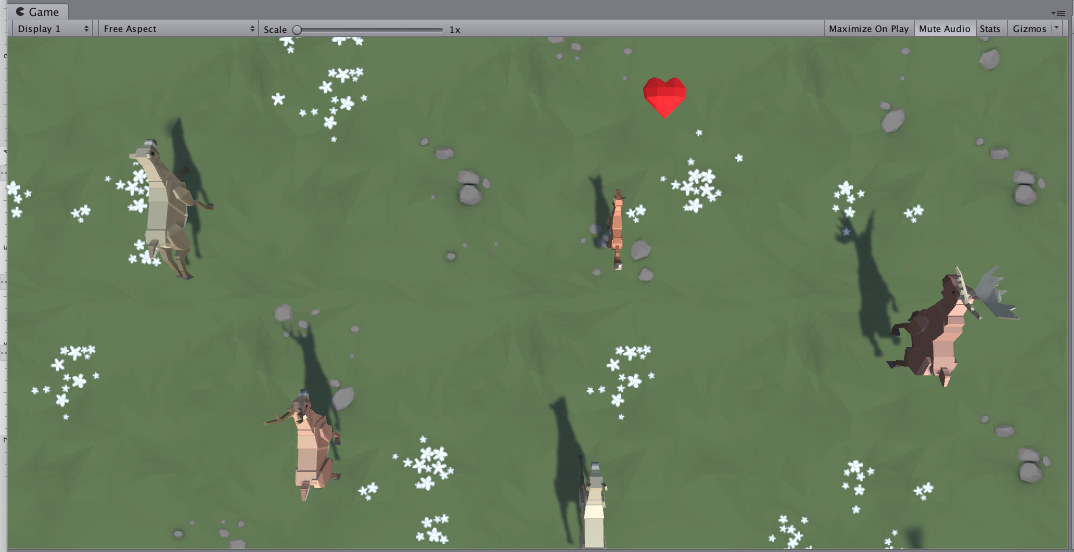
In this lab, you will finally replace those boring primitive objects with beautiful dynamic ones. You will either use assets from the provided course library or browse the asset store for completely new ones to give your game exactly the look and feel that you want. Then, you will go through the process of actually swapping in those new assets in the place of your placeholder primitives. By the end of this lab, your project will be looking a lot better.
Project Outcome:
All primitive objects are replaced by actual 3D models, retaining the same basic gameplay functionality.
Resources
Languages available:
Overview Video
1. Import and browse the asset library
If we are going to swap out our primitive shapes with cool new assets, we need to import those assets first.
- Click to download the Course Library assets, extract the compressed folder, and then import the .unitypackage into your project.
If you forget how to do this, refer to Lesson 1.1, step 2. - Browse through the library to find the assets you would like to replace your Player and non-player objects with
2. Replace player with new asset
Now that we have the assets ready to go, the first thing we’ll do is replace the Player object
- Drag the Player object into the “Prefabs” folder to make it a prefab, then double-click on it to open the prefab editor
- Drag the asset you want into the hierarchy to make it a nested prefab of the Player, then scale and position it so that it is around the same size and location
- On the parent Player object itself, either Edit the collider to be the size of the new asset or replace it with a different type of collider (e.g. Box)
- Test testing to make sure it works, then uncheck the Mesh Renderer component of the primitive
3. Browse the Asset store
Even though we have a really great asset library, there may be certain assets you want that aren’t in there. In that case, it might be good to try and find assets in the Unity Asset Store.
- Click to open the Unity Asset Store and in the search bar, search for “Synty Studios” or “Low Poly” to explore their assets. Alternatively, you can check out the Top Free Assets page for more assets.
- In the Pricing filter, check “Free Assets” to only view free options, or use the Ratings filter to only see highly reviewed assets.
- If you find an asset you want to include in your project, select Add to My Assets, then Open in Unity. This should automatically open the Package Manager window in Unity.
- In the Package Manager window, select Download, then Import.
- Drag the imported assets into a new folder called “Asset Store”, then browse through the imported assets.
Note: The Simple Gems package used in our example is not updated to URP, so some materials may appear pink when you install them. To fix this, go to the top menu and select Window > Rendering > Render Pipeline Converter. Then, choose the Material Upgrade option and click Initialize and Convert. For more information on updating materials created with Unity's Built-In Render Pipeline, check the following documentation.
4. Replace all non-player primitives
Now that we know the basic concept of our project, let’s figure out how we’re going to get it done.
- Repeat the process you used to replace the player prefab with your other non-player objects
- Test to make sure everything is working as expected
5. Replace the background texture
Now that our dynamic objects have a new look, we should update the ground / background too.
- From the Course Library > Textures, (or from a Unity Asset Store package), drag a new material onto the Ground / Background object
- To adjust the material’s resolution, in the Material properties (with the sphere next to it), change the Main Map Tiling X and Y values
- To make the material less shiny, in the Material properties, uncheck the “Specular highlights” and “Environment Reflections” settings
6. Recap
New Functionality:
- Primitive objects replaced with new assets that function the same way
New concepts & skills:
- Art workflow
- High vs. Low Poly
- Asset Store
- Nested Prefabs
- Material properties