Add a title to your scene
Tutorial
Beginner
+0XP
30 mins
Unity Technologies
Text is arguably the most critical element of any UI. So, when you add text elements, you should also make sure it’s easy for everyone to read. In this tutorial, you’ll add title text to your project, then make sure it meets basic accessibility requirements.
By the end of this tutorial, you'll be able to:
- Add text elements (labels) to the screen.
- Customize text element styling in the Inspector.
- Recall essential accessibility considerations for UI, such as font choice, text size, color contrast, and content.
Languages available:
1. Overview
Text is at the core of UI design. It is a primary way to communicate information to users.
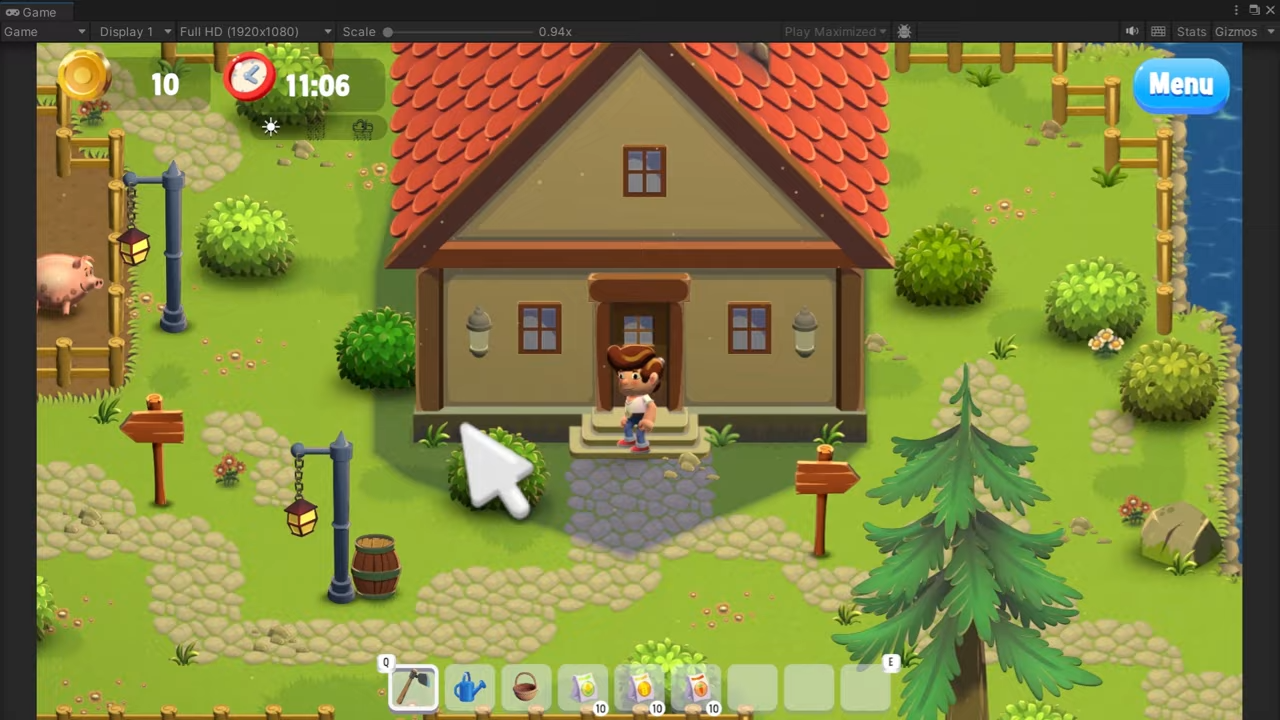
Look at all of the text elements you can see in the single screenshot below from Unity’s Happy Harvest demo game. Text is efficiently used to convey coin count, time remaining, inventory numbers, keyboard shortcuts, and a menu.
Now look at the bold, eye-catching title from the Dragon Crashers 2D Demo game.

If designed well, text is incredibly helpful, clear, and beautiful. In this tutorial, you will add a title to your scene and make sure that it looks great.
2. Add and center your title text
Let’s add your project’s first UI element: the title.
1. In the Hierarchy, right-click > UI > Text - TextMeshPro. If a TextMeshPro Importer window pops up, select Import TMP Essentials. TextMeshPro (TMP) is a robust, easy-to-use text editing tool that is also optimized to display clearly on different screens.
The words New Text should now appear in the Game View screen in a pretty small font. If your text does not appear in exactly the same location or is a different size, that’s OK.
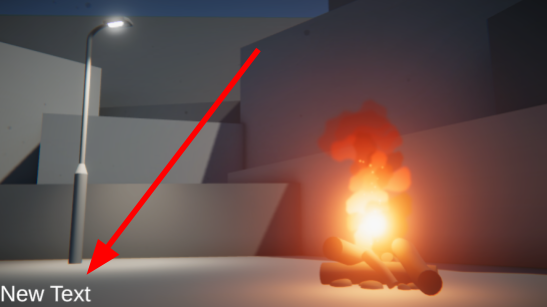
2. With the Text object selected in the Hierarchy, Locate the Pos X and Pos Y properties in the Rect Transform component. The Rect Transform component controls the position and scale of 2D rectangles.
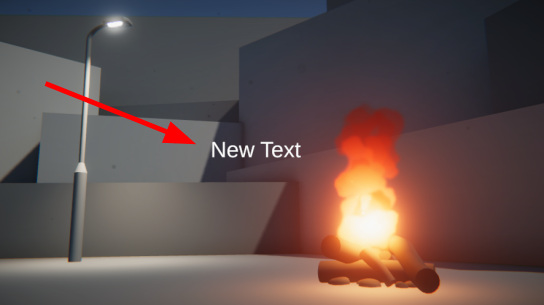
3. Set Pos X to 0 and Pos Y to 0 to center the text on the screen.
If your text is right on top of another object, making it difficult to see, adjust the Pos X and Pos Y to fix that.
4. In the Hierarchy, rename the Text (TMP) GameObject to “Title text”.
You will also notice that a couple of new GameObjects were also automatically added to the Hierarchy the moment you created that text object.
There’s a Canvas object, which is a required parent object for any UI elements, and an EventSystem object, which manages UI interactions like button or toggle selections.

We’ll learn more about the Canvas and EventSystem in upcoming tutorials. For now, let’s make that title look a little better!
3. Customize your title text
1. With the Text object still selected, locate the TextMeshPro - Text (UI) component. You’ll use this component to customize the appearance of your text.
2. In the Text Input field, enter a new title for your project. It can be whatever you want. If it’s much longer than New Text, it will probably wrap onto multiple lines – we’ll fix that next.
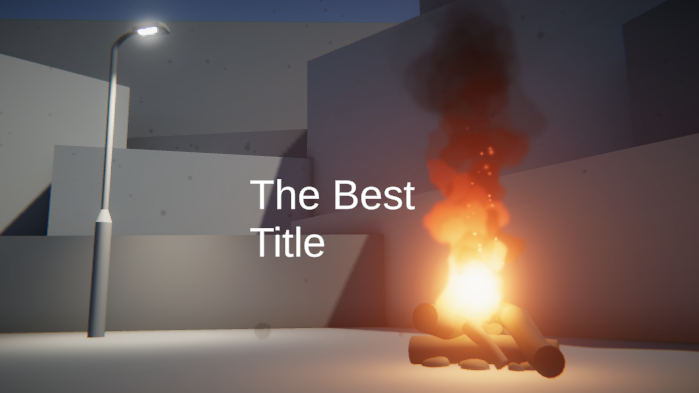
3. Change the Text Wrapping Mode property to No Wrap to allow your title to stay on one line.

4. Customize the appearance and position of the text.
- In the TextMeshPro component, use the Font Asset, Font Style, Font Size, Vertex Color, Spacing, and other properties to customize your title’s appearance.
- Use the Pos X and Pos Y properties in the Rect Transform component to move the title around on the screen, but try to keep it pretty close to the center.
- If you want a line break at a particular point in your title, you can manually add it in the Text Input field.
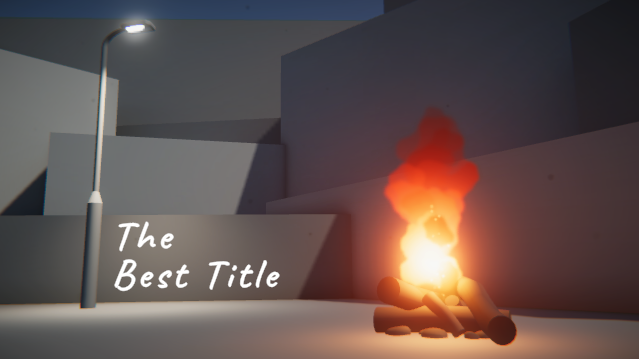
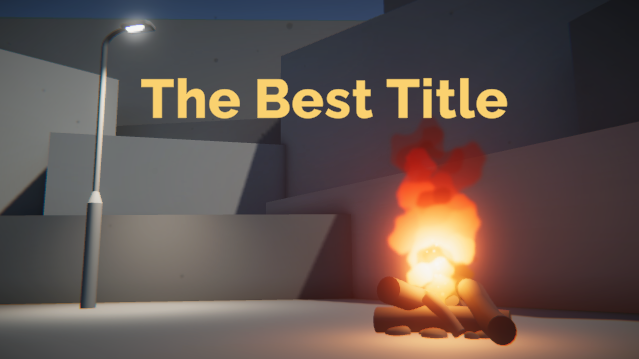
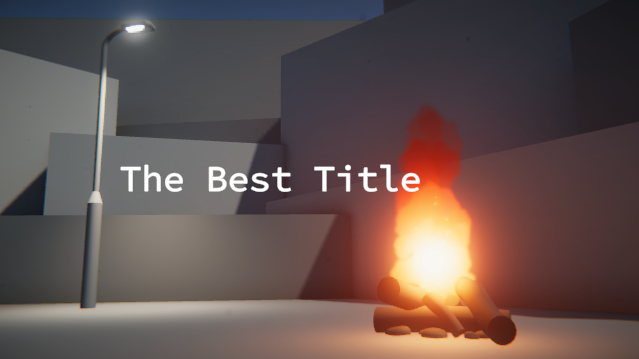
Your title should now look beautiful.
4. Make sure your text is accessible
What is text accessibility?
Before you become too attached to your title, let’s make sure it meets some basic accessibility requirements.
Accessibility refers to how well people with different physical abilities can successfully interact with your application. In the case of text, that mostly relates to visual accessibility.
Here are are a few specific things to consider:
- Text size: text should be large enough to read comfortably.
- Text contrast: text should stand out sufficiently from the background.
- Text font / typeface: text font should be easily legible.
- Text content: text should use familiar words written in a way that can be read by a screen reader.
Evaluate accessibility
Look at this example title below:
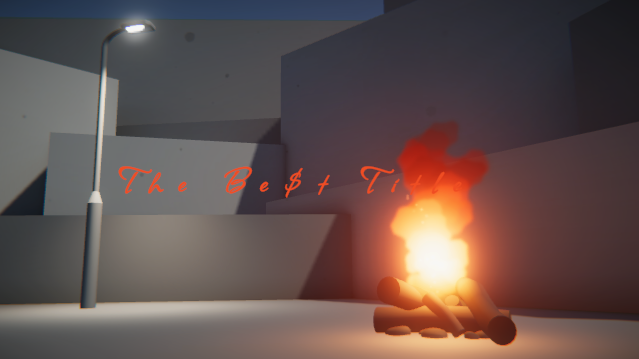
Try to identify what about this title would fail to meet accessibility requirements?
Check your work
In the example above, the title is too small, has insufficient contrast (especially around the fire), uses a hard-to-read font, and spells Best with dollar signs instead of an S.
This is obviously an extreme example, but even subtle alterations can mean the difference between whether or not someone can successfully navigate your application.
To learn more about the specifics of text accessibility, check out this additional information on text size, typefaces / fonts, contrast, and content.
Make edits to your title text
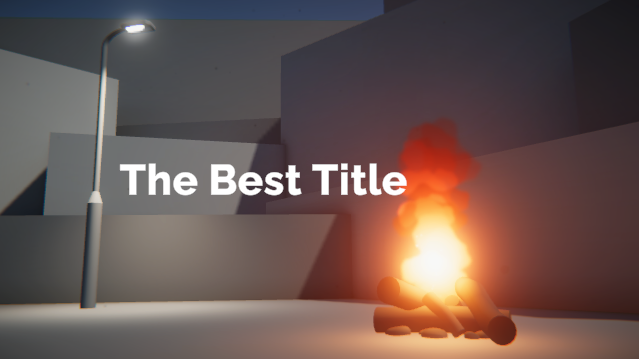
With an understanding of text accessibility, take a moment to make sure your title is accessible.
5. Explore: Download and import new fonts
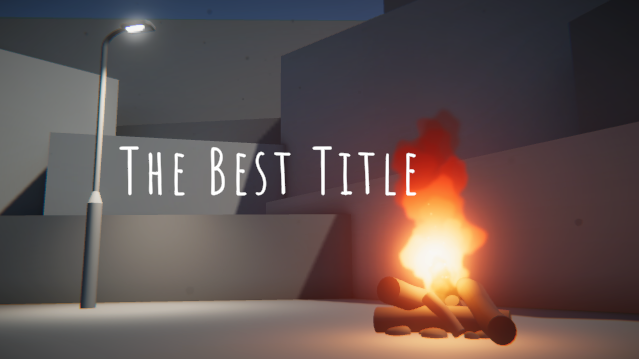
In the TextMeshPro component, you will see there is a Font Asset property. Using the object picker, you can choose from a few fonts we’ve provided for you.
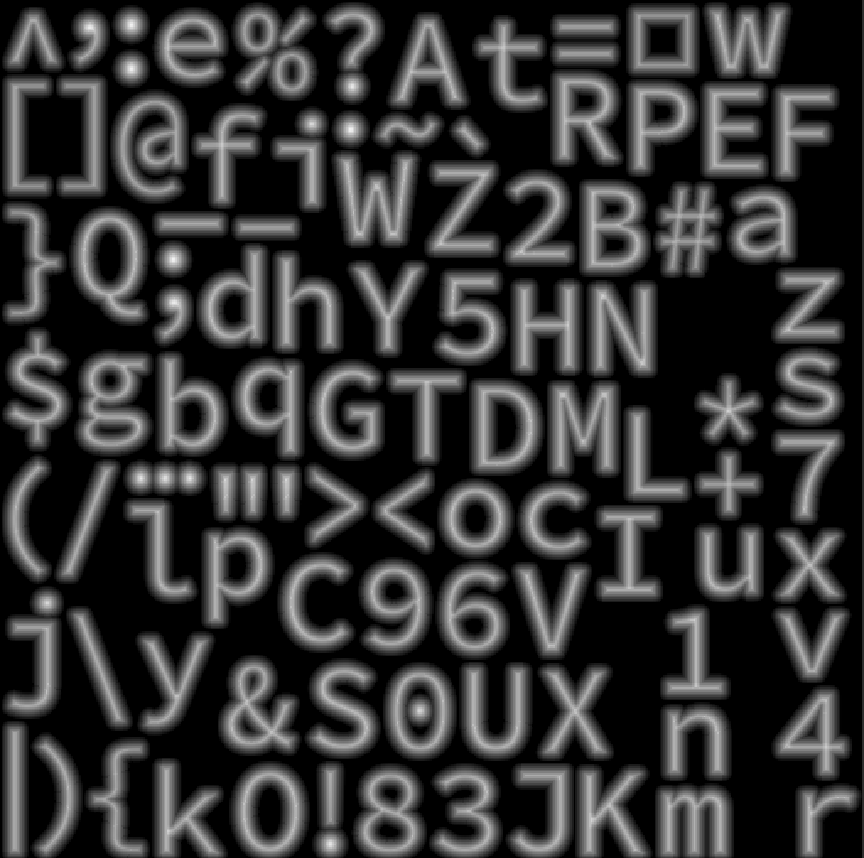
In order to use new fonts with TMP, you need to use TMP’s Font Asset Creator Tool. This will generate what is called a “font atlas”, which is used by TMP to display your text
1. Browse online for open source fonts you like, which can legally be used in your project. Google fonts is a great resource for this.
2. Download any fonts you like as .otf or .ttf files, then import them into your project.
3. From Unity’s main menu, select Window > TextMeshPro > Font Asset Creator.
4. In the Font Asset Creator window, assign your font as the Source Font File, select Generate Font Atlas, and then select Save.
You should now be able to use your new font for your title!
6. Next steps
In this tutorial, you added a title to the scene and made sure it was accessible.
In the next tutorial, we’ll dive deeper into positioning UI elements so that they look their best and respond appropriately on different screens.