
Adding Interactivity
Tutorial
intermediate
+0XP
45 mins
(25)
Unity Technologies
After placing planets and texts in your scene it's time to add interactivity and actually build the experience itself!
Languages available:
1. Making each planet rotate
Let’s create an empty object that will manage all rotations inside our scene. Right-click in the Hierarchy, without selecting anything and select ‘Create Empty’. Rename it ‘Rotations’ or something similar.
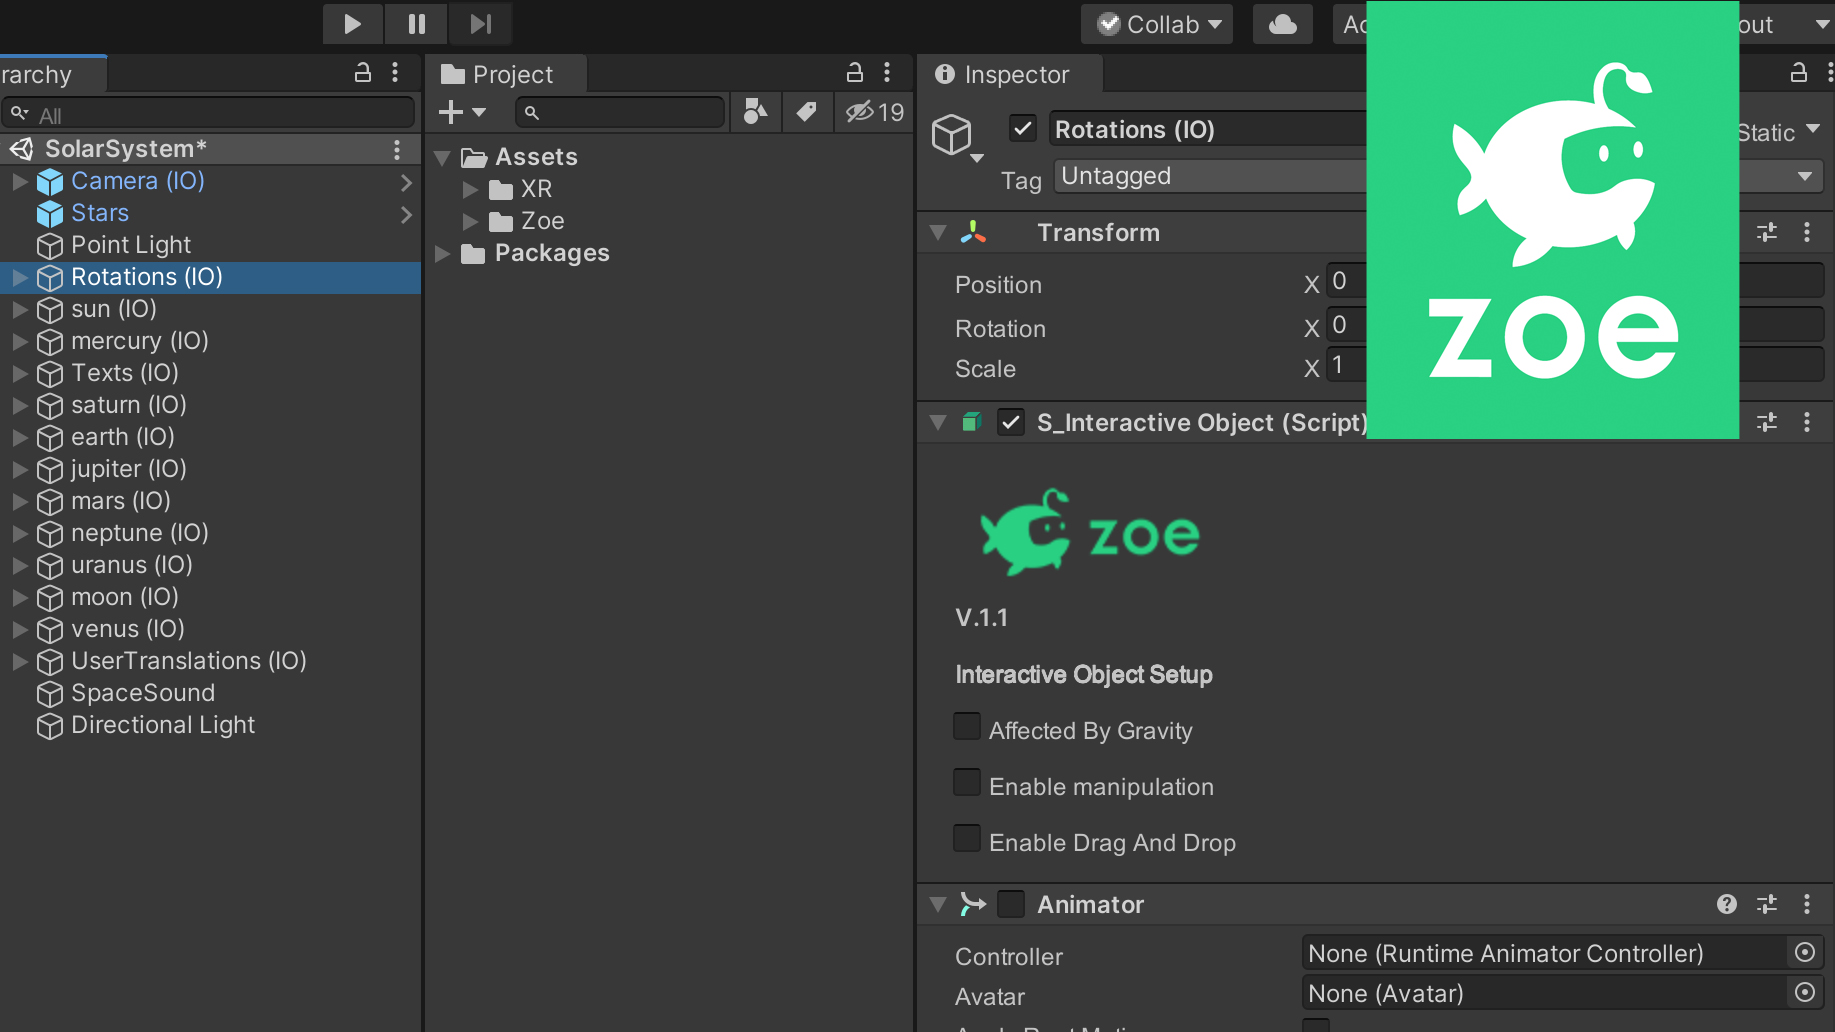
Then right-click and select Zoe > Convert Into Interactive Object. Note that you can actually delete the 'Rotations' empty Game Object that is now inside the 'Visuals' node and that is not going to be useful for the remaining of the tutorial.
Inside the 'Interactions' node we are going to set all the rotations from the sun and the planets.
(In this tutorial we have adapted time so most rotations are visible to the eye.)
Let’s make each planet rotate on its axis. For this go inside the hierarchy of the Rotations (IO), upto Interactions > Empty. Right-click on it and duplicate it so you always keep an empty interaction to start from. Now rename this new interaction into “AxisRotations”.
Then in the Inspector you will see the setup for the interaction. As we want all elements to rotate right from the beginning we don’t need to set any condition nor delay so go directly to the “ADD ACTION” list and select “Rotate”. This will add a Rotate behaviour to the interaction.
The sun is not a solid object so the rotation is not uniform, however for the purpose of the tutorial we are assuming the sun performs a full rotation on its Y axis in 26 days. We are going to adapt time as follows: 24 hours will be represented by 2.4 seconds (you can choose another scale but remember to adapt all rotations accordingly). Therefore our sun performs a full rotation, which means 360°, counterclockwise in 2.4*26 = 62.4 seconds.
Inside the ‘Object to rotate’ drag the Sun (IO) and set the rotate behaviour accordingly:
You can now add a section to the behaviour by clicking the “+” button at the very bottom. You will be able to set a new rotate behaviour for another element, for example Earth. Drag the Earth(IO) in the “Object to rotate”. All planets, except Venus and Uranus rotate counterclockwise (direct rotation) so set the Y rotation also to -360°. Set 2.4 seconds for the time and check Loop as well.
At this point you can test your experience again. Press on the Play button, you should see earth rotating, and the sun.
Note that we are doing all rotations inside the same interaction only because none of them requires a condition and our rotations are all similar. Zoe is flexible enough for you to do this or to have an interaction per rotation. We recommend in general only to group actions that make sense together otherwise feel free to duplicate interactions to have a clear hierarchy.
If everything looks okay you can now set the remaining rotations as follows:
- Mercury: 59 days ->141.6s
- Venus: 243 days clockwise (or “retrograde” rotation) -> 583.2s
- Moon: 27 days ->64.8s
- Mars: 1.025 days -> 2.46s
- (Earth: 1 day)
- Jupiter: 0.42 days -> 1.008s
- Saturn: 0.446 days -> 1.07s
- Uranus: 0.72 days clockwise (or “retrograde” rotation) -> 1.728s
- Neptune: 0.72 days -> 1.728s
Remember that if you don’t feel comfortable creating all rotations inside the same interaction you can simply duplicate the sun interaction and use one interaction per planet rotation as well.
2. Hide texts at start
Let’s show and hide texts according to what the user is doing.
The first thing is that we are manually going to hide all texts because we don’t want them to show at the beginning. Go to Texts (IO) > Visuals > Texts select them all and uncheck them in the Inspector. They are now all greyed-out inside your Hierarchy:
Do the same with the instructions inside the controller.
3. Showing information about a planet
Let’s now show the text about Mercury when the user looks at it. Inside Texts (IO), go to Interactions > Empty, right-click on it and duplicate it so you always keep an empty interaction to start from.
Now rename this new interaction into “ShowMercuryText”. In the Inspector you will see the setup for the interaction. We don’t need any dependency nor delay as we want this to happen from the beginning whenever the user faces Mercury. Go directly to “ADD CONDITION” and select “Gaze”.
Under TargetObject, drag “Mercury (IO)”. Leave the mode to “Gaze At” as we want this to detect when the user gazes at Mercury.
Then go to “ADD ACTION” and select “Activate”. Under GameObjects to Activate drag the Mercury text.
You can press Play and test it.
Note: if you feel that it is hard to aim at Mercury you can go inside Mercury’s (IO) and scale up the object called “Gaze”; it is a collider detecting if an invisible ray coming from the camera is actually colliding with it, meaning the user is looking at the object.
4. Showing the first instruction
Now let’s show the first instruction. Inside your Texts(IO) duplicate the Empty interaction to create a new one and rename it into “ShowMoveText”. To make sure the user is not overwhelmed with information we are going to show the instruction a few seconds after the experience has started so that the user has had time to explore and adapt to the environment. Under Delay [s] write a value of around between 5 and 10 seconds.
Then go to the “ADD ACTION” list and select again “Activate”. Under GameObjects to Activate drag the Move instruction from the controller.
Now to actually indicate the user to look at the controller and see the instruction we are also going to add a vibration on the controller. Go again to the “ADD ACTION” list and select “Vibrate”. Select the hand in which the instruction is attached and then set the parameters of the vibration. You need at least half a second and around 0.5 of intensity to feel something. We recommend you try different values and test by yourself the ones that seems the best.
You can press Play and test it.
Now we are going to create an interaction that is detecting that the user moved. Duplicate the Empty interaction again and rename it ‘UserHasMoved’. This is true if the user moved after seeing the instruction so the conditions will be that the instruction has shown and the user used the joystick.
In the Inspector, check ‘Dependencies’ and drag the ‘ShowMoveText’ interaction. This means the current interaction will only be active after the instruction has shown.
Now add the ‘Input’ condition under ‘ADD CONDITION’, this allows you to know if the user has touched any button of the controller. Select the platform (here we use Oculus), the controller, the button which is the 'Stick' and then the state 'Up Tilt' which is the most probable direction in which a user would use the joystick to move.
UX Tip: we recommend adding the secondary hand also if user moved using the other controller.
And you don’t need any action as we are going to use this interaction for the only purpose of knowing if the user has moved.
5. Sowing the second instruction
Now we are going to display our second instruction which will indicate how to trigger the revolution of Mercury around the sun. For this we need to make sure the user has already seen the information about Mercury and he/he has tested how to move.
Create a new interaction and rename it “ShowTrigRevolutionText” for example. Check ‘Dependencies’ and add both the interaction that shows Mercury text and the one detecting the user has moved.
Then add the ‘Activate’ action showing the corresponding instruction and finally copy the vibrate action from the previous interaction as a New Component.
To copy the values go to the top-right of the component and select Copy Component, then select the other Game Object and under the same menu, select Paste Component Values.
UX tip: we recommend adding a delay for the actions to give the user not to be overwhelmed with information.
The third instruction shall be shown after the revolution of Mercury has been triggered. You can already duplicate the interaction you just created and rename it properly; you will set it up after setting the revolutions instructions.
6. Creating planet revolutions
Now we are going to set the rotations around the sun, also called revolutions. However now as each revolution depends on a different condition (planet pointed by the user) we are going to create one interaction per revolution.
Also to detect that the user points at the planets we need to enable this kind of interaction for each planet (IO). Select each one of them and inside the Inspector check “Enable Manipulation”, set at least 10 as distance and then choose POINT AND CLICK as the mode.
Note: to go faster you can copy the component values and select Paste Component Values on the other IOs under S_Interactive Object component.
You may have to change the distance while testing to make sure the user reaches all planets properly. We recommend the following values:
- Mercury, Venus, Earth and Mars: 10m
- Jupiter: 30m
- Saturn: 40m
- Uranus and Neptune: 20m
First let’s set the moon rotation around the earth which will actually happen from the beginning. Duplicate the Empty interaction you kept and rename the new one ‘MoonRevolution’. Go directly to the “ADD ACTION” list and select “Rotate Around”.
Drag moon(IO) under ‘Object to rotate’ and under ‘Pivot’ drag the earth’s. Rotation angle is of -360 on Y, set the time to 64.8s (27*2.4) and check the Loop function.
Let’s now set Mercury’s revolution. Duplicate the interaction you just created and rename the new one “MercuryRevolution”. As we want to make sure the user saw the info and the first instructions before triggering this one you need to make it dependent on the interaction ‘ShowTrigRevolutionText’.
Then add the “Point” condition under “ADD CONDITION”. Choose the hand or leave Either hand then drag Mercury(IO) under ‘Target Objects’.
Add now the ‘Rotate Around’ action, under ‘Object to rotate’ drag Mercury(IO) and under ‘Pivot’ drag the sun’s. Revolutions occur all counterclockwise so set also a Y axis rotation angle to -360. Mercury does a revolution around the sun in 88 days so finally set the time to 211.2 s (88*2.4) and leave the Loop function checked.
Another action that you may want to add here is one that hides the information above the planet otherwise it will just stay floating in mid-air. Add the “Activate” action and set “MercuryText” under GameObjects to Deactivate. You can add the ‘TrigRevolutionText’ to the objects to be deactivated also. Finally show here the second text about Mercury’s revolution to indicate to the user that he/she just triggered it.
Now create all remaining revolutions by duplicating one that is already setup and only change the planet, the time of the revolution and eventually the text to hide. Set the rotations with the following time values:
- Mercury: 88 days counterclockwise -> 211.2s
- Venus: 225 days -> 540s
- Moon: 27 days (around Earth) ->64.8s
- Earth: 365 days -> 876s
- Mars: 686 days-> 1'646.4s
- Jupiter: 4’380 days (12 years) -> 10'512s
- Saturn: 10'767.5 days (29.5 years) -> 25'842s
- Uranus: 30'660 days (84 years) -> 73'584s
- Neptune: 60'225 (165 years) -> 144'540s
Now is the time to showing the last instruction which tells the user how to go to the next planet; again to give the user time to understand each interaction we recommend to show this last instruction 5 seconds after Mercury has started its revolution. And don’t forget to add a vibration on the controller.
7. From planet to planet
Finally let’s help the user move between planets as distances are so long. Create a new ‘Empty object’ that you can call “UserTranslations”and convert it into an Interactive Object. A translation is a transformation in which an object moves from one position to another.
Now inside the newly created IO, create a new interaction that you can call 'GoToVenus'. This interaction will be dependent on the one just mentioned at the end of Step 6 showing the instruction on how to trig this.
We want the user to move when pressing a button of the controller (the one we placed the instruction beside). Add the 'Input' condition, set the button (on Oculus: A for right hand, X for Left hand) and the state of the button we want to detect which is 'Pressed'.
Then go to 'ADD ACTION' and select the ‘Translate’ action.
Drag the Camera (IO) under Objects To Move and set Venus (IO) as the target. We want a linear movement so leave the parabolic height and the flips at 0. Then set an offset which is a distance from the center of Venus at which the user is going to stop, for example 5. Finally set the duration of the translate which means how long it will take to the user to reach Venus, basically the speed of the movement. As it is hard for the brain to feel comfortable when there are camera movements that are not controlled and/or are too fast we recommend setting at least 15 seconds.
Duplicate the interaction as many times as needed to create the translation behaviour from planet to planet. Keep in mind that you need to adapt the duration of the translation as the user is going away from the sun because distances between planets get longer.
The timings we recommend are:
- From Venus to Earth: 20s
- From earth to Mars: 15s
- From Mars to Jupiter: 60s
- From Jupiter to Saturn: 90s
- From Saturn to Uranus: 135s
- From Uranus to Neptune: 135s
Inside the first translation interaction 'GoToVenus' you can also use the ‘Activate’ action to hide the instruction for this, assuming the user has understood the logic of moving to the next planet.