
Adjusting the Hierarchy in PiXYZ Studio
Tutorial
Beginner
+10XP
25 mins
(11)
Unity Technologies
PiXYZ Studio preserves your CAD model hierarchy, organization, and naming if it’s available. All the elements that compose your model is presented in the Product Structure. This displays a tree structure of all the elements of your model to make it easy to find and select individual or whole selections of parts. In this tutorial you will learn how to work with the product structure in PiXYZ Studio.
Languages available:
1. Adjusting the Hierarchy in PiXYZ Studio
This tutorial has been verified using Unity 2019 LTS and PiXYZ 2020.1.1.8.
PiXYZ Studio preserves your CAD model hierarchy, organization, and naming if available. You’ll find all elements of your model in the Product Structure, a tree structure that makes it easy to find and select parts and reorganize your hierarchy quickly and effortlessly. The Product Structure is composed of only one node type called an occurrence. Occurrence is similar to the GameObject concept in Unity3D.
2. Collapsing and Unfolding
Initially, with a loaded model, the entire hierarchy of your model will be collapsed. (Figure 01)
You can unfold the structure in several ways, depending on what you want to do. If you want to see the entire structure, right-click the Root of the hierarchy — or any collapsed section of the hierarchy — to bring up the context menu. (Figure 02)
- Expand All will unfold the entire hierarchy
- Expand Children will unfold the hierarchy beneath a selected point of the Product Structure.
- Collapse All will collapse the entire hierarchy of the Product Structure.
- Collapse Children will collapse only what’s beneath your selection in the Product Structure.
- Add Fast Properties will allow you to add properties quickly to the selected occurrences.
- Show will mark the selected occurrence as visible
- Show All will mark all occurrences as visible.
- Hide will hide the selected occurrence in the viewport.
- Invert Visibility toggles the visibility of the selected occurrence.
- Create Occurrence(s) will create a new occurrence in the hierarchy.
- Create Occurrence From Selection will create a new occurrence but add the selection as its children.
- Move Occurrences In Tree will allow you to move the selected occurrences while keeping its position the same in worldspace.
- Move Pivot Points allows you to adjust the pivot points of the selected occurrences.
- Re-Tessellate provides options for re-tessellation.
- Export Selection allows you to export the selected occurrence.
- Delete Selection deletes the selected occurrence.
- Select Children selects all the children of the selected occurrence.
- Select Instances selects all the instances of the currently selected occurrence if it is instantiated multiple times in the scene
3. Finding Parts in the Product Structure
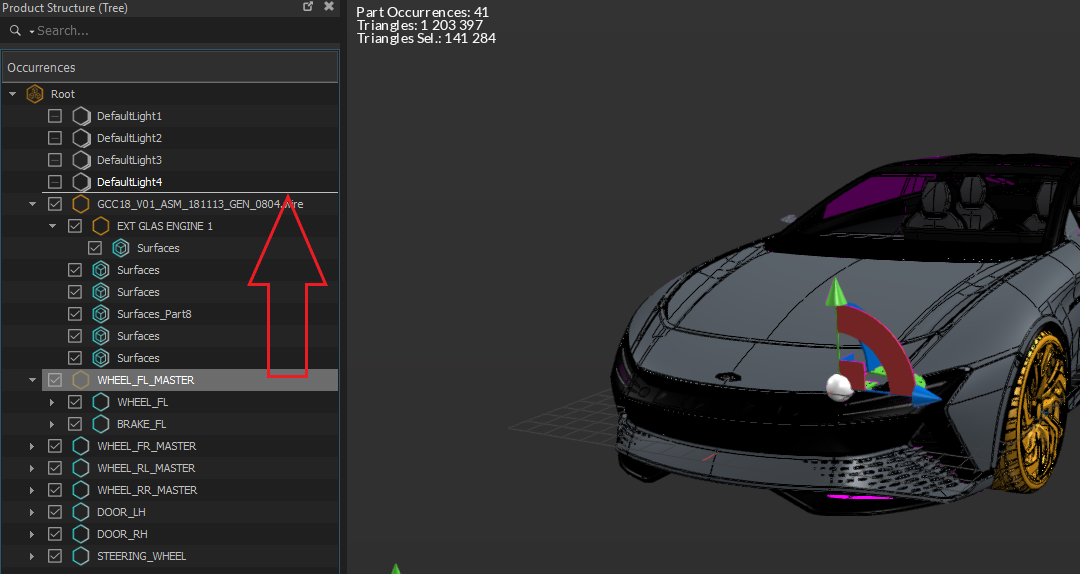
There are several ways to find a part within your hierarchy. The Product Structure has a case-sensitive search function. You can also select the part you wish to view in the hierarchy and right-click to bring up the context menu. Click Find in Tree and your selection will be highlighted in the Product Structure and it’ll focus automatically on the part highlighted in the Viewer. (Figure 03)
4. Re-organizing Product Structure
You can reorganize the product structure and change the relative hierarchy by dragging a selected occurrence to a new location. (Figure 04)
5. Conclusion
The Product Structure gives you an easy-to-use hierarchy to find and organize parts of your model. It’s a vital tool that you’ll rely on to optimize your model for real-time applications.