
Animating a Sprite with Anima2D
Tutorial
Beginner
+10XP
30 mins
6
Unity Technologies
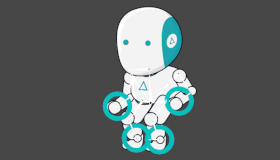
Anima2D is a Unity plugin that allows you to create poses with your rigged character and blend them between key poses. In this tutorial, you'll set poses of your rigged sprite, animate them, and bake the animation to generate the in-between motion.
Resources
Languages available:
1. Animating a Sprite with Anima2D
This tutorial has been verified using Unity 2019 LTS and Anima2D v1.1.8.
Animating rigged Sprites is an easy process when using Anima2D in Unity. Anima2D allows you to create poses with your rigged character using the Inverse Kinematics (IK), and blend them between key poses.
This workflow is only concerned with animating a completely rigged Sprite and assumes you have a rigged Sprite that is already in a default pose and have imported the Anima2D package from the Asset Store.
2. Initial Set Up
To begin animating your character:
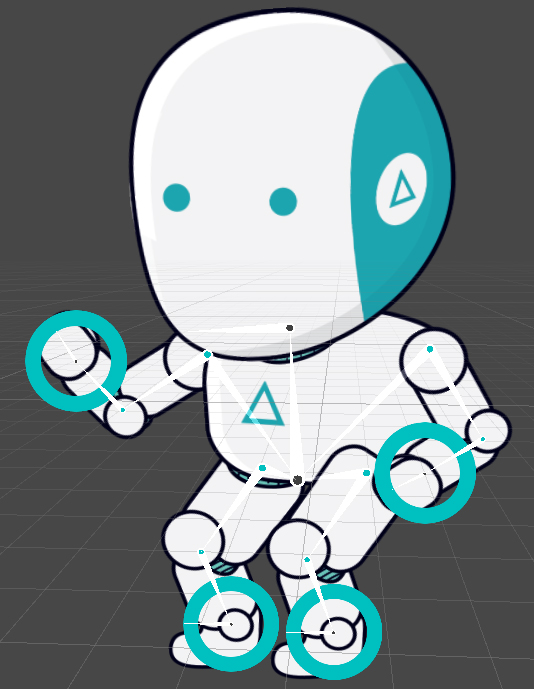
1. Create or open a scene with your rigged character. (Figure 01)
2. Select the character root object in the Hierarchy panel.
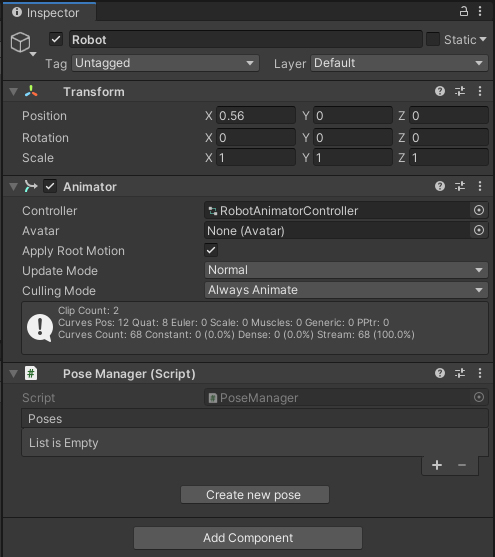
3. Add the Pose Manager component and Animator component in the Inspector panel of your character. (Figure 02)
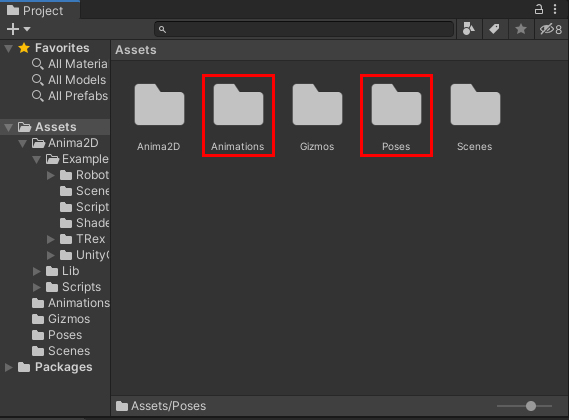
4. Create two new folders in your Project and name one Poses and the other Animations. (Figure 03)
Now we have everything set up to begin creating key poses.
3. Creating Poses
With your character root object still selected, go to the Inspector panel.
1. Select Create new pose in the Pose Manager component.
2. Save the new pose under the folder Poses and name it Idle. (Figure 04)

Once that’s saved, let’s move our IKs into the position we want them to be in.
1. Select the IKs and reposition them to set the initial pose; for this exercise, let’s go with an idle standing pose. (Figure 05)

2. Once the pose is set, go to your Animations project folder.
3. Inside the folder, right click, select Animator Controller and name it Character.
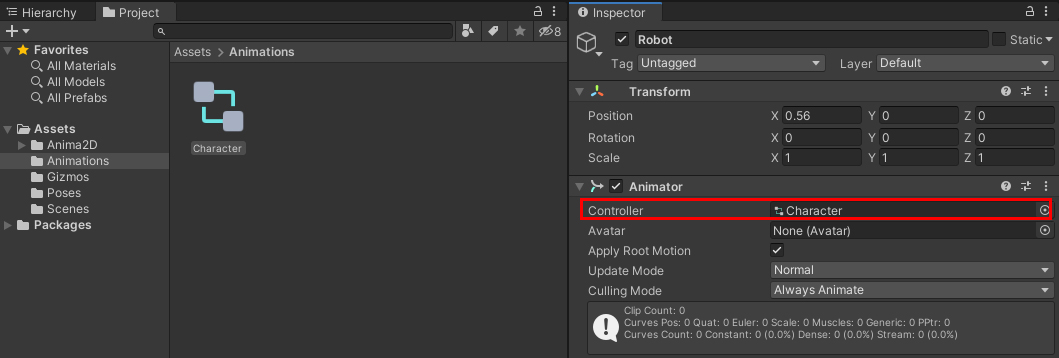
4. Click and drag the Animator Controller we just made into the Animator Controller component we added to our character. (Figure 06)
4. Animating a Pose
For the next steps, we want to make sure we have the Animation Editor window open: Window > Animation > Animation or Ctrl + F6. Once it’s open, we’ll create reference keyframes for our IKs.
1. In the Hierarchy select your character and in the Animation Window click create, name this new animation clip “Idle” and save it in your Animation folder.(Figure 07)
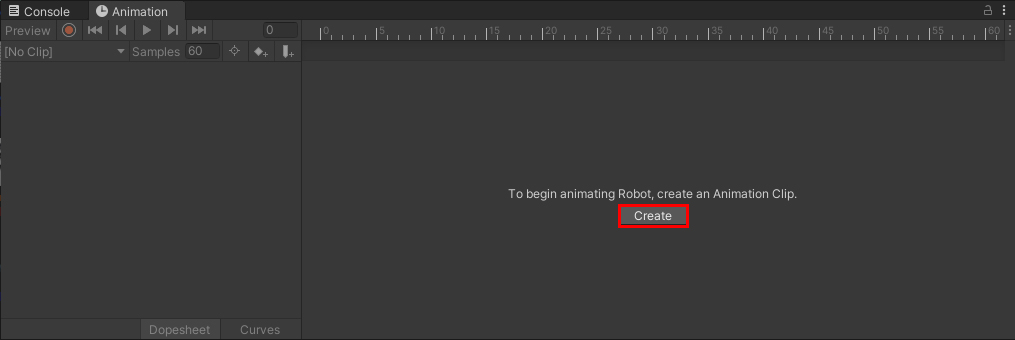
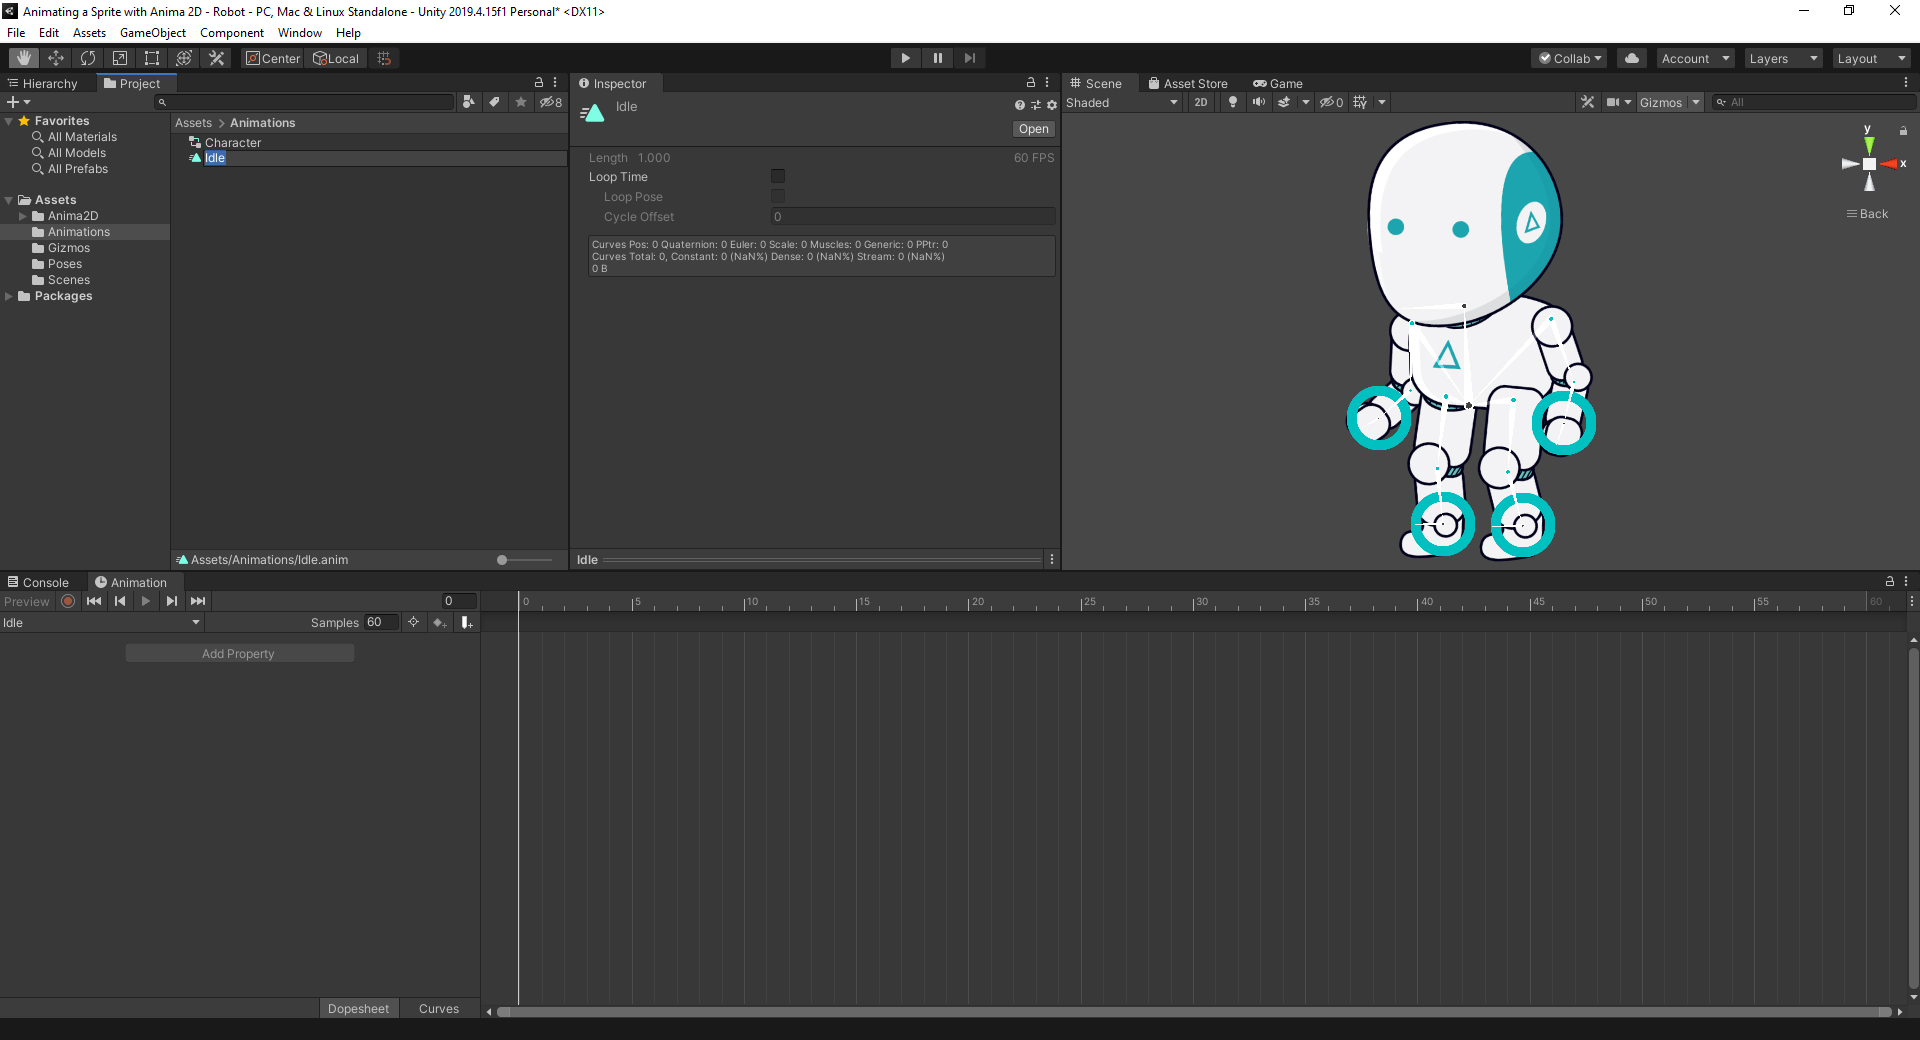
2. Name this new animation Idle. (Figure 08)
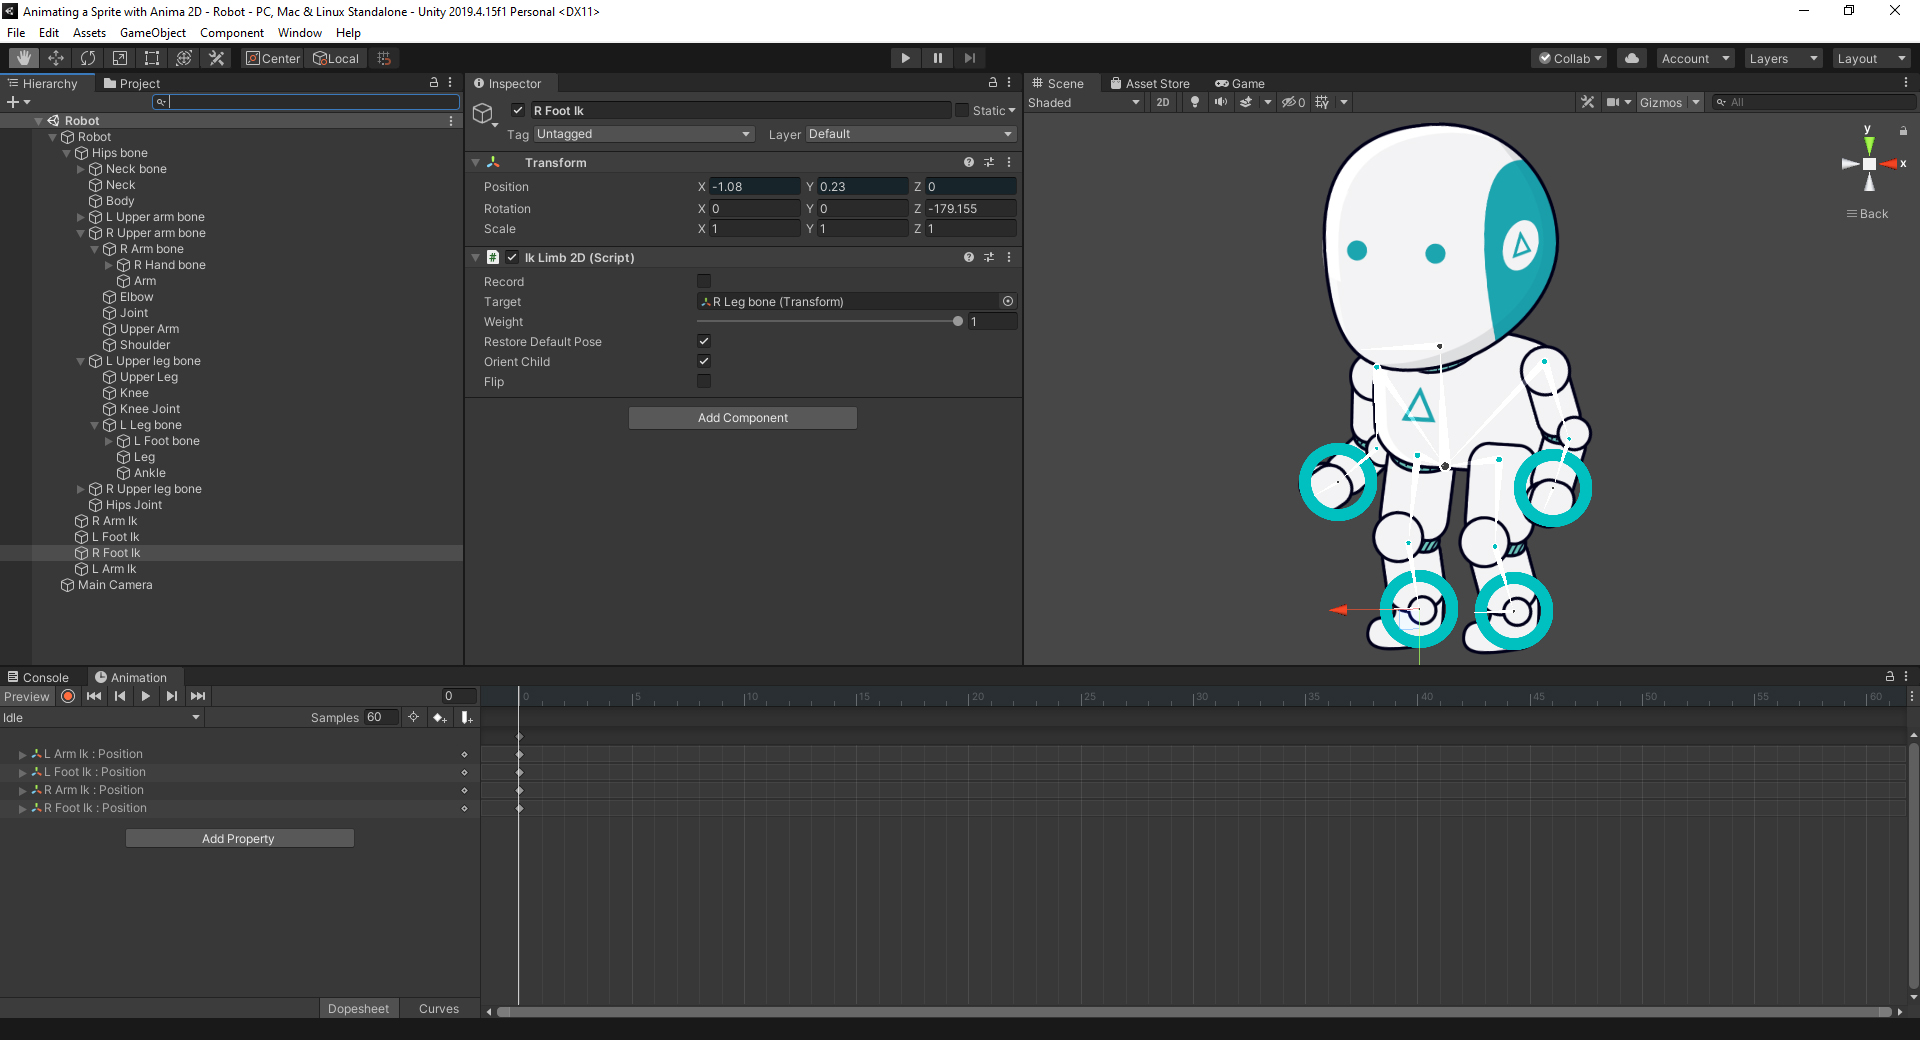
3. To create reference keyframes, start recording from the Animation window and simply move the IKs just a tiny bit on the X-axis to record the initial position. (Figure 09)
4. Place the playhead around the 30 second mark on the timeline.
5. Grab the hip bone and move it down just a little bit. (Figure 10)
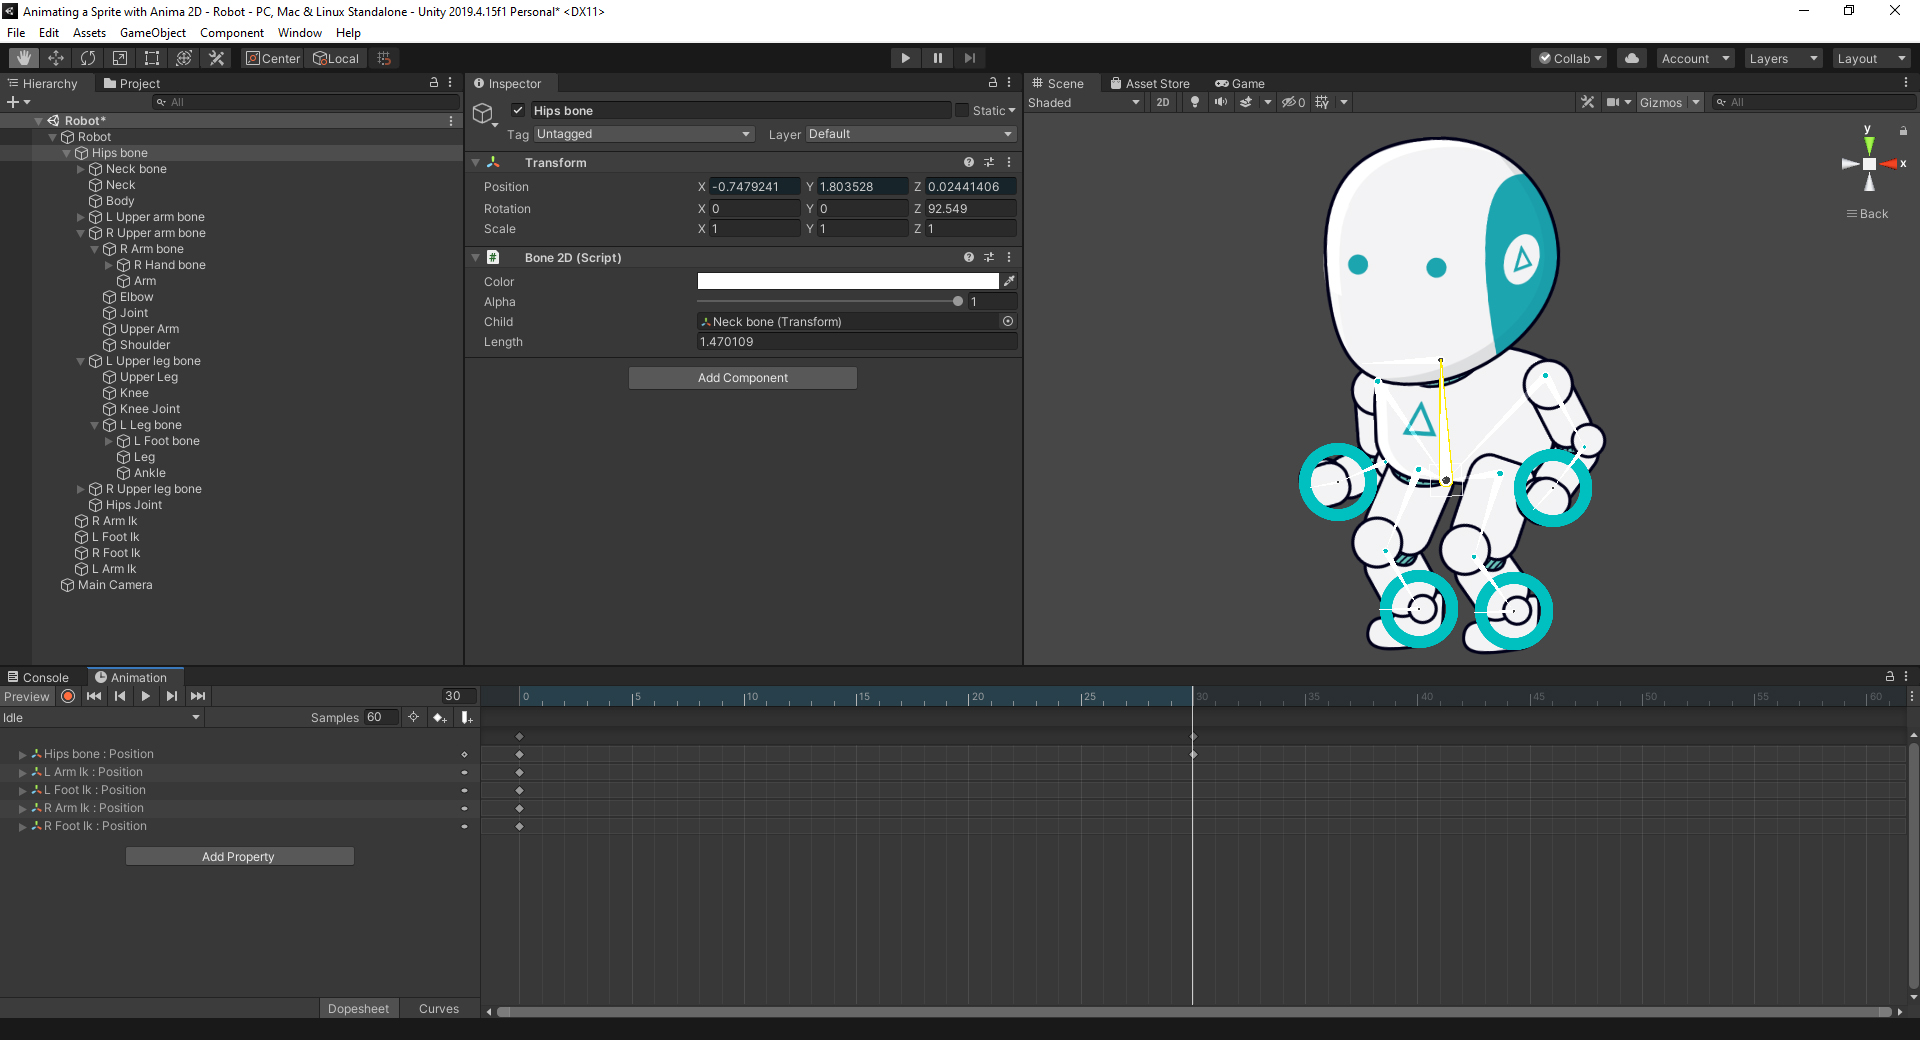
6. Do the same thing with the arms and head, so the idle animation feels a bit more natural.
7. Copy the keyframes from the 0:00 time, and paste them to the 1:00 time. (Figure 11)
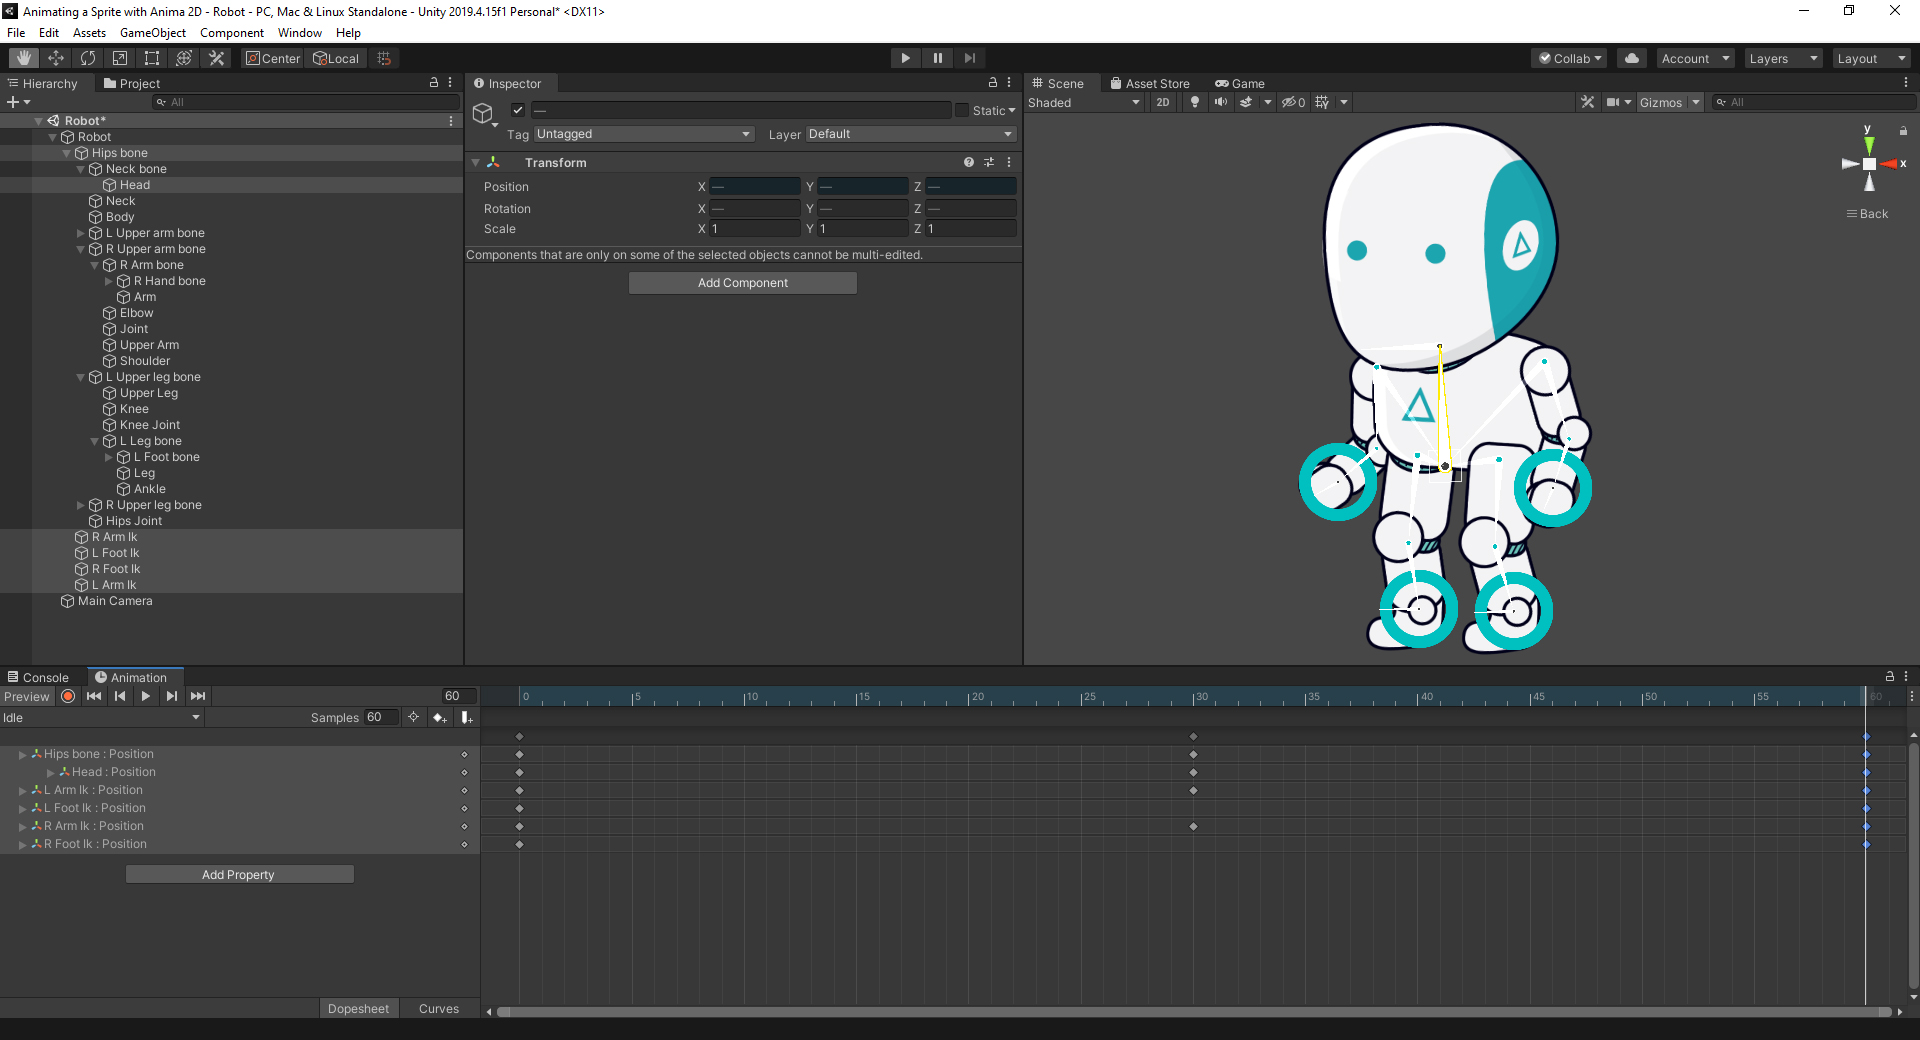
Now that we have our animation, next thing we’ll bake the bones onto the animation.
5. Baking the Animation
Once you have your animation saved:
1. Click your character in the scene
2. Select Window > Anima2D > Bake Animation
Anima2D will then bake the animation and interpolate between your keyframes. This will bake all the movement and rotations across the entire rig. When the baking is done, your animation window should now look much more complex. (Figure 12)
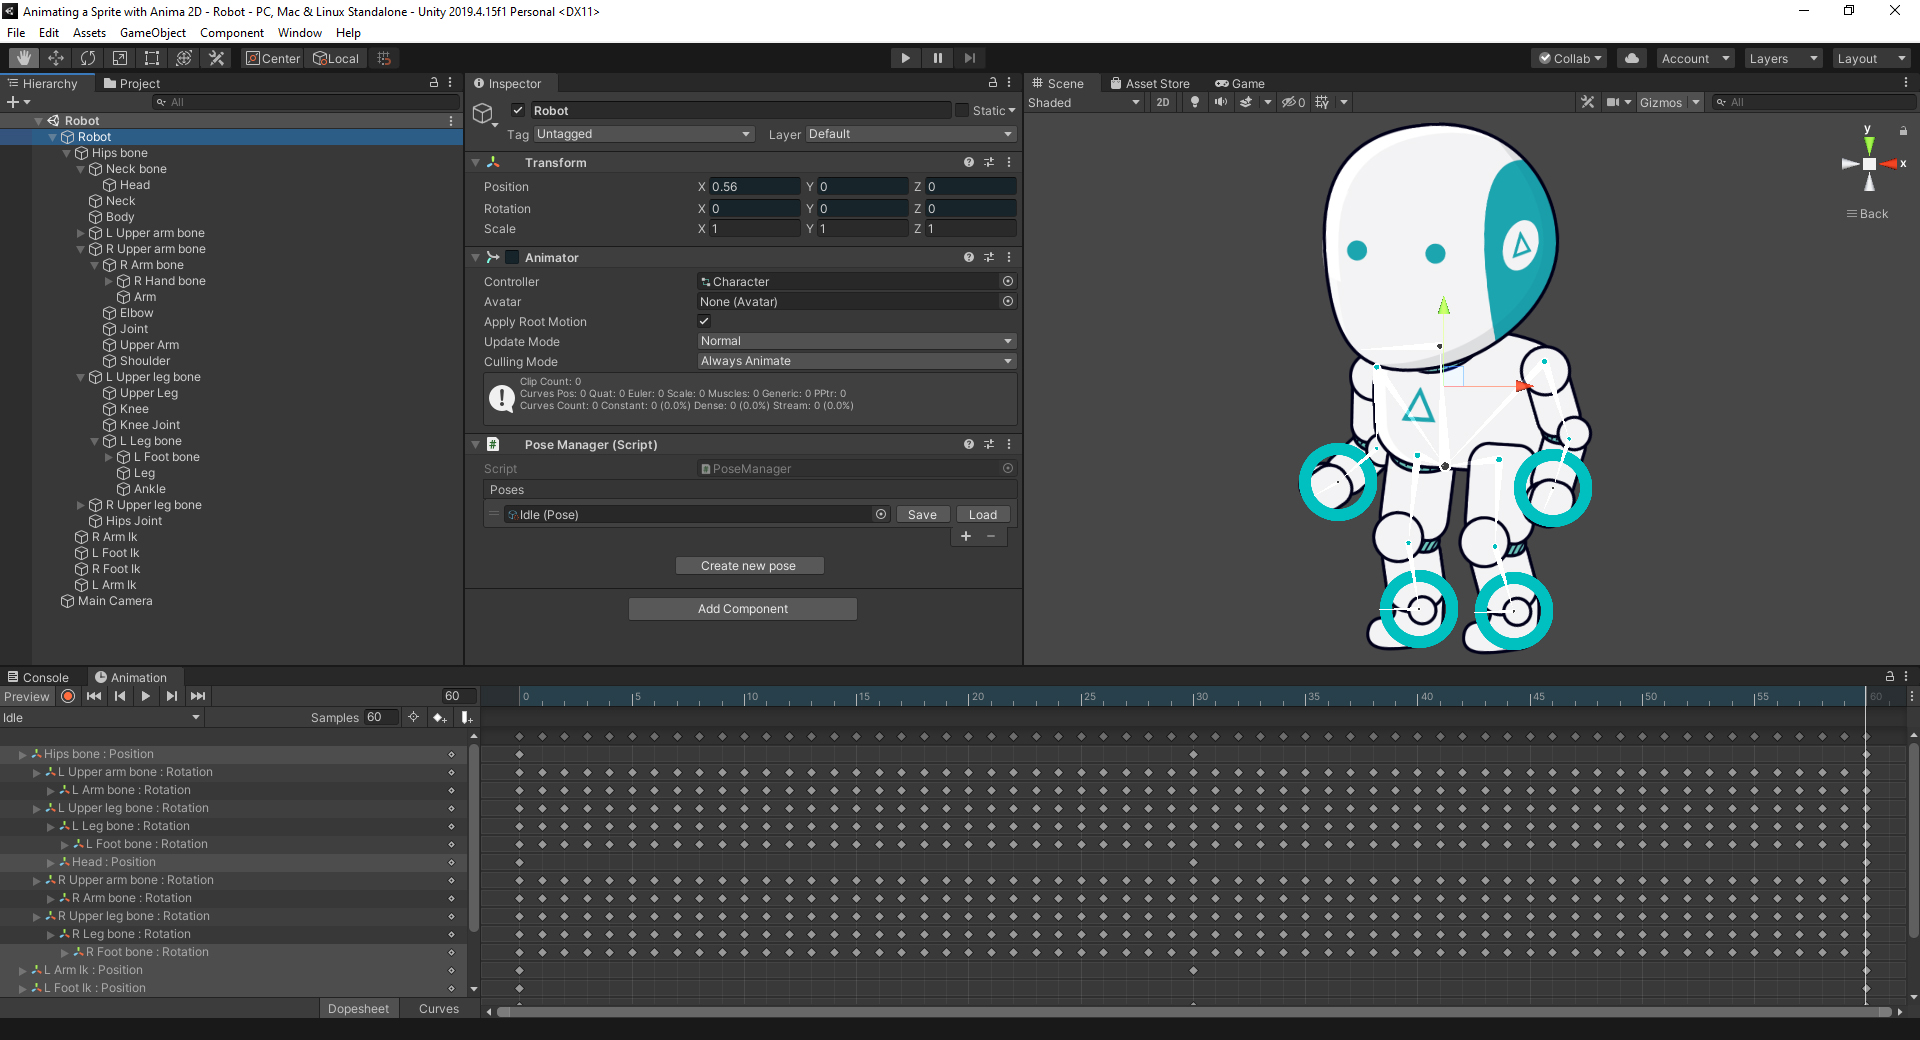
6. Conclusion
Now that you have a basic understanding of how to animate with Anima2D, you should experiment and push yourself into creating more animations and poses, such as running, walking, and falling.