
Animation
Tutorial
Beginner
+0XP
15m
(239)
Unity Technologies
To really increase the polish of your game, you should add animations to your player character for different actions: an idle animation, a walk animation, and an attack animation.
By the end of this tutorial, you’ll have done the following:
- Added an Animator component to the PlayerCharacter GameObject to facilitate animation.
- Used the Animation window to create keyframes for the animation using sprites from the Sprite Sheet.
- Used the Animator window to link the Animation states for the player character so that each animation flows fluidly from one to another.
Languages available:
1. Overview
To add some life into the game, let’s add some animations to it! Animations can not only increase player experience by adding visual interest to your game, but they also help bring a higher level of polish and professionalism to applications.
2. Idle animation
Let’s start with a simple idle animation for the character player so that even when they aren’t moving, there’s still some visual interest happening. To add an idle animation to your player character, follow these instructions:
1. In the Hierarchy window, select the PlayerCharacter GameObject and, in the Inspector window, add an Animator component to it.
2. In the Project window, right click the Assets folder, select Create > Folder, and name the new folder “Animation”.
3. Right click inside the Animation folder and select Create > Animation > AnimatorController to add an AnimatorController, then name it “PlayerAnimator”.
4. In the Hierarchy window, select the PlayerCharater GameObject. In the Inspector window, under the Animator component, select the Controller property picker (⊙) and select PlayerAnimator.
5. From the main menu, select Window > Animation > Animation to open the Animation window.
Before you can continue, the Animation window will ask to create an Animation Clip.
6. Select the Create button and save the new clip as “Idle.anim” inside your Animation folder.
This tutorial won't go into detail about how everything works and will only cover how to create animations and handle them, but feel free to check the 2D Adventure Game again for more in depth information.
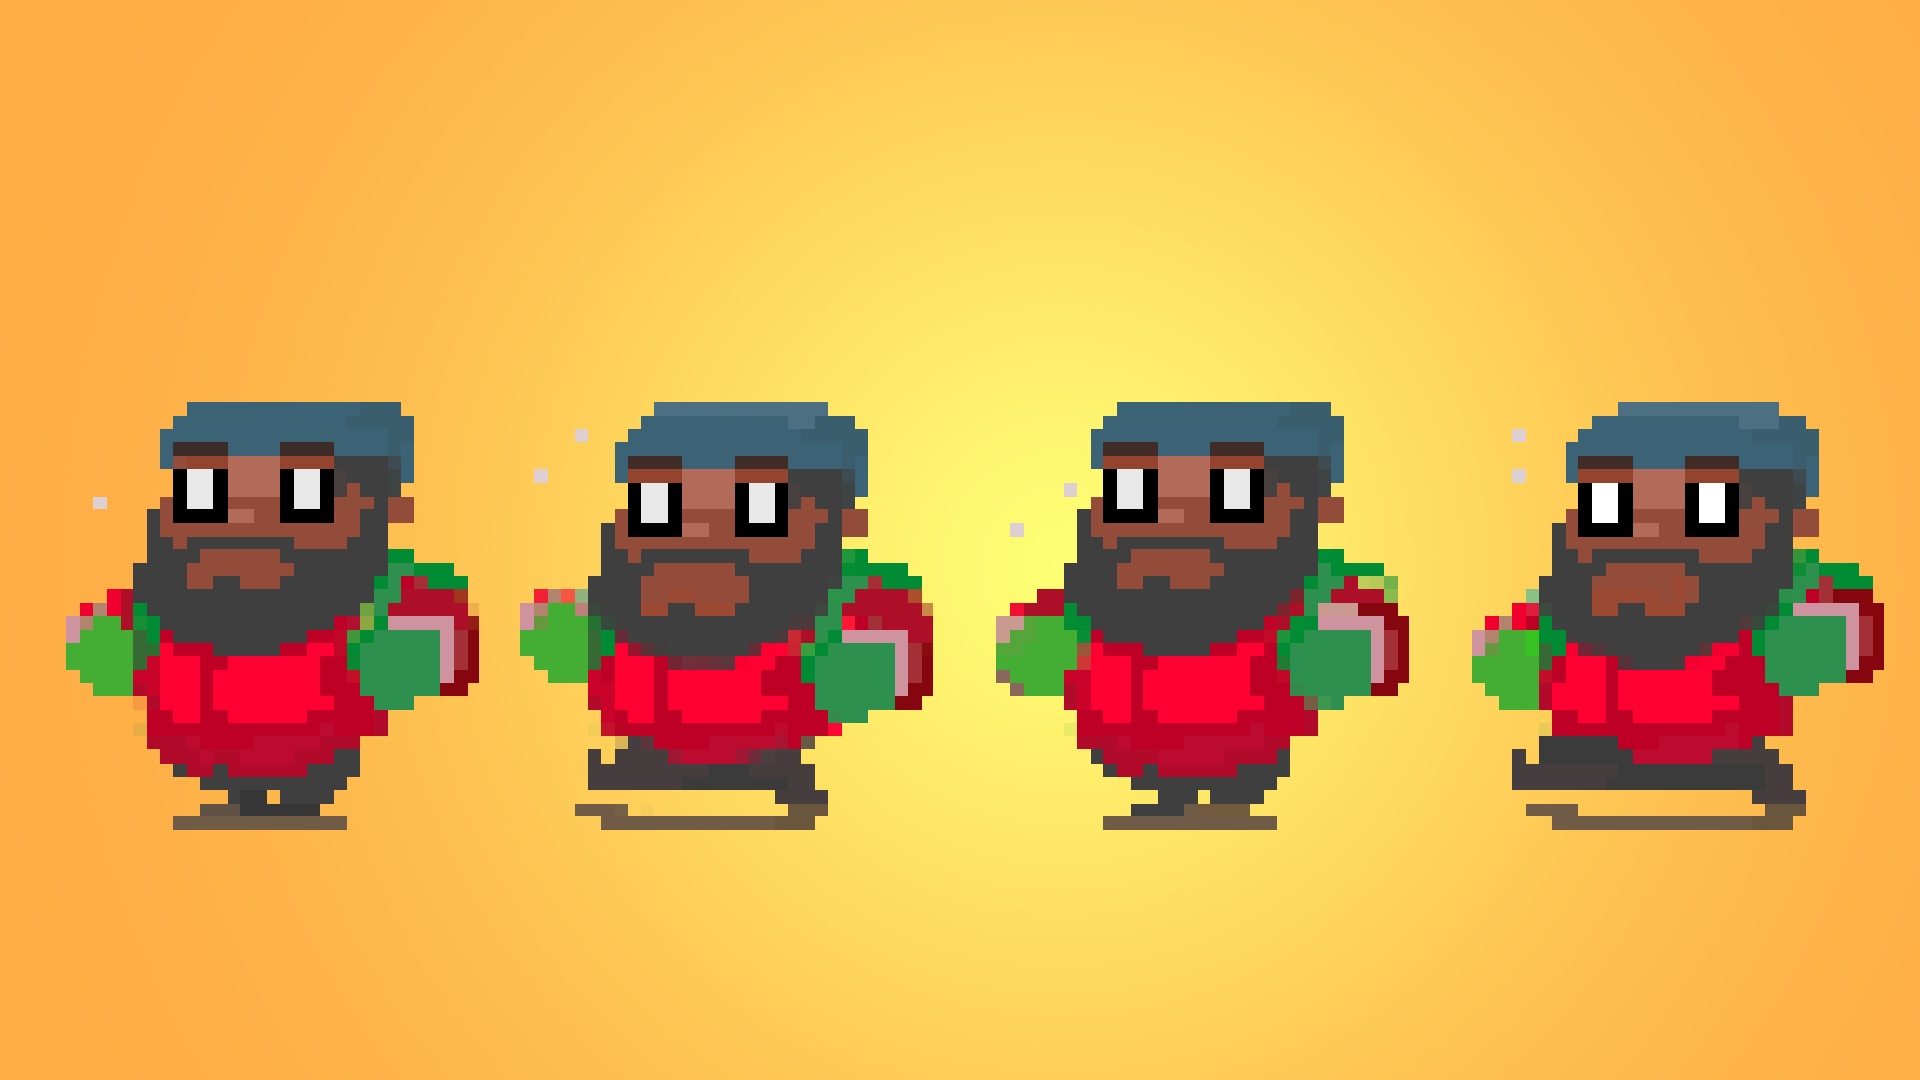
7. From the Sprites folder in the Project window (Roguelike2D > TutorialAssets > Sprites), drag and drop all the sprites you want to use for the idle animation one after the other into the timeline of the Animation window to add them as new keyframes.
Place the sprites at the same interval from each other to keep a constant speed.
Note that you might have a different number of keyframes than the number shown in the image above, depending on which frames and which theme you choose to use.
If you select the Play button in the Animation window now, you will see a preview in the Scene view of the animation on your PlayerCharacter GameObject. If you placed the sprites like in the example, the animation will probably look really fast.
The number at the top of the timeline is composed of the following parts:
- The number on the left of the colon (:) is the current time in seconds of the animation.
- The number on the right of the colon (:) is the frame number of that specific second.
So 0:15 means the 15th frame of second 0 of the animation, and 3:40 means the 40th frame of second 3 of the animation.
Right now the animation has 60 frames in 1 second, so you can see that the number goes up to 0:59 before changing to 1:00
To slow the animation down, you can move each sprite individually to a frame later in the animation, but it’s wasteful to have 60 possible frames in a second when this animation is only a couple of frames long. Instead, let’s change the number of frames per second.
For example, if your animation is six frames long, setting the sample rate to be three frames per second means the animation will last two seconds.
8. Open the More (⋮) menu next to the timeline and select Show Sample Rate, then change the Samples property on the left to roughly half of you number of frames (in our examples three).
As usual, feel free to experiment with different values!e timeline and select Show Sample Rate, then change the Samples property on the left to 3.
You’ll then need to re-arrange the sprites because the way the system automatically moves them when you change the sample rate will probably result in a very slow animation. Zoom out of the timeline and move each frame until they are on consecutive frames.
Your animation should now play at a speed that looks better.
If you enter Play mode now, the player character should have this idle animation looping continuously throughout the game!
3. Walking animation
Now you can add a new animation for when the player is walking between cells:
1. In the Animation window, with your PlayerCharacter GameObject still selected, open the Idle dropdown and select Create New Clip….
2. Name that new clip “Walk.anim” and save it in the Animation folder.
3. From the Sprites folder in the Project window, drag and drop the walking animation sprites into the timeline of the Animator window and edit the frame position or frame rate to make it look pleasing to you.
Your walking animation timeline should look something like this:
Use the same technique as above to change the sample rate to something that makes the walk of your character look good to you.
Once the animation is created, you now need a way to trigger it only when the player character is walking. To do this, you’ll use a new tool called an Animation State Machine.
4. From the main menu, select Window > Animation > Animator to open the Animator window.
It should contain a state for the two animations you created. If they don’t appear there because you created the animation differently, simply drag and drop your animation clip from the Project window to the Animator window to add them.
5. Select the Parameters tab in the Animator window, select the Add (+) button, select Bool, and rename it “Moving”.
You’ll use this new parameter as a trigger to create a transition from the Idle to the Walk state when the Moving boolean is true.
6. Right click the Idle state and select Make Transition.
An arrow starting from the Idle state will appear.
7. Select the Walk state to create a transition between the Idle and Walk states.
8. Select the transition arrow to display its settings in the Inspector window, then disable the Has Exit Time checkbox.
If Has Exit Time is enabled, then the transition from Idle to Walk would happen as soon as this time has elapsed. This is not what you want; you want Idle to loop until the Moving boolean is true, so disabling Has Exit Time makes the animation loop.
9. Use the foldout (triangle) to expand the Settings section and set the Transition Duration property to 0.
This time allows the gradual blending from one animation to another, but blending animations doesn’t make sense in 2D applications because you want to immediately switch from one state to the other.
10. At the bottom of the Inspector window, under the Conditions section, select the Add (+) button to add a new condition. Open the leftmost dropdown, select Moving, then open the rightmost dropdown and select true.
This tells the controller that when the Moving parameter is set to true, it needs to change the animation from Idle to Walk.
Repeat the above steps, but this time start with from the Walk to the Idle animation. This time the transition will be triggered when Moving is set back to false.
Note: You might have a couple of warnings about the transition not having an exit time or any condition in your console as you do this; these can safely be ignored as they only appeared when you disable Has Exit Time and before you set the condition.
Now that the transition is set up, you need to find a way to trigger it inside the code. You’ll need to do the following inside the PlayerController:
- Create a private variable of type Animator to store the Animator Controller component.
- Add an Awake function that will retrieve the Animator component using GetComponent.
- Everywhere inside code where you alter the IsMoving variable, you need to also call the function SetBool on the Animator component’s Moving bool.
public class PlayerController : MonoBehaviour
{
   . . .

   private Animator m_Animator;

   private void Awake()
   {
       m_Animator = GetComponent<Animator>();
   }
   . . .

   public void MoveTo(Vector2Int cell, bool immediate)
   {
       m_CellPosition = cell;

       if (immediate)
       {
           m_IsMoving = false;
           transform.position = m_Board.CellToWorld(m_CellPosition);
       }
       else
       {
           m_IsMoving = true;
           m_MoveTarget = m_Board.CellToWorld(m_CellPosition);
       }

       m_Animator.SetBool("Moving", m_IsMoving);
   }

   private void Update()
   {

        . . .

       if (m_IsMoving)
       {
           transform.position = Vector3.MoveTowards(transform.position, m_MoveTarget, MoveSpeed * Time.deltaTime);

           if (transform.position == m_MoveTarget)
           {
               m_IsMoving = false;
               m_Animator.SetBool("Moving", false);
               var cellData = m_Board.GetCellData(m_CellPosition);
               if(cellData.ContainedObject != null)
                   cellData.ContainedObject.PlayerEntered();
           }

           return;
       }
Note: String base lookup on the Animator component is inefficient, and the efficient way is to store a reference to the Hash of Moving with the Animator.StringToHash function. But for such a small game and the fact that the function isn’t called that often, it’s fine to leave it as it is. But feel free to fix it by using the documentation for StringToHash to learn how to do it.
4. Challenge
You have walls that can be damaged and a player character that can damage them. As a challenge, try to implement an attack animation when the player is attacking a wall. Before you check out our solution below, see if you can figure it out for yourself!
Here’s our solution:
1. Create a new attack animation for the player character using the correct sprites.
2. In the Animator window, add a new parameter called Attack of type Trigger.
Trigger doesn’t have any value; it’s a parameter type used for things that happen once. In the case of attacking, the animation should be triggered when the attack happens, but you don’t want the player character to stay in the attack state like you do for moving; once the attack is done, the player character should immediately go back to Idle.
3. Create a transition from Idle to Attack, disable Has Exit Time, set the Transition Duration to 0, and select as condition the Attack trigger parameter.
You’ll notice that the Attack trigger parameter doesn’t require a value like Moving did. This is because as soon as you activate the trigger from code, the transition will happen.
4. Create a transition from Attack to Idle and leave Has Exit Time enabled. Set the Exit Time to 1 and set the Transition Duration to 0.
You need to leave Has Exit Time enabled because you want the Attack animation to play once, then go through that transition back to Idle. Setting the Exit Time to 1 ensures the whole of the attack animation happens before that transition starts. The Transition Duration needs to be set to 0 because there can’t be blending in 2D animation!
5. In code, use m_Animator.SetTrigger(“Attack”) to activate the Idle to Attack transition.
Where to call this method is up to you, but some places where it makes sense are when PlayerWantToEnter returns false or a new public method called “Attack” in your PlayerController that the WallObject will call when it gets damaged, etc.
5. Next steps
Your game is really starting to look great! In the next tutorial, you’ll be given all the prompts and hints you need to add an enemy to your game to finally finish it off!