
Apply materials
Tutorial
foundational
+10XP
20 mins
(94)
Unity Technologies
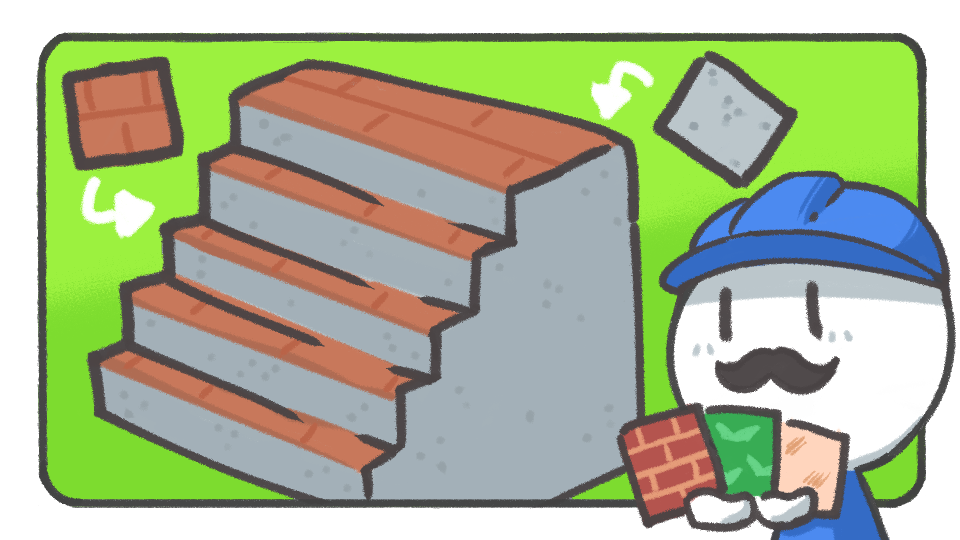
In this tutorial, you'll learn about the material settings, which you must know for 3D modeling.
Resources
Languages available:
1. Use online materials
You can create a material using the Add (+) button or the Create > Material menu that appears when you right-click in the Project window. You can change properties and use texture maps to create more complex materials.
You can find textures online from different sources. For this tutorial you can use the following texture pack that is available on the Asset Store:
Tiling Textures - 3D Microgame Add-Ons | 2D Textures & Materials | Unity Asset Store
Download the official materials from the Asset Store and import the materials in accordance with the render pipeline of your project.
Note: This pack is built for HDRP, and the tutorial is prepared accordingly.
2. Preparing a Material Palette
The Material Editor window is divided into the following two sections:
- Quick Material: materials that can be previewed. Select a face while holding the Ctrl+Shift keys to apply it (macOS: Cmd+Shift).
- Material Palette: list various materials in advance and apply them with Alt shortcut keys.
In the Material Palette, you can add or delete the number of palettes saved as scriptable objects.
3. Apply materials using the Marterial Palette
Select a face and press the shortcut key of the material you want in the Material Editor to apply it. At this time, the tiling of the texture will be arranged automatically based on the UV Editor window. If after changing the tiling, rotation, etc., the material does not fit properly, refer to Editing UV in the scene, the fourth part of the UV Map settings tutorials, and quickly edit them directly in the Scene view.