
AR Photography with the Unity Native Toolkit
Tutorial
intermediate
+10XP
20 mins
44
Unity Technologies
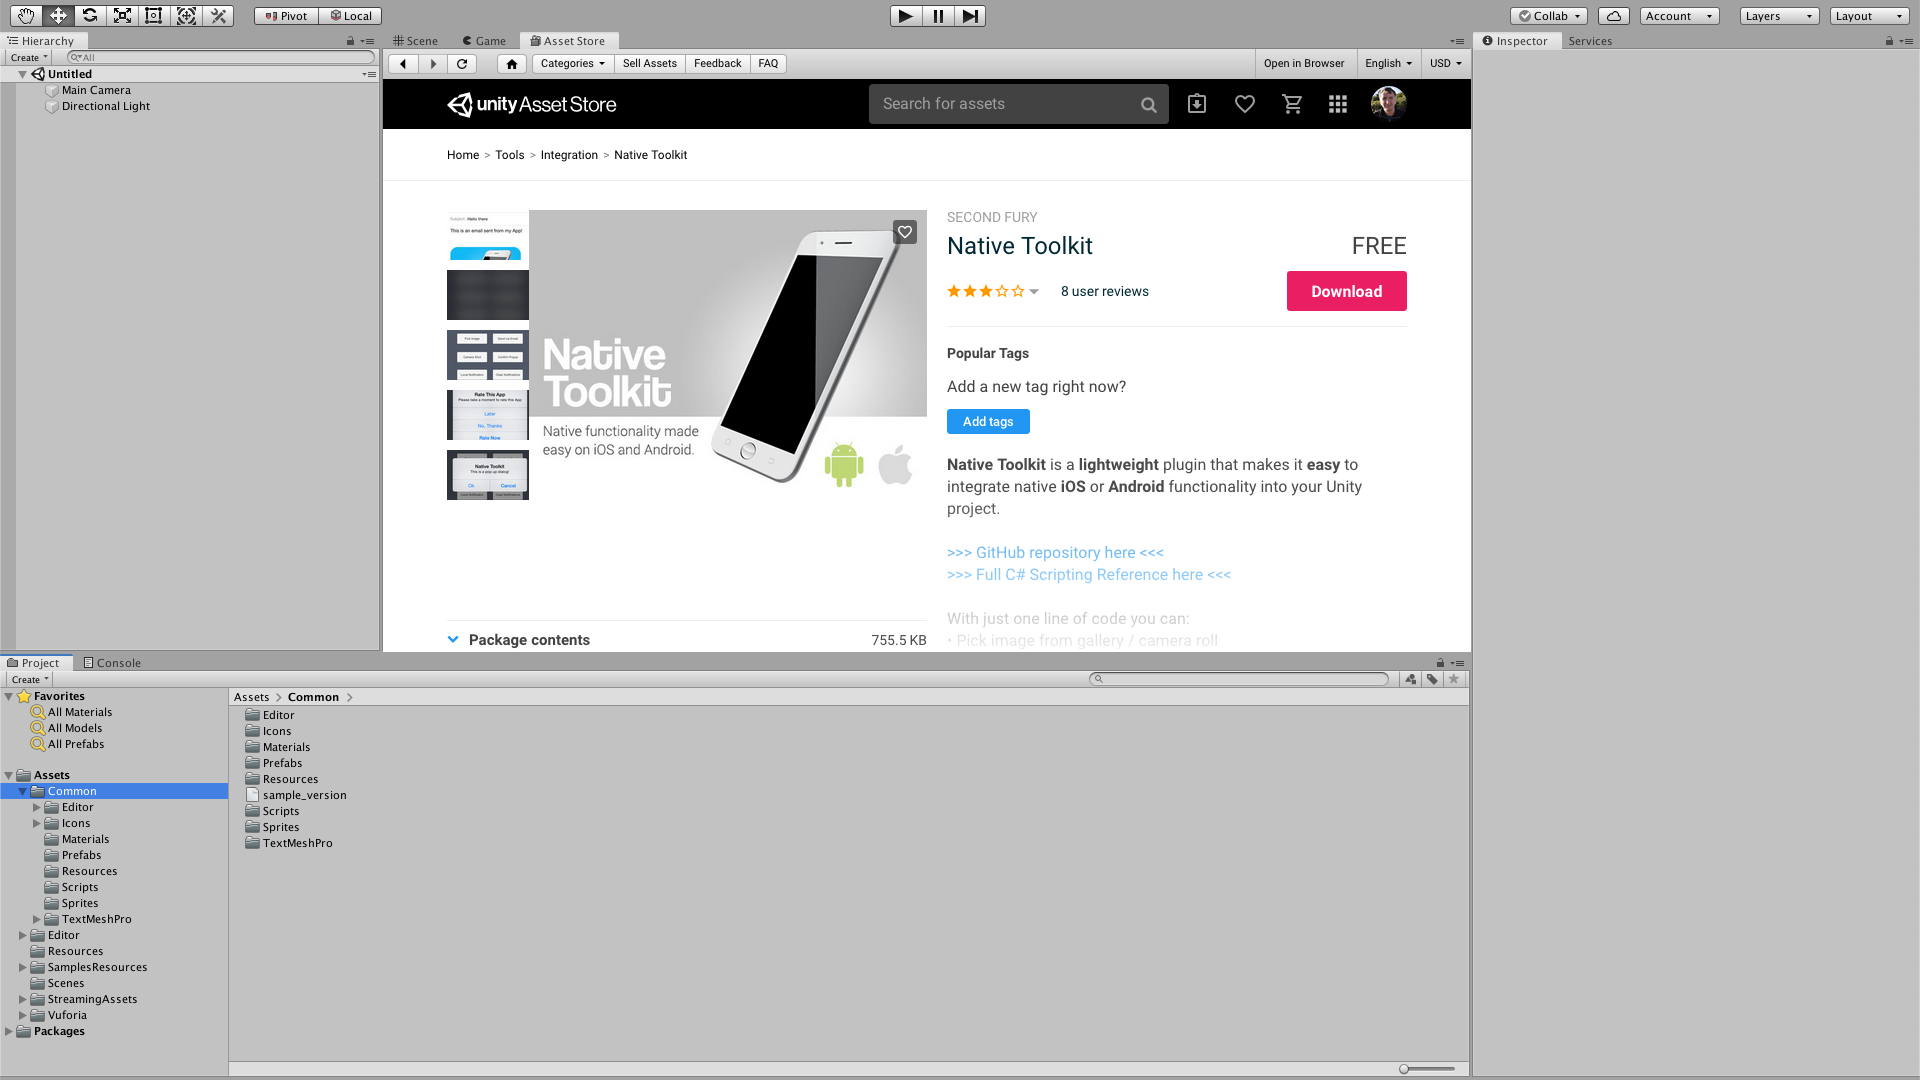
The Unity Native Toolkit, available in the Asset Store, “makes it easy to integrate native iOS or Android functionality into your Unity project.” In this tutorial, we’ll use the Native Toolkit to create a UI button for taking photographs in AR, or screenshots in general. (You can also capture a screenshot using code, for example, with an in-game camera.)
Languages available:
1. AR Photography with the Unity Native Toolkit
This tutorial has been verified using Unity 2019 LTS and Native Toolkit v1.2
The Unity Native Toolkit, available in the Asset Store, “makes it easy to integrate native iOS or Android functionality into your Unity project.” In this tutorial, we’ll use the Native Toolkit to create a UI button for taking photographs in AR, or screenshots in general. (You can also capture a screenshot using code, for example, with an in-game camera.)
1. Download and import the Native Toolkit from the Asset Store.
2. Load the project and Scene in which you wish to add screenshot capture.
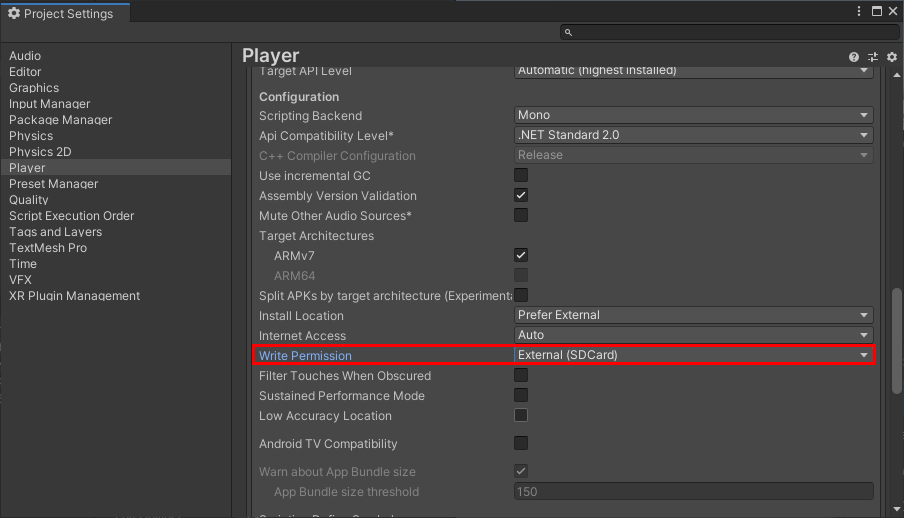
3. If you’re targeting Android, you’ll need to set your Write Permissions to External (SDcard) (Figure 01). To get to this setting, select Build Settings from the File drop-down.
Click Player Settings in the lower left corner of the Build Settings window.
In the Player Settings section, click Other Settings and scroll down to the Configuration section.
4. If you’re targeting IOS, there are no special settings beyond what’s required for AR. Once you’ve built an Xcode project, set Enable Bitcode to NO. If you need Bitcode, include the .h and .mm files with your project rather than the compiled library.
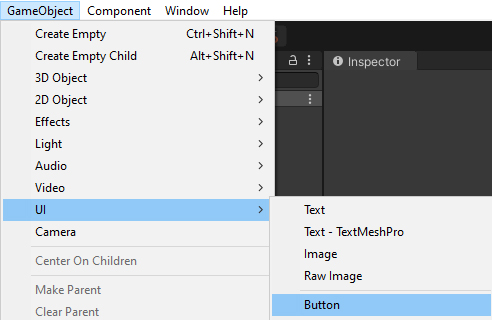
5. From the GameObject drop-down, select UI > Button - TextMeshPro. (Figure 02)
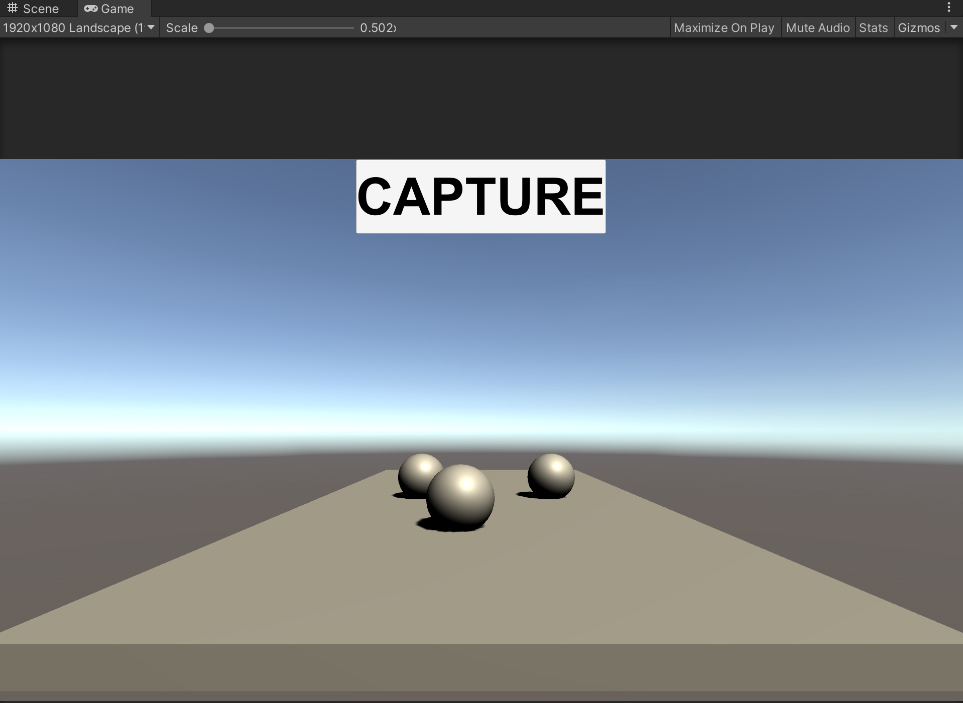
6. Place the Button where you think looks best and resize it if you want. You may also wish to expand the Button in the Hierarchy view, select Text, and change the display text for the button to something like “Capture,” or even replace the text with a camera icon. (Figure 03)
7. Select the Button in the Hierarchy view.
8. Click Add Component, adding a new C# script named ScreenshotCapture.
9. Doubleclick to open ScreenshotCapture in your script editor.
10. Delete the Start() and Update() functions, as we won’t be using them. Instead, we’ll create a new function called Capture(). Because Capture() will be called from the UI button, it needs to be publicly accessible.
11. There are three parameters to NativeToolkit.SaveScreenshot().
Screenshot name (required): This is the base name of your screenshot, and will have the date and time appended.
Folder name (optional): This is the folder in which your screenshot will be stored. If not specified, “MyScreenshots” is used.
Format (optional): This is the image format of your screenshot. It can be png or jpg. The default is jpg.
Type the following code:
public void Capture()
{
NativeToolkit.SaveScreenshot(“My_AR_Screenshot”, ”My_AR_Project”, ”png”);
}
12. Save changes and return to the Unity Editor.
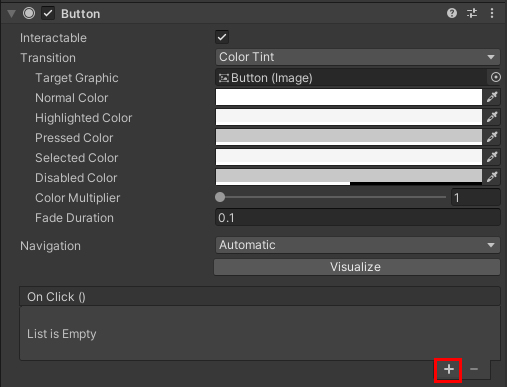
13. Click the + sign in the Button Inspector to add an OnClick() event (Figure 04)
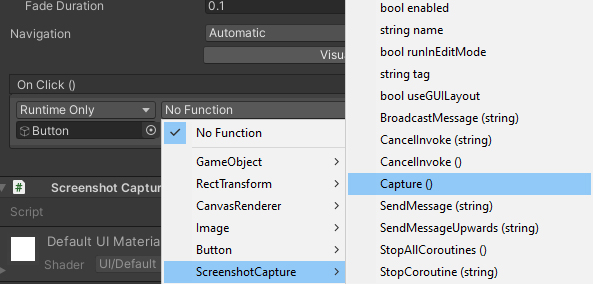
14. Drag the Button with the ScreenshotCapture component into the Object slot (Figure 05).

15. Using the Function drop-down, select ScreenshotCapture > Capture () (Figure 06).
16. Build and deploy your project.
17. Press the Capture button.
18. Exit.
19. The Native Toolkit saves your images into the Application.persistentDataPath for your device.
- In iOS the Application.persistentDataPath points to /var/mobile/Containers/Data/Application/<guid>/Documents.
- In Android the Application.persistentDataPath points to /storage/emulated/0/Android/data/<packagename>/files on most devices (some older phones might point to location on SD card if present)
2. Conclusion
Though we’ve used SaveScreenshot() in service of AR, the Native Toolkit is a virtually painless way to, with a single line of code, access your mobile device’s camera, GPS, contacts, email, gallery, or notifications.