
Baking Texture Maps in Maya for Unity
Tutorial
Beginner
+10XP
40m
(23)
Unity Technologies
In this workflow, we will use Maya to create a normal map from a detailed model and apply it to a lower-resolution version of the model to give the appearance of detail. We will also generate an Ambient Occlusion (AO) map that emulates the shadow interactions between the objects.
Languages available:
1. Introduction
This tutorial has been verified using Unity 2019 LTS and Maya 2019
While Unity includes built-in, real-time lighting, relying on it for all objects in a Scene can consume considerable processing power at run-time. Instead, you can embed illumination into an object’s texture through a process known as baking. Lighting that is baked into a texture won’t change when an object moves to a different part of the Scene, but it prevents Unity from having to continuously calculate the lighting, which improves performance.
Objects with complex polygonal detail can also eat up resources. Baking some of the finer details of an object’s Mesh — saved in an image file called a normal map — helps reduce processing load. (Figure 01)
In this workflow, we will use Maya to create a normal map from a detailed model and apply it to a lower-resolution version of the model to give the appearance of detail. We will also generate an Ambient Occlusion (AO) map that emulates the shadow interactions between the objects.
2. Creating a normal map by baking a transfer map
While normal maps can be created using a variety of methods, the Transfer Map process in Maya bakes details of a high-poly Mesh to an image file and applies the image to a lower-poly Mesh. You’ll need to have a project directory set up, where you will save the files you create during this process.
1. In Maya, set or open a project, then open or create a Scene with a high-poly and low-poly Mesh. The object Meshes need to be at the same location, generally the center of the grid.
2. To transfer the details of a high-poly Mesh to a low-poly Mesh, select the low-poly Mesh, which will be the target Mesh. The easiest way to do this is to use the Outliner window.
3. Switch to the Rendering menu set. Then, from the main menu, choose Lighting/Shading > Transfer Maps. (Figure 02)
4. The selected Mesh will be loaded in as the Target. Any unselected Meshes in the Scene will be loaded as a Source, but you can choose the higher-poly Meshspecifically and click the Add Selected button in the Source Meshes section to add it as the only source Mesh.
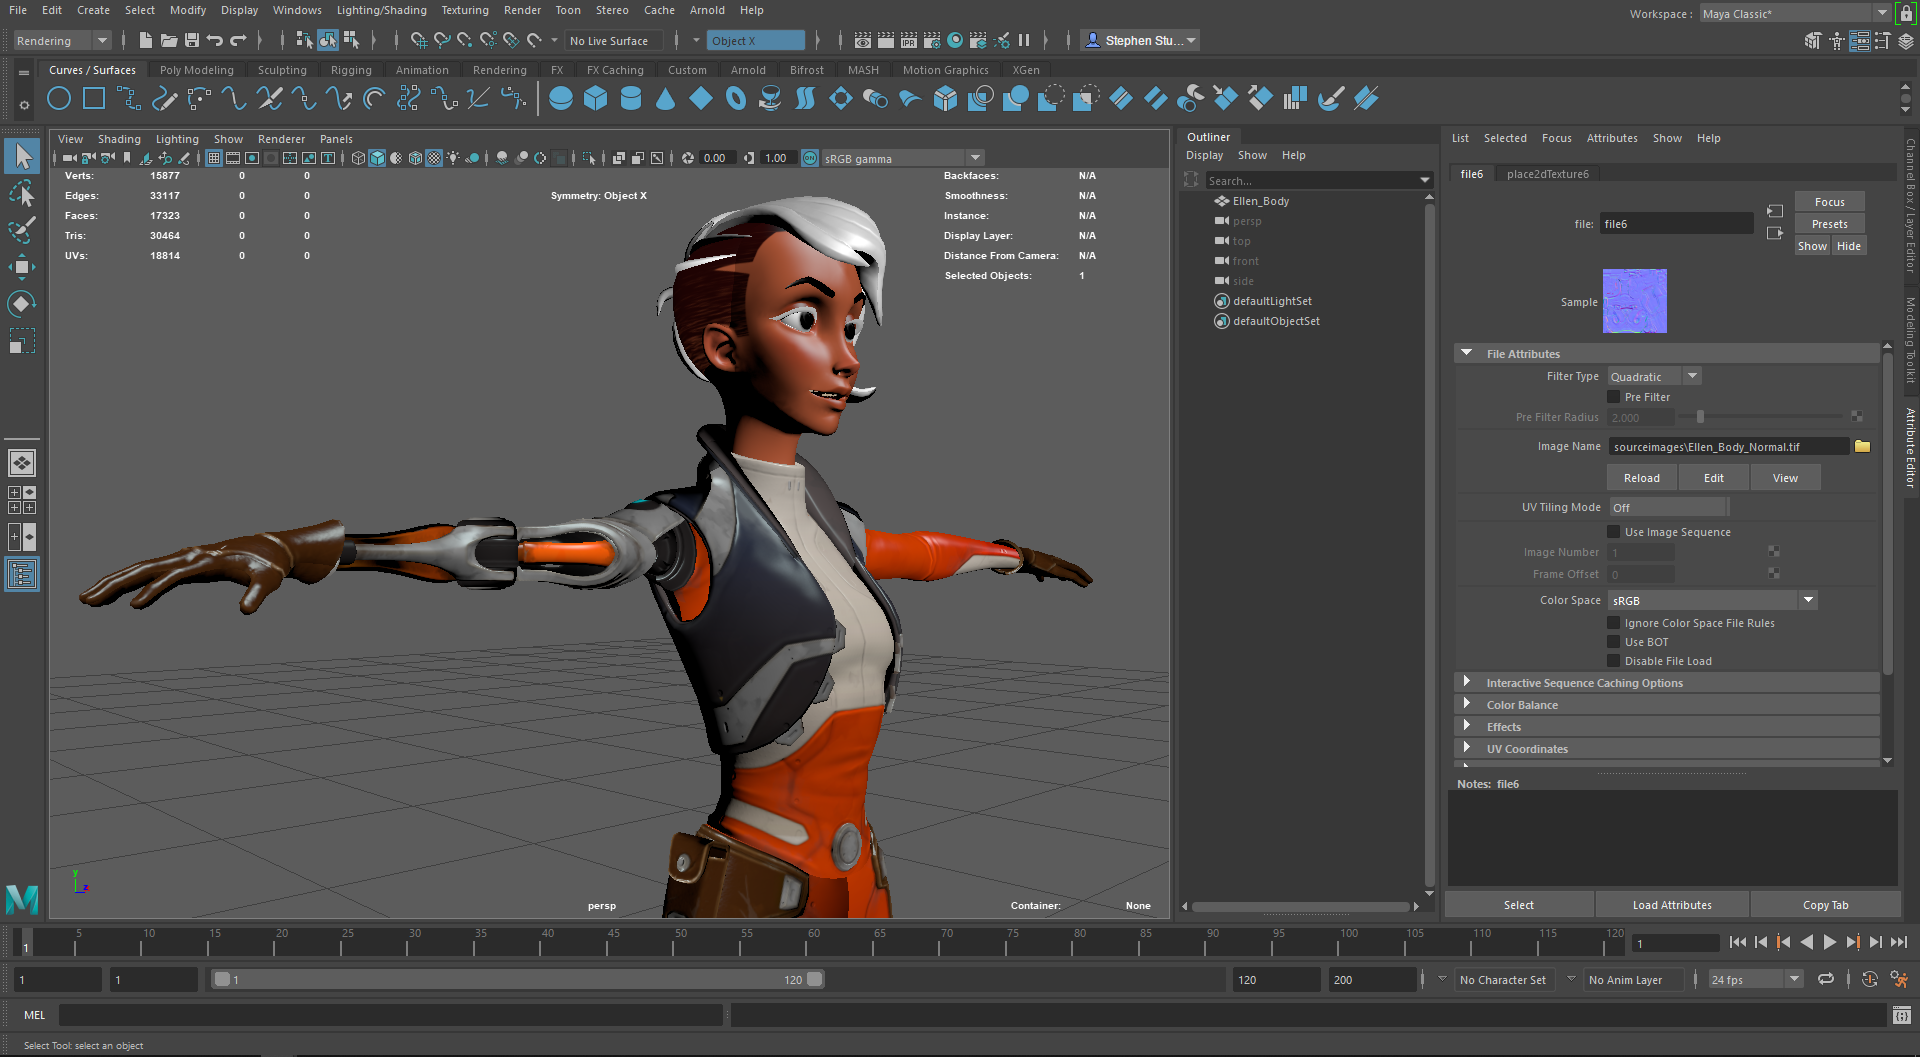
5. From the Output Maps section, click the Normal icon button, which will add a Normal Maps section directly below the icons with a Normal Maps checkbox enabled.
(Figure 03)
6. Click the folder icon next to the normal map name field.
7. In the Select window, navigate to the “sourceimages” directory of the Maya project as the location to save the file. Enter a name for the image file in the File Name field.
8. Choose the image file format for the map in the Files of type drop-down menu. Unity accepts a variety of formats, like .tif, .png, and .tga. (Figure 04)
9. Make sure that Tangent Space from the Map Space dropdown menu is selected, as Maya and Unity both use tangent space normals.
10. Check the Use Maya Common Output settings option, which uses the properties from the Common settings section. This is especially useful when you’re creating more than one map with the same settings at the same time.
11. Under Connect Output Maps, Connect Maps to Shader will attach the normal map to the object when transferring. When the option is unchecked, the map file will be created, but not assigned to the object after it’s baked.
12. Choose the Connect Maps To option to either assign a new Material for the object, or use the current Material and attach the baked file to the Shader. Choose the Assigned Shader option to attach the normal map to the object’s existing Material.
13. Scroll down to the Maya Common Output section and expand it to reveal the common settings for the baked file.
14. Enter the map width or map height to set the resolution for the generated map. The width and height should be numbers equal to a power of 2, such as 256, 512, or 1024. Check the Keep Aspect Ratio option to make sure the height and width are set to the same value, so changing one will change the other.
15. From the Transfer In the dropdown menu, choose World Space.
16. Select the Medium (4x4) setting from the Sampling Quality dropdown. (Figure 05)
17. Click the Bake and Close button to create the normal map and close the Transfer Maps window.
An image file of the transferred normal map will be saved to the “sourceimages” directory. This map file can then be used in Unity in the Normal Map property of a Material Shader for the same object.
3. Create an Ambient Occlusion (AO) map with Arnold
To bake an AO map, we’ll start with a Maya Scene that includes lighting and then bake the lighting information into an image file that can be imported into Unity. This process will generate an AO map file that is rendered using Arnold as an EXR file, which is a High Dynamic Range (HDR) image file format. To use this file as an AO map in Unity, you should convert the image file to a .tif, .png or .tga file, because an HDR file will be rather large.
1. Open Render Settings and set the Renderer to Arnold. From the main window menus, choose Windows > Rendering Editors > Render Settings. (Figure 06)
2. Choose the Arnold Renderer option from the Render Using the dropdown, then close the window. (Figure 07)
3. Select the object for the AO map from the main viewport.
4. Right-click over the object and from the Marking menu, choose Assign New Material.
5. From the Assign New Material window, select Shader from the Arnold section on the left, then click the aiAmbientOcclusion Shader to create the Material and assign it to the object in the main viewport. (Figure 08)
6. From the main window menus, choose Arnold > Utilities > Render Selection To Texture. (Figure 09)
7. In the Render To Texture window, click the button to the right of the Output Folder text field to open the Select Folder window. The file will be named after the selected geometry.
8. Locate the directory to save the output map file and click the Select button. The window will close and return you to the Render To Texture window.
9. Set the resolution of the output map by entering a number equal to a power of 2, such as 256, 512, or 1024. (Figure 10)
10. Click the Render button to start baking the AO map.
A small window will pop up showing the progress of creating the texture file. When the window closes, the AO map will be generated and saved in the directory you’ve chosen. You can use the AO map file in Unity in the Occlusion property of a Material Shader for the same object.
4. Conclusion
Baking texture information in Maya for a Unity project allows you to embed lighting and object details into a texture file for better optimization. Baking provides high-quality shadows and details from static objects in Unity, but it will not provide real-time direct lighting, nor will it create shadows from dynamic objects. While baking does have its limitations, it’s a way to boost overall performance. Baked normal maps are an ideal solution to provide details while keeping the polycount low.