
Baking Texture Maps in Substance Painter
Tutorial
intermediate
+10XP
25m
(34)
Unity Technologies
Baking is the process of transferring surface information into Textures so that every detail of a Mesh doesn’t need to be rendered. Substance Painter’s baking function is suitable for creating multiple Texture maps that can be applied to Assets and props in the Unity Editor
Languages available:
1. Baking Texture Maps in Substance Painter
This tutorial has been verified using Unity 2019.4 LTS
Baking is the process of transferring surface information into Textures so that every detail of a Mesh doesn’t need to be rendered. Substance Painter’s baking function is suitable for creating multiple Texture maps that can be applied to Assets and props in the Unity Editor (Figure 01).
Before you begin texturing and painting an Asset in Substance Painter, you need to bake the Textures. This creates Texture files that will be updated when you’re painting and texturing. You can also use the bake function in Substance Painter to transfer details of a high poly Mesh to an image file. This file can be used to simulate the details onto a low poly Mesh.
2. Open Substance Painter and create a new project
1. Open Substance Painter, and select Close if the Welcome to Substance Painter window appears (Figure 02).
2. Keep Substance Painter open as you follow the next steps.
3. Open an Asset for Texturing
1. Open a low poly mesh, or use the Substance in Unity plugin’s live link option to send an Asset directly from the Unity Editor to Substance Painter (Figure 03).
To learn how to use the Substance in Unity live link, see Unity DCC live link with Substance Painter.
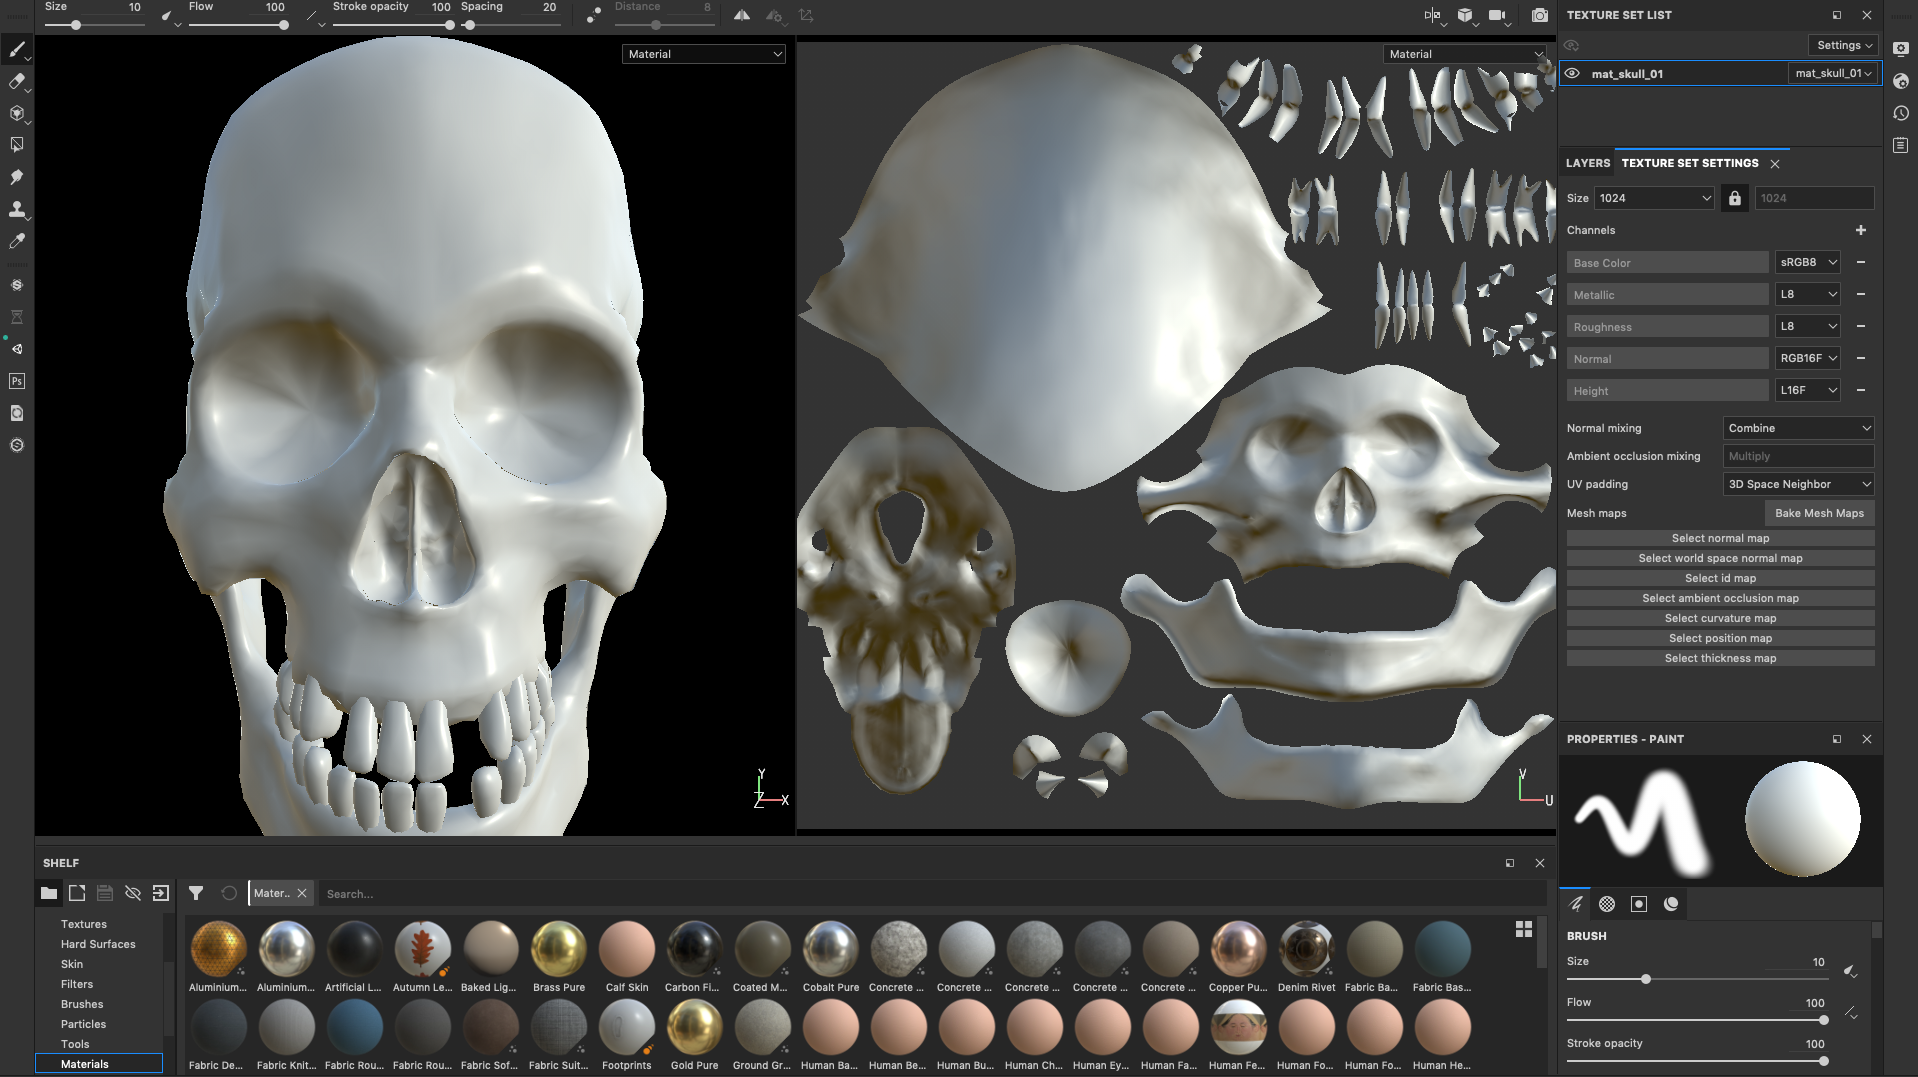
2. Set the Texture resolution size in the Texture Set Settings tab (Figure 04).
The Texture Set Settings tab contains a list of channels that are commonly used to Texture. Base Color is the Albedo property in Unity. You will see other channels in this window that are similar, if not the same, as other Material properties in the Unity editor.
4. Adding Additional Channels
For this example, add the Emissive channel and the Opacity:
1. To add the Emissive channel, select the plus symbol at the top-right of the Channels section (Figure 05).
The channel will be added to the list.
2. Repeat the previous step to add the Opacity channel.
5. Open Baking Settings
The next step is to create baked Textures:
1. In the Texture Set Settings panel, select Bake Mesh Maps (Figure 06).
2. In the Baking window, choose a desired Output Size of 1024. If you select a setting of 2048 or 4096 it will take quite a while to generate the maps (Figure 07).
3. Set the following options:
- Dilation Width: This determines the pixel padding around the UV shells. You should be able to set this to either zero or very low.
- Disable the setting Use Low Poly Mesh as High Poly Mesh.
- Max Frontal Distance: This is the distance the bake will search outward for geometry. Change this only if you are transfering maps from a high poly model to a low poly model.
- Max Rear Distance: This is the distance the bake will search inward for geometry. Change this setting only if you are transfering maps from a high poly model to a low poly model.
- Disable the Relative to Bounding Box option. This should be enabled only if you are transfering maps from a high poly model to a low poly model.
- Enable Average Normals to smooth out the high poly mesh normals.
- Enable Ignore Backface.
- Set Antialiasing to the Subsampling 2x2 option. For higher quality, increase this to 8x8, though this will also increase the baking time.
- Set the Match option to Always.
- High poly and low poly mesh suffixes are used to identify high and low poly meshes. For this exercise, the suffixes do not need to be changed.
6. Set Mesh Maps
On the left-side of the window, choose the type of maps to bake. For this exercise, turn off all the maps except the Normal and Ambient Occlusion maps.
You can learn more about each map by hovering the cursor over it (Figure 08).
7. Baking the Maps
To bake the maps, select Bake Mesh Maps at the bottom-right of the Bake window where you see the name of the Material.
After the maps have baked, the Textures are automatically mapped to the correct channels for use by Substance Painter. You can now begin to texture and paint your Asset.
8. Conclusion
Baking is the first step before texturing and painting in Substance Painter, which allows you to add realism and create unique designs for your Unity Assets.