
Best Practices for Immersive Audio in VR
Tutorial
intermediate
+0XP
25m
(36)
Unity Technologies
In physical reality, the shape, layout, and physical materials of your environment affect how sound reaches your ears. In this tutorial, we'll explore how to use audio spatializer plug-ins to match your VR audio to the visual experience.
Languages available:
1. Best Practices for Immersive Audio in VR
This tutorial has been verified using:
Unity 2019.4.12f1 LTS
Windows XR Plugin 2.3.0
NuGet for Unity 2.0.1
Microsoft.SpatialAudio.Spatializer.Unity 1.0.36 (NuGet package)
Oculus Integration 20.1
In physical reality, the shape, layout, and physical materials of your environment affect how sound reaches your ears. In this tutorial, we'll explore how to use audio spatializer plug-ins to match your VR audio to the visual experience.
Both Oculus and Microsoft provide spatializer plug-ins for VR in Unity. Using a spatializer plug-in will allow your physical environment (for Oculus) and the position and angle of Audio Sources, relative to the user, to affect how they sound, as in real life. We'll look at how to use these in combination with 3D Sound Settings on Audio Sources to provide high-fidelity VR audio.
2. Installing the Microsoft Audio Spatializer
There are two Microsoft Audio Spatializers. MS HRTF Spatializer is for projects that need to be compatible with earlier HoloLens and Windows XR headsets and projects. This is included in the Windows XR Plugin, installed via the Package Manager.
1. From the Window drop-down, select Package Manager.
2. In the left column, click Windows XR Plugin. Click Install in the lower-right corner (Figure 01).
Microsoft Spatial Audio is downloaded via NuGet, an add-on Package Manager for Unity, and should be used for new projects.
1. Save the latest version of the NuGet package to your computer.
2. From the Assets menu, select Import Package > Custom Package (Figure 02).
3. Navigate to where you saved NuGet.unitypackage (the actual file will be named to reflect its version number). Click to select, and click Open.
4. You can also double-click on the downloaded NuGet.unitypackage with Unity open to install.
5. Leave all files selected and click Import (Figure 03).
6. Once installed, click the NuGet drop-down and select Manage NuGet Packages (Figure 04).
7. In the Search bar, type Spatializer. Click Install in the upper-right corner of the entry for Microsoft.SpatialAudio.Spatializer.Unity (Figure 05).
3. Installing the Oculus Audio Spatializer
The Oculus Audio Spatializer for Unity is available as a standalone .unitypackage, on the Oculus Developer website, or as part of the Oculus Integration Unity Asset.
1. Select Asset Store from the Window drop-down in the Unity Editor.
2. Search for Oculus Integration (Figure 06).
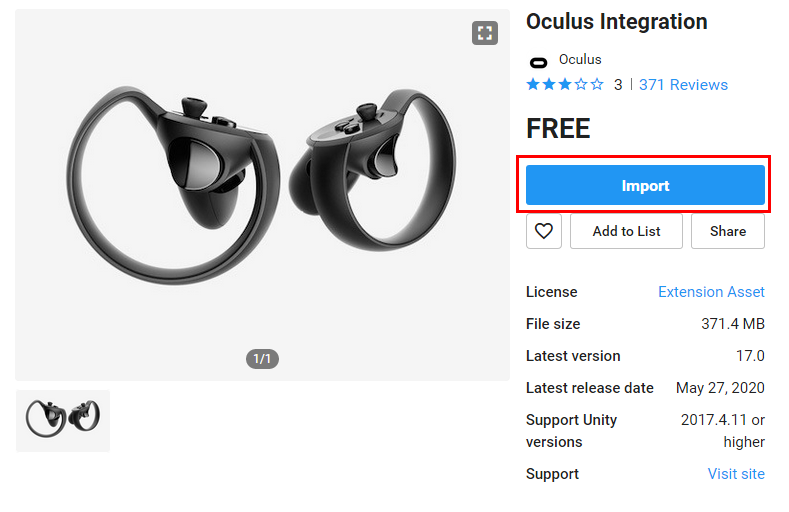
3. Click Oculus Integration. Click the button to download, then again to import to your project (Figure 07).
4. Click Import in the lower-right corner to import the Oculus Integration Package (Figure 08).
5. If prompted to update to a newer version of the OVRPlugin, click Yes (Figure 09).
6. After updating OVRPlugin, restart the Unity Editor (Figure 10a).
7. When prompted, click Upgrade to use the new spatializer plug-in (Figure 10b).
8. Finally, click to restart the Unity Editor to use the new spatializer plug-in (Figure 10c).
9. The Unity Editor should now restart, using the newest version of the Oculus Audio Spatializer.
4. Assigning an Audio Spatializer to Your Project
1. From the Edit drop-down, select Project Settings.
2. In the left column, click Audio.
3. Click Spatializer Plugin and make your selection (Figure 11).
5. Adding Spatial Abilities to Audio Sources
1. If using the Oculus Audio Spatializer, set Output to use the Spatializer mixer.
2. Click Spatialize to enable spatialization and, optionally, Spatialize Post Effects.
3. Finally, set the Spatial Blend from 2D to 3D (Figure 12).
6. Using the Microsoft Audio Spatializers
The Microsoft Audio Spatializer automatically handles spatialization for Audio Sources that have spatialization enabled.
7. Using the Oculus Audio Spatializer
When targeting Oculus hardware, you can assign physical material properties to any GameObject with a Mesh Filter or Terrain component in your Scene. The GameObject needs to be static.
For each piece of level geometry that should affect audio:
1. Click to select the GameObject in the Hierarchy view.
2. Add the ONSP Propagation Geometry component.
3. Check the box labeled File Enabled. If applicable, also check Include Child Meshes (Figure 13).
4. When you’ve attached the ONSP Propagation Geometry component to all participating Meshes and Terrains, you’re ready to build the audio geometry for your Scene(s) by using the Oculus drop-down to select either option from the Spatializer submenu (Figures 14-15).
5. This attaches an ONSP Propagation Material component to each GameObject with the ONSP Propagation Geometry component, allowing you to assign a physical material preset, or define a custom material to alter sound in the virtual environment (Figure 16).
6. Each time the menu (from Step 4) is used to bake audio geometry, another ONSP Propagation Material component is added to all applicable GameObjects. Instead of baking all the Scene geometry again, you can bake newly-added geometry by clicking Bake Mesh to File in the Inspector (Figure 17).
8. Conclusion
Audio spatialization can take your VR project’s aural immersion to the next level.