Build custom shapes
Tutorial
·
foundational
·
+10XP
·
10 mins
·
(228)
Unity Technologies
In this tutorial, you'll learn how to build 3D shapes by making your own surfaces instead of just using basic shapes.
Languages available:
1. Select tools
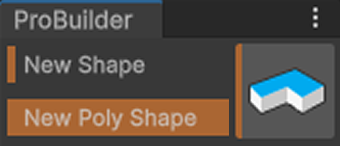
In the ProBuilder window, select the New Poly Shape tool.
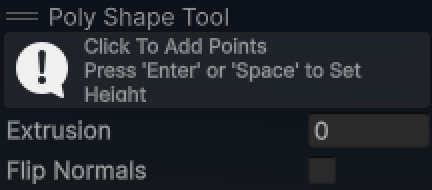
In the Scene view, the Poly Shape Tool window will open, which has the following properties:
- Extrusion: sets the height based on the completed surface
- Flip Normals: turns every surface upside down, suitable for indoor representation
2. Draw surfaces
To draw a surface, follow these instructions:
1. Place your cursor over the grid of the scene to draw a surface just like when you draw a basic shape.
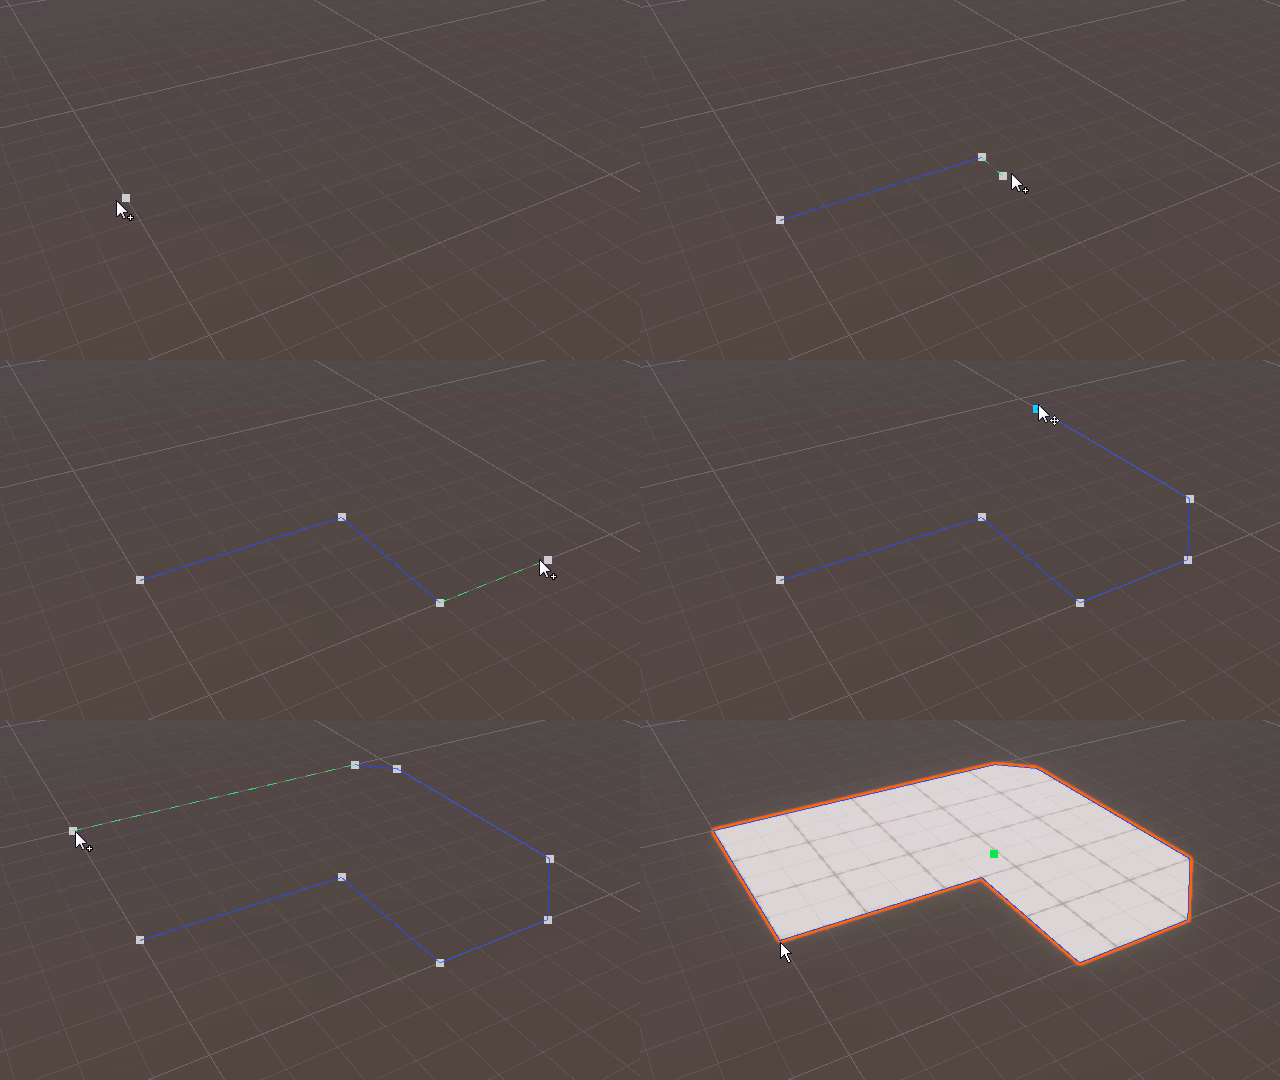
2. Click every point that will become the vertices of the surface.
3. Click the starting point again to finish drawing.
3. Set heights
You will be automatically directed to the height setting, where you move your mouse cursor up or down to set the height.
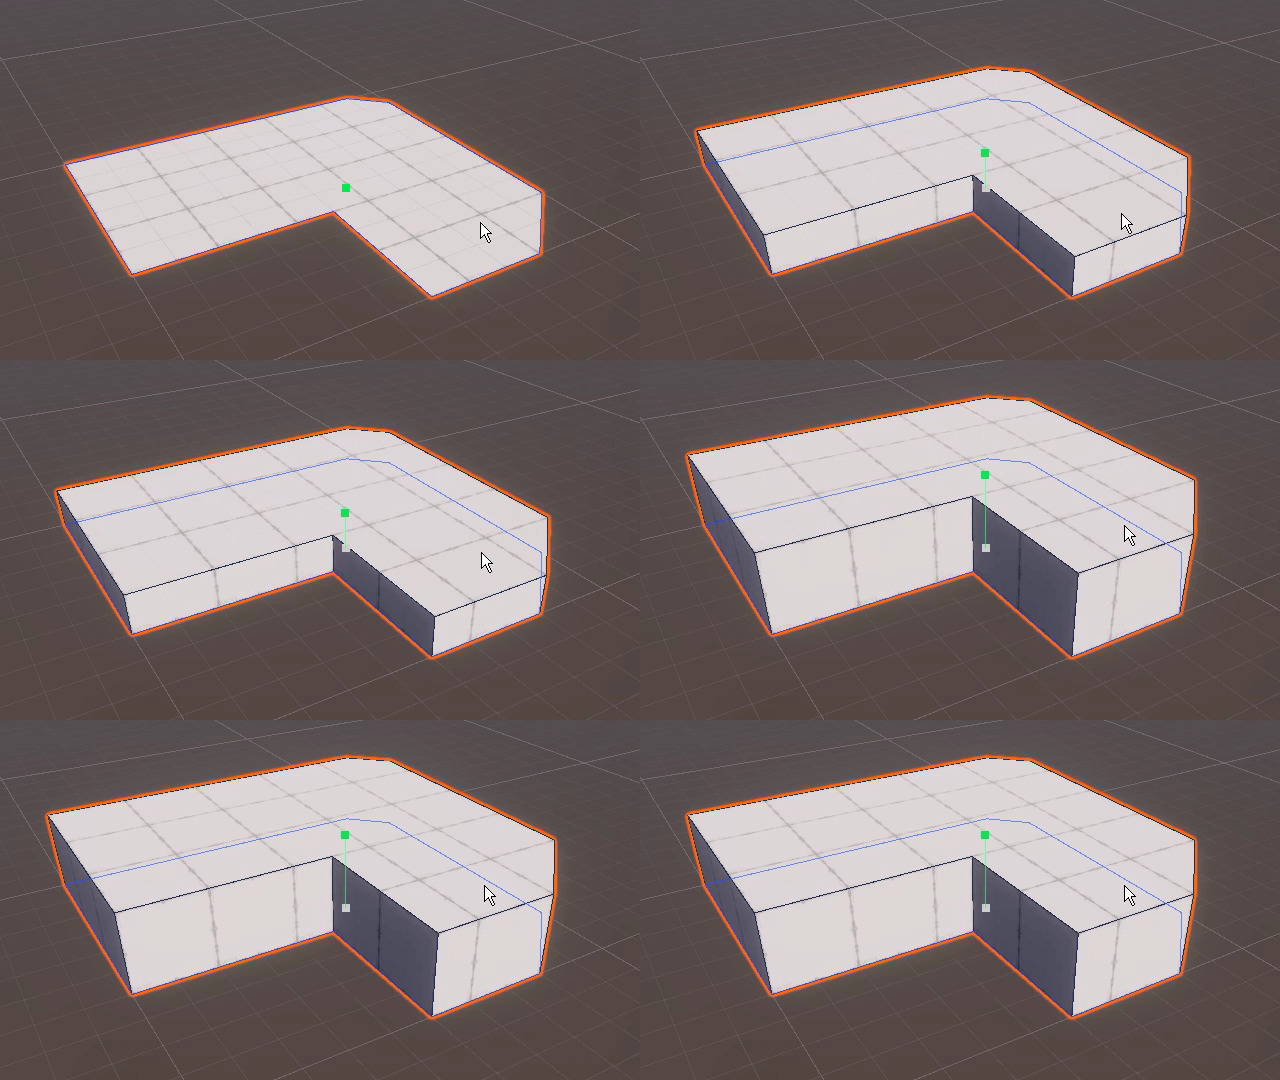
Click when you reach the desired height. If you want to edit the height after, adjust the Extrusion properties in the Poly Shape Tool window in the Scene view.
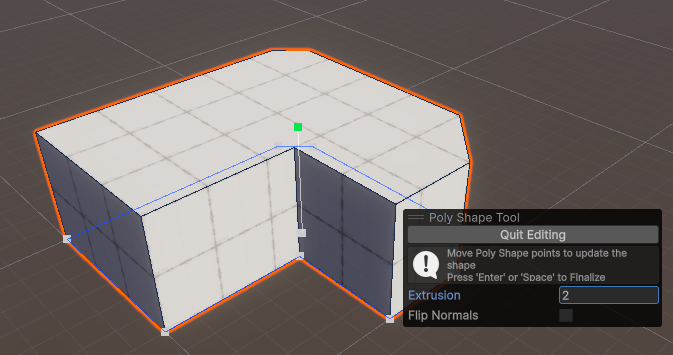
When you've finished editing, either select the Quit Editing button, press the Enter key, or click the empty space in the Hierarchy window to exit.
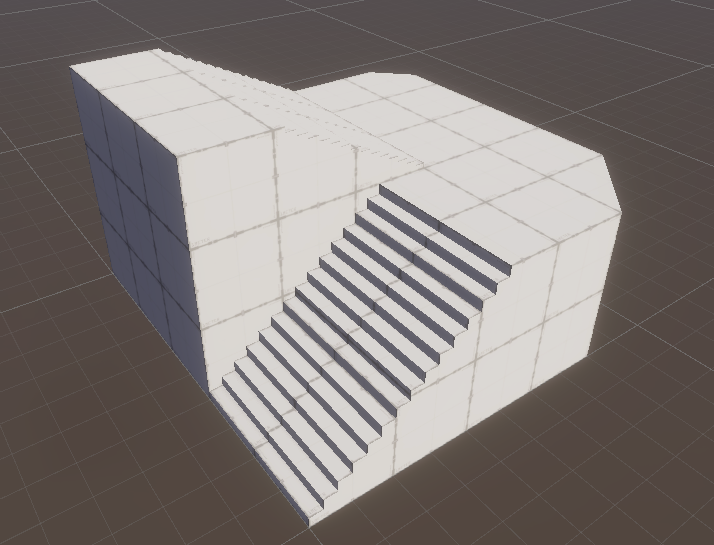
You can add more shapes for a more complex level design.
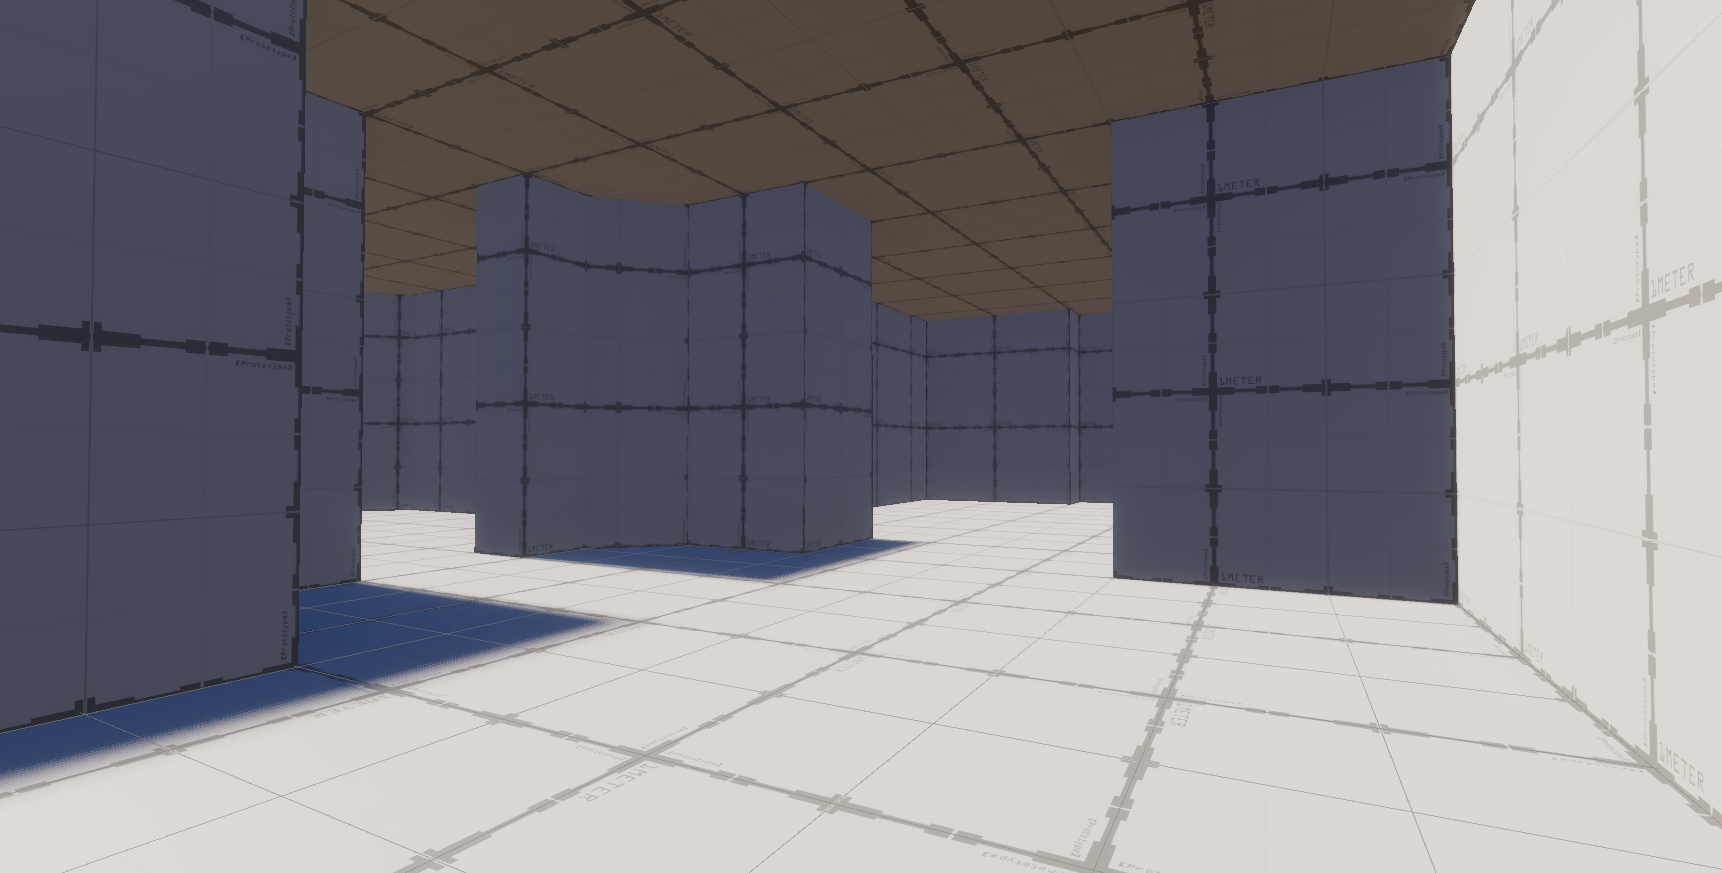
4. Challenge: Create a complex indoor space
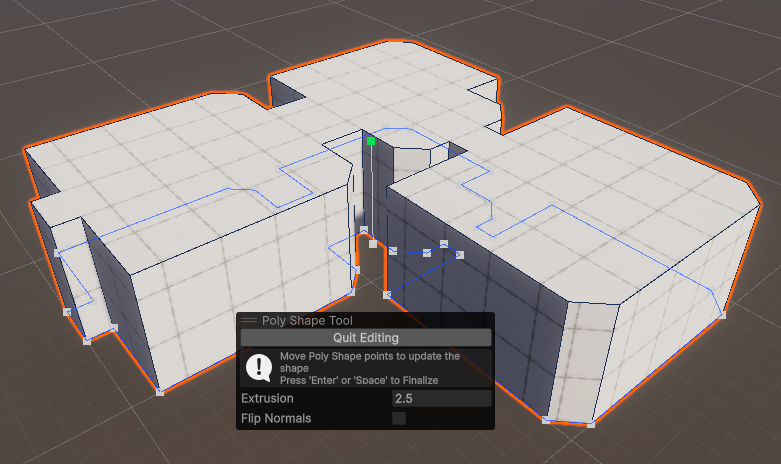
Try to design a custom shape where different rooms are connected by passages. After you adjust the height a little, use the Flip Normals property in the Poly Shape Tool window to turn over the mesh.
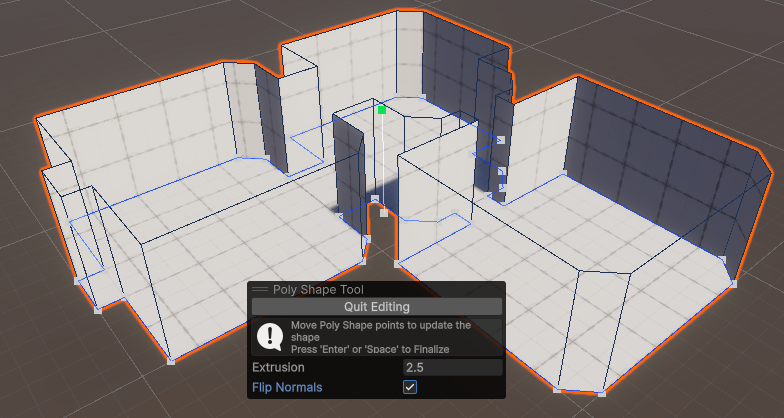
This is how the inside becomes surfaces, making a form that illuminates the interior instead of the exterior. Some faces are invisible from the outside, so you may feel there are no surfaces. When you have the desired shape, select the Quit Editing button to confirm.
