
Building the Game
Exercise
Beginner
+20XP
10m
Unity Technologies
In this tutorial, you’ll:
- Create a build of your game for Windows or macOS
- Identify the next steps in your personal learning journey
Note: Linux support is currently in preview, and not fully supported. The steps to build for Linux should be broadly parallel to those for Windows; if you encounter a bug, please report it to the team.
Languages available:
1. Overview
In this final tutorial, you’ll:
- Create a build of your game for Windows or macOS
- Identify the next steps in your personal learning journey
By the end of this tutorial, your game will look something like this:
2. Create a build of your game
Follow the video or text instructions below to configure your build settings, configure your player settings, build your game, and finally play your standalone game:
1. Configure your build settings.
- Save your scene.
- To open the Build Settings window, from the main menu go to File > Build Profiles. Alternatively, you can press Shift+Control+B (macOS: Shift+Cmd+B).
- Select Windows, Mac, or Linux in the Platforms panel
- In the Scene List, select Open Scene List, then Add Open Scenes to add your Roll-a-ball game to the build. You can also drag scenes from the Project window to this list.
- If SampleScene is showing in the list, disable it to exclude it from your build.
2. Configure your player settings.
- Select Player Settings to open a range of different configuration options for the Game view.
- If you want, change the Company Name, Product Name, and Version.
- Select Resolution and Presentation and change the Fullscreen Mode box to Windowed.
- By default this will have a resolution of 1024 by 768, but set the default width and height to something smaller if your screen uses a lower resolution.
- Close the Project Settings window and return to the Build Settings window.
3. Build your game.
- Select Build. This will bring up a dialog that asks you to choose a build location.
- To keep things tidy, create a new folder inside your project called “Builds” at the root of the project, alongside the Assets and Library folders.
- If you’re using macOS, you can also choose a name for your build.
- Confirm that you want to Select Folder (Windows) or Save (macOS). Unity will now build the application and save it to the Builds folder.
4. Play your standalone game!
- Navigate to the Builds folder and then run the executable application.
- Note: When building for macOS, Unity builds an .app bundle that contains all of the relevant data and files. When building for Windows, Unity builds an .exe file and a data folder that contains all of the necessary resources.
3. Your next steps
After you’ve finished your project, what will you do next? Consider some of the options below:
Solidify your programming fundamentals
If you are not already confident with your programming, it is recommended that you start with Create with Code or the more comprehensive Junior Programmer Pathway, which will take your programming skills to the next level. You can also check out the Creator Kit: Beginner Code project!
Expand your artistic design skills.
You did a bit of design in this project, but there is an entire Creative Core pathway that will take you through the fundamentals of materials, visual effects, lighting, post-processing, audio, user interface design, and more.
Continue with more game development.
If you want to continue down the games path, Unity Learn has a wide range of games-based learning content, including the following:
4. Submit your project
If you went above and beyond and created your own take on the Roll-a-ball game, take a screenshot or screen-recording and post it here to share what you made! To upload your project online as a WebGL build so others can play it, you can:
- Follow the instructions to create and build your project for WebGL.
- Share a link in your submission description below so other people know where to find it.
Please also share any "behind-the-scenes" info about how you made your project!
Proud of your project? Share it to the Unity Play showcase by December 20 for a chance to be featured on a Unity Twitch stream.
Please login to submit
Complete this Tutorial
Submission Gallery
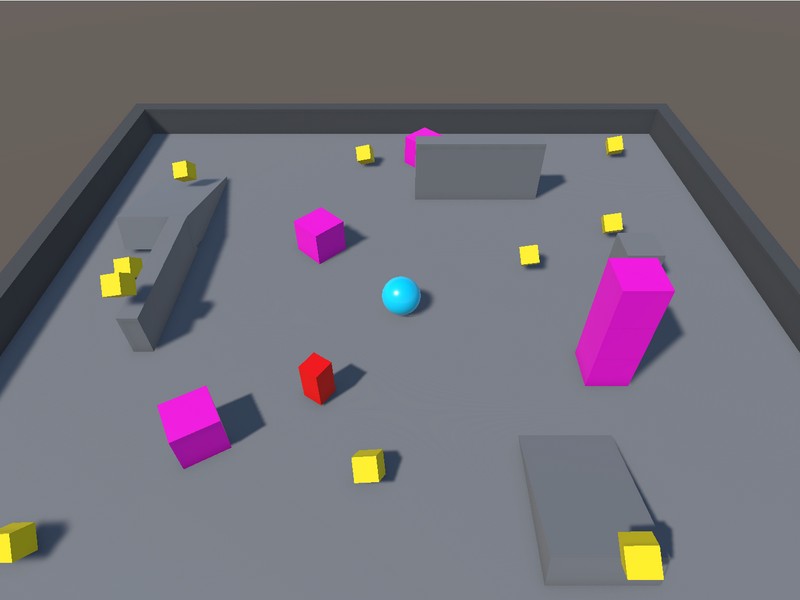
Roll a ball
Some Roll a Ball game

куриные задачи
Игра про то как с помощью куриц можно развиваться
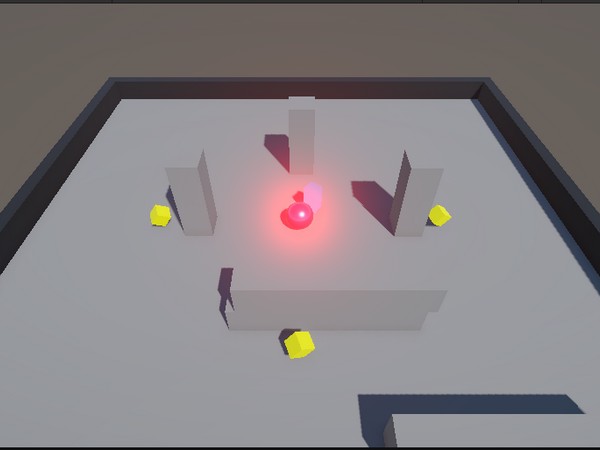
Roll a Ball
its not that good.

roll-a-ball-bones
Projeto desenvolvido para a disciplina de Programação de Jogos do Prof. Murilo Boratto, utilizando o Unity 6. # Principais Mecânicas Implementadas: Personagem Customizado: Substituição da esfera por um modelo de Esqueleto 3D. Substituição do cone por um Fantasma 3D. Colecionáveis de Terror: Cubos amarelos transformados em Crânios 3D rotativos. Inimigo Fantasma (IA): Um monstro perseguidor que ignora paredes internas para caçar o jogador e dispara a tela de derrota. Áudio Imersivo: Efeito sonoro ao coletar os crânios e trilha sonora de terror em 3D vinculada à proximidade do inimigo.

rolly da bally
is a game where you roll a ball an stuff i guess

Erens Roll a Ball Game
Roll the ball run the guy .D