
Challenge 1: Setting up XR Interaction Toolkit
Tutorial
intermediate
+10XP
0 mins
Unity Technologies
In this challenge, you must set up the XR Interaction Toolkit in Unity.
Resources
Languages available:
1. Install XR Interaction Toolkit
1. Download the starter package, and open the Starter scene.
2. Download XR Interaction Toolkit from the preview package in the Package Manager. In the Packages folder, you now have the scripts and prefabs to use for the rest of the functionality.
2. Add a Room-Scale XR Rig
1. Add a Room-Scale XR Rig
2. Check to make sure the XR Interaction Manager is added to the scene
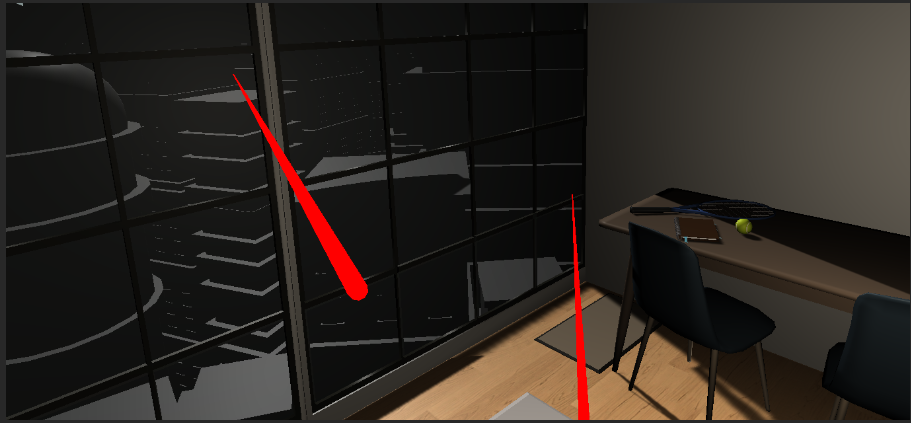
3. Take a moment to explore the XR Rig. Note: the Main Camera has the Tracked Pose Driver, and the controllers have the XR Controller, XR Ray, Line Renderer, and XR Interactor.
3. Install XR Plugin Management package
1. To Setup VR, install the XR Management package from the package manager, which replaces the need to pull in the OpenVR Desktop package.
2. Once installed, navigate to Edit > Project Settings > XR Plugin Management and click Install XR Plugin Management.
3. In Project Settings, install the appropriate plugin for your device. For instance, if you’re using an Oculus headset, install the Oculus SDK.
4. Click play and look around. You should now be able to see your scene.