Challenge — Adding Video and Audio in your Scene
Tutorial
Beginner
+10XP
30 mins
55
Unity Technologies
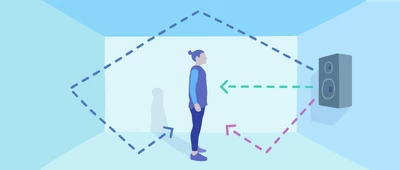
In this challenge, you will be adding a video and three sound sources to the prehistoric Scene.
Materials
Languages available:
1. Overview
In this challenge, you'll add a video to the prehistoric Scene as well as three sound sources (see example in the videos below). While this project specifically uses prehistoric media, you can use the same process to make other portal-type apps using videos or sound sources in an AR Scene.
Remember: The use of graphics and audio help boost immersion and, in turn, help you create more effective marketing applications.
For this challenge, you’ll need to:
- Add the Video component to the Video Player GameObject
- Add a Video Clip to the Video Player component
- Add each Audio Source to its own GameObject
- Place each Audio Source in its own location
- Adjust Spatial Blend on each Audio Source to 3D
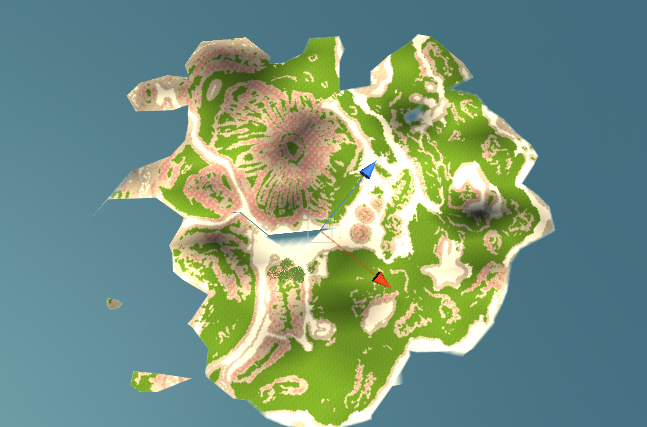
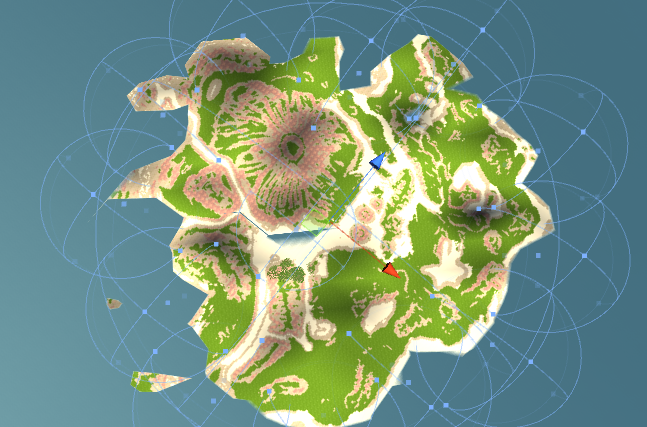
Note: Audio playback is not supported on the platform, but the steps to configure audio in Unity are accurate.
2. Add a Video Player Component to the VideoPlayer GameObject
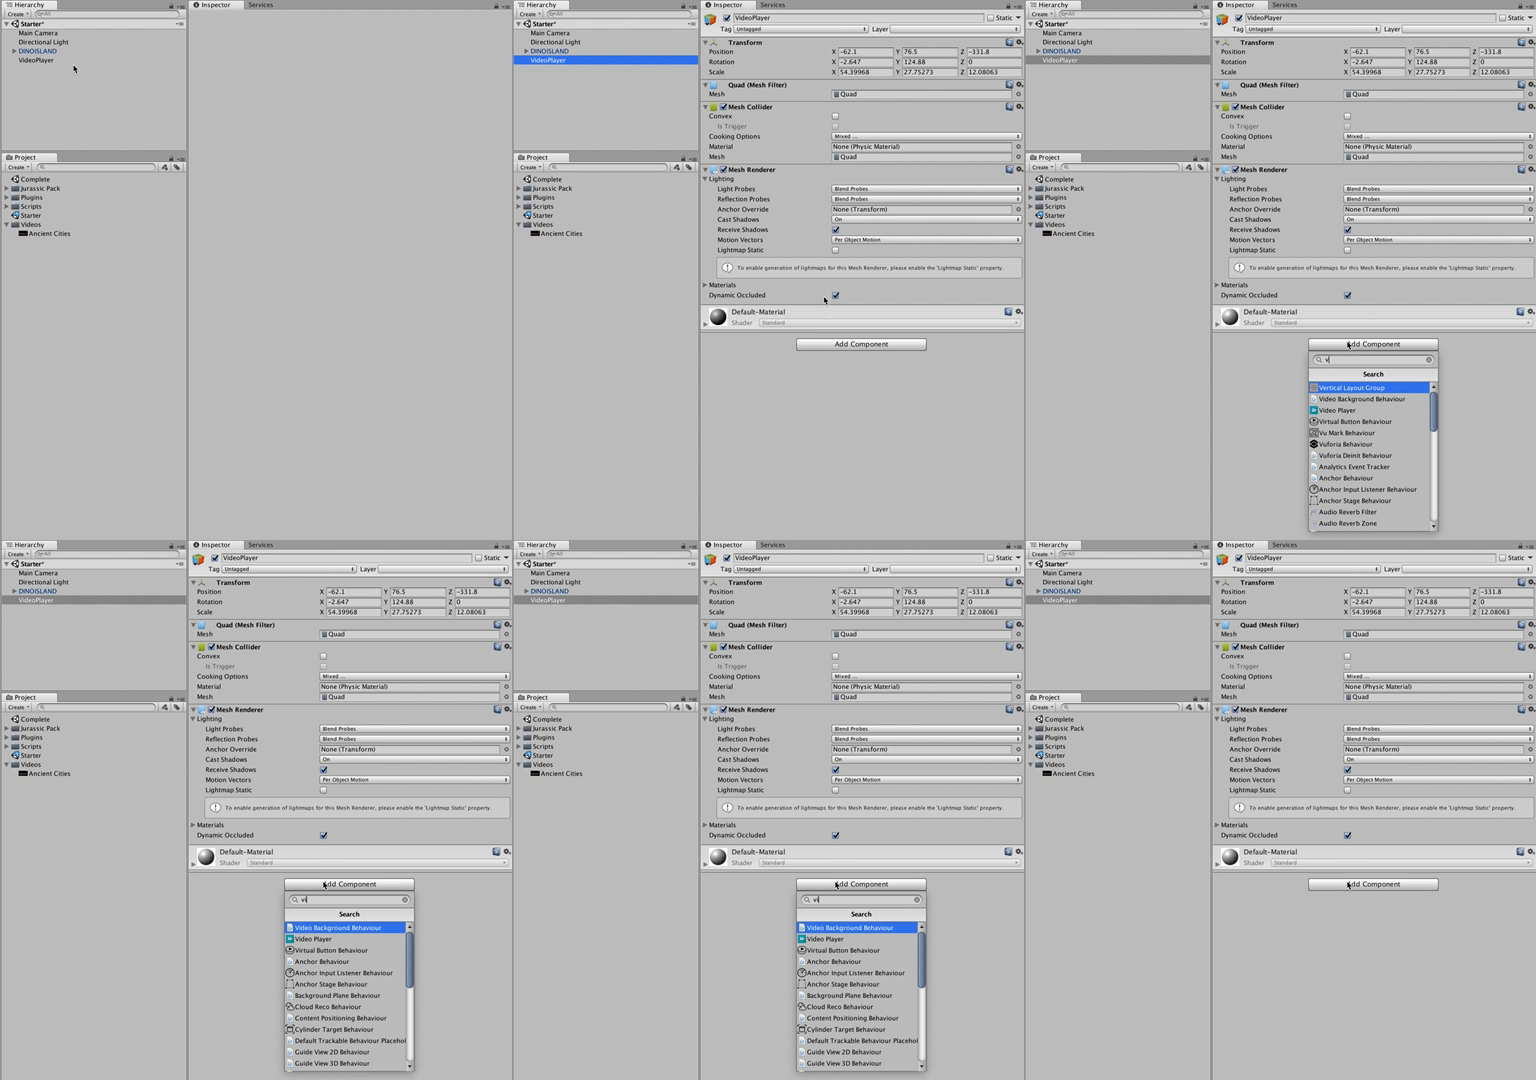
- Locate the Video Player in the Hierarchy (Video > Video Player).
- Add a Video Player component by clicking Add Component and searching for Video Player.
3. Configure the Video Player Component and the Video Controller Component
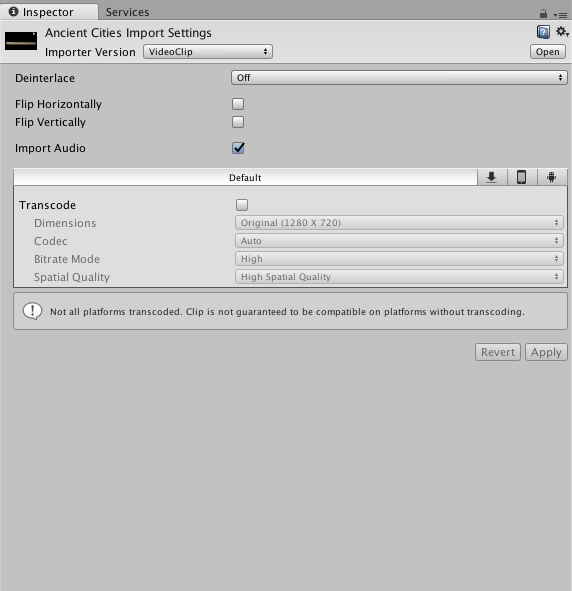
Configure the Video Player by adding the appropriate video clip, toggling the Loop checkbox, and adding the Video Player component to the GameObject.
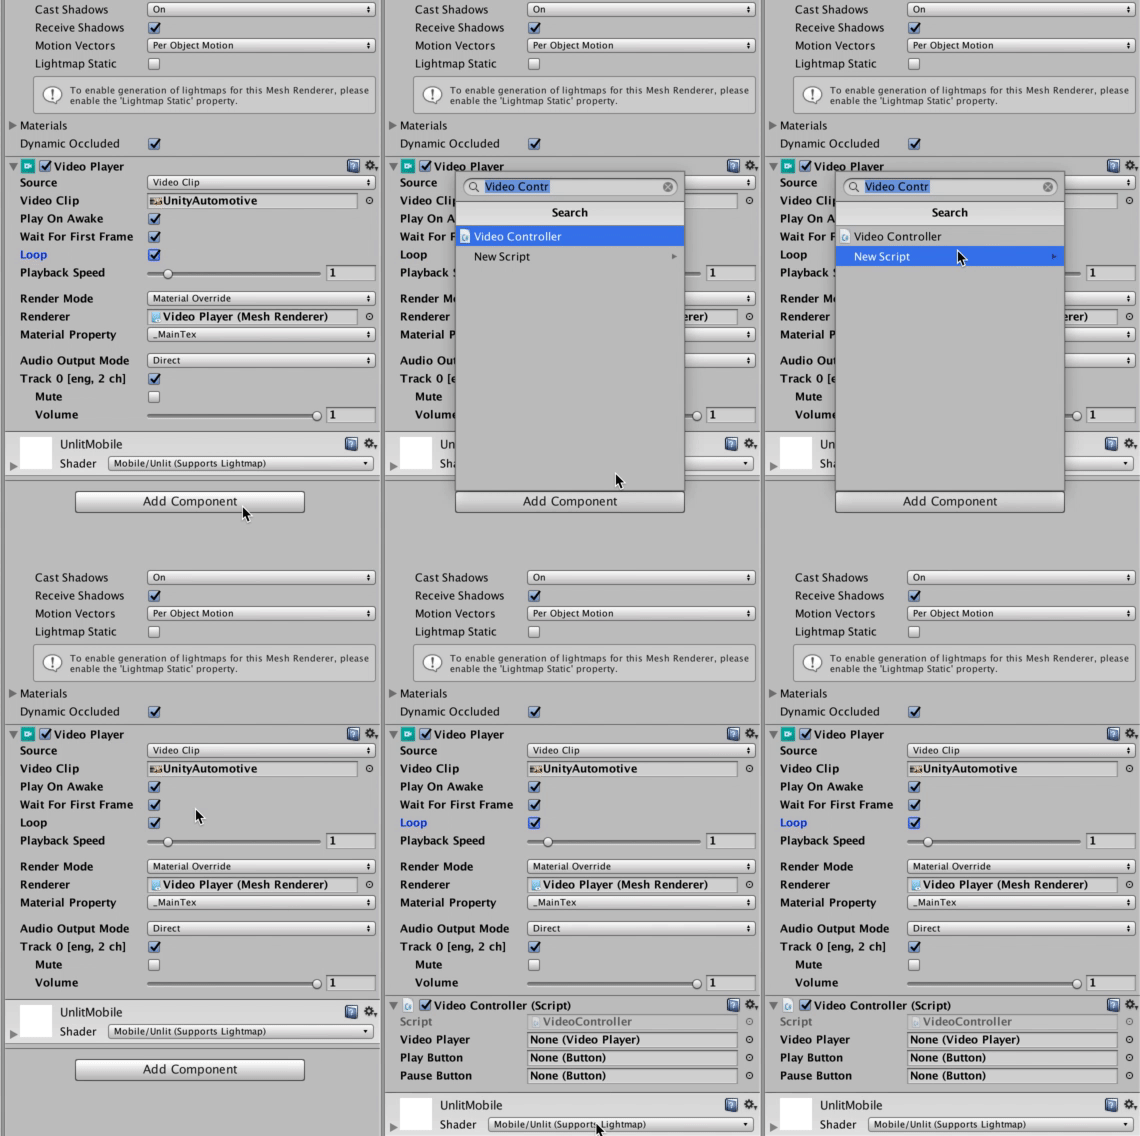
- Add the Ancient Cities video clip to the Video Player by dragging it from the Project window into the Video Clip field.
- Toggle the Loop checkbox to ensure the video clip repeats.
- Attach a Video Controller to the Video Player GameObject by clicking Add Component and searching for and selecting the Video Controller component. Note: You will configure the Video Controller in the next step.
--------------------
What is a Video Controller?
A Video Controller is a script component that allows the use of a play and pause button with your Video Player. This component is a quick way to add UI functionality to the Video Player.
4. Assign the UI Buttons to the Video Controller Component
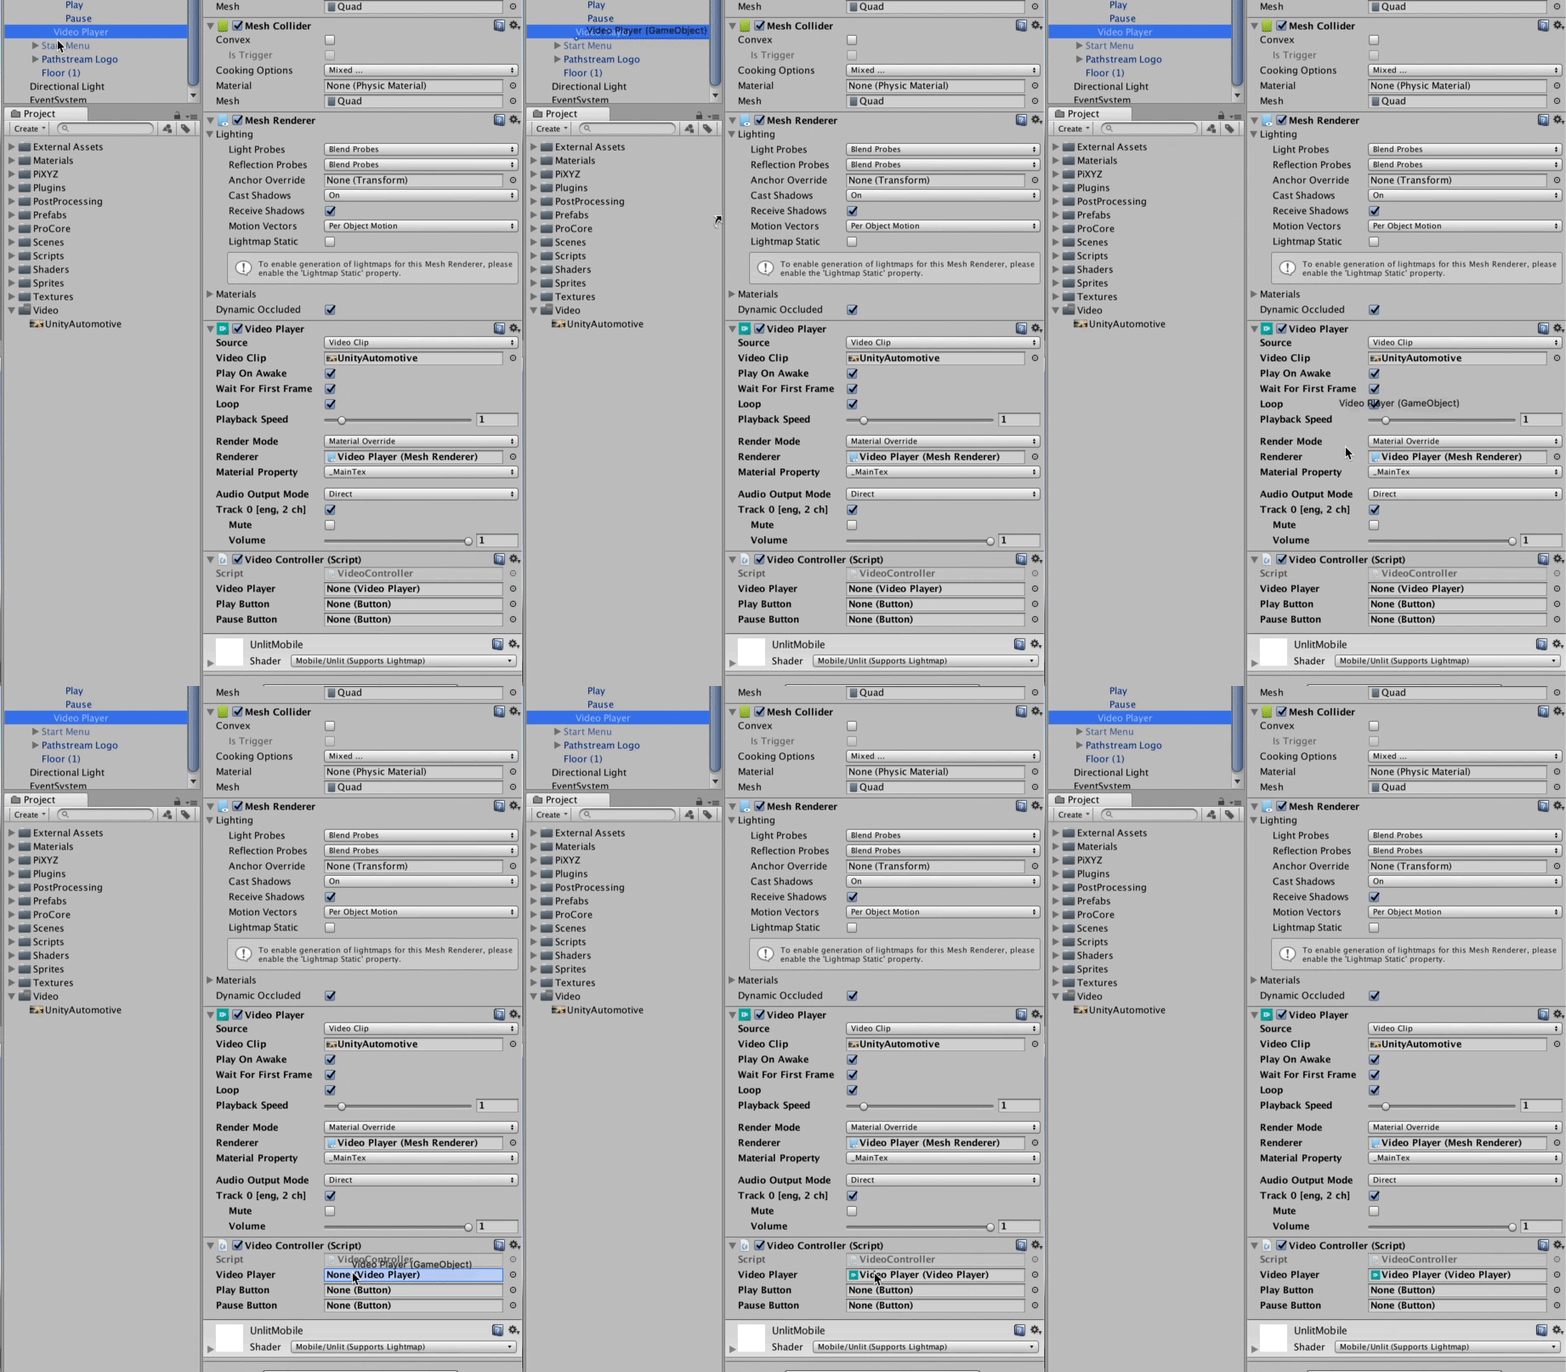
There are some empty fields on the Video Controller script (Video Player, Play and Pause buttons). Assign the fields appropriately.

1. Assign the Video Player to the Video Controller’s Video Player field by dragging it directly into the slot.
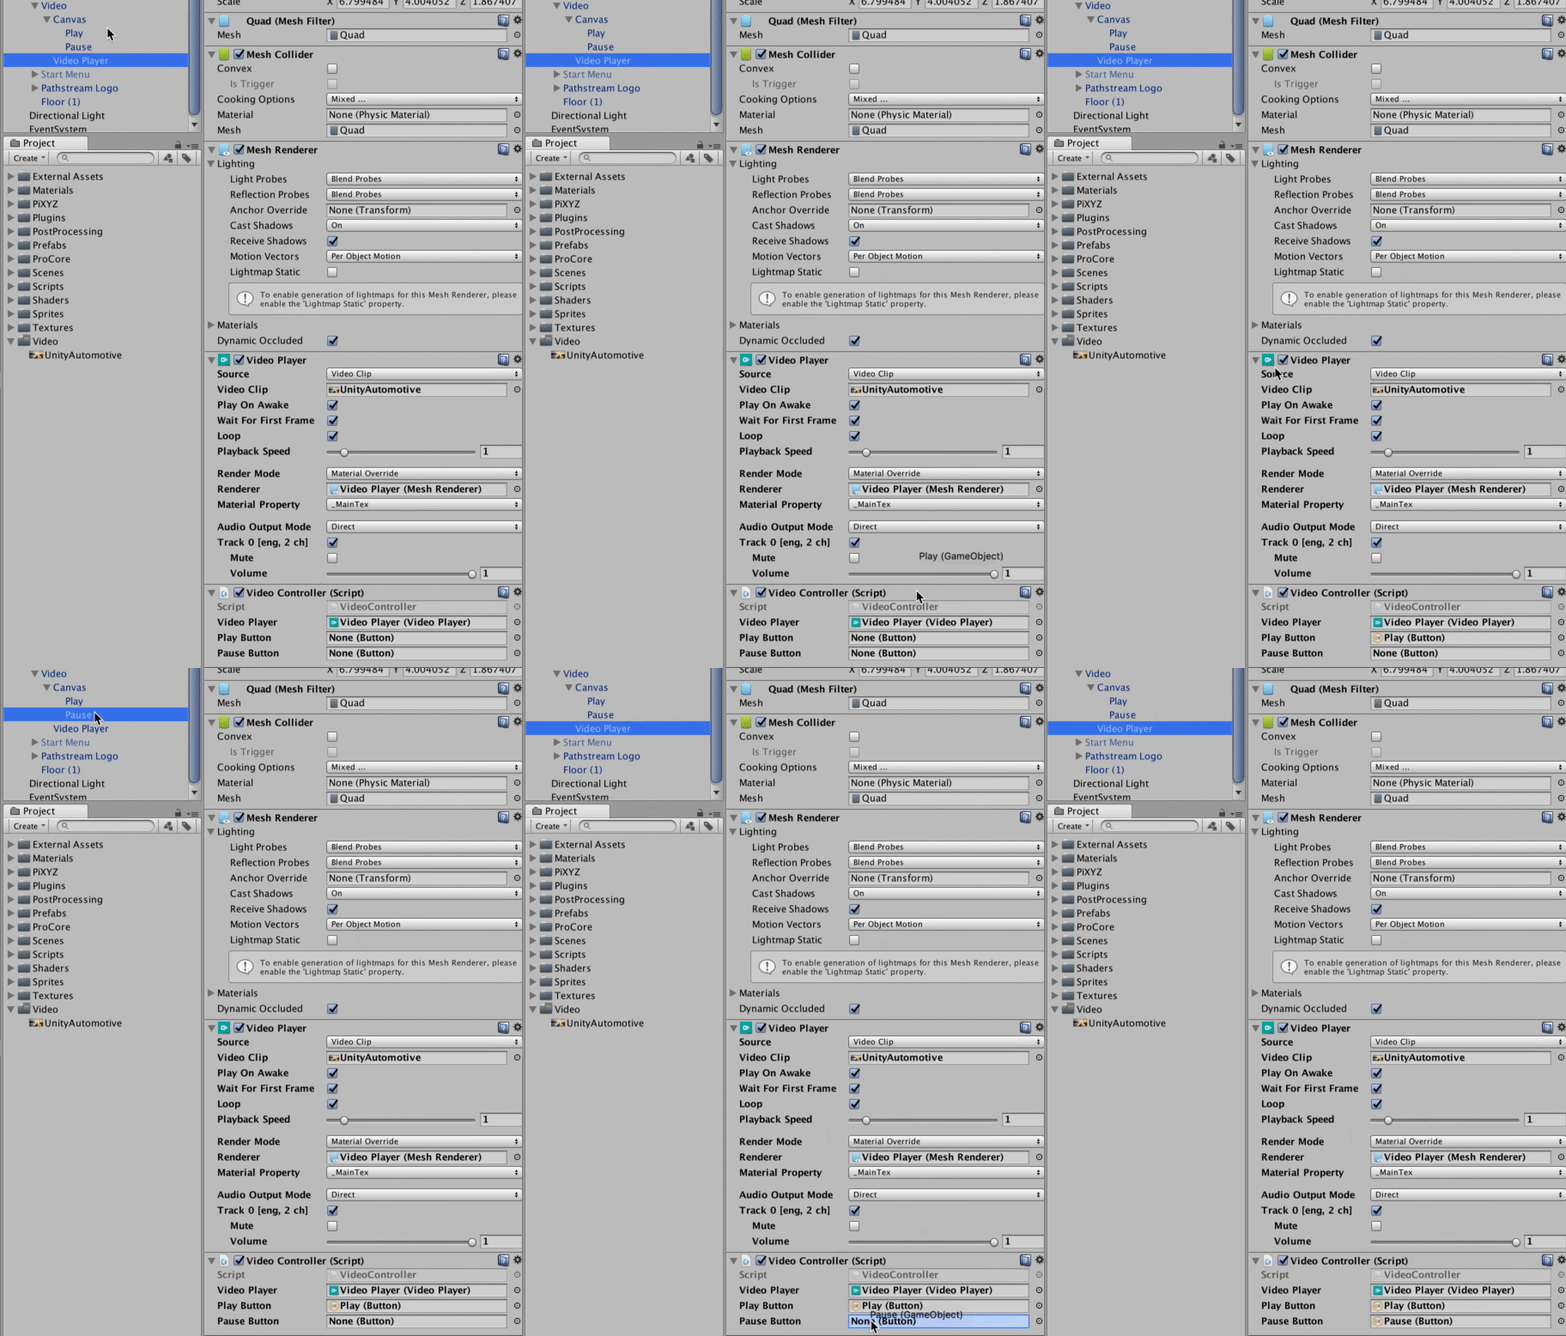
2. You’ll find the Play and Pause buttons under the Canvas GameObject in the Hierarchy.
3. Drag them into the Video Controller component’s Play Button and Pause Button slots, respectively.
5. Create Ambient Audio Sources
Beneath DINOISLAND, map sounds holds environment Audio Clips on each of the respective GameObjects. You’ll duplicate the ocean_audio GameObject and place those around the map.
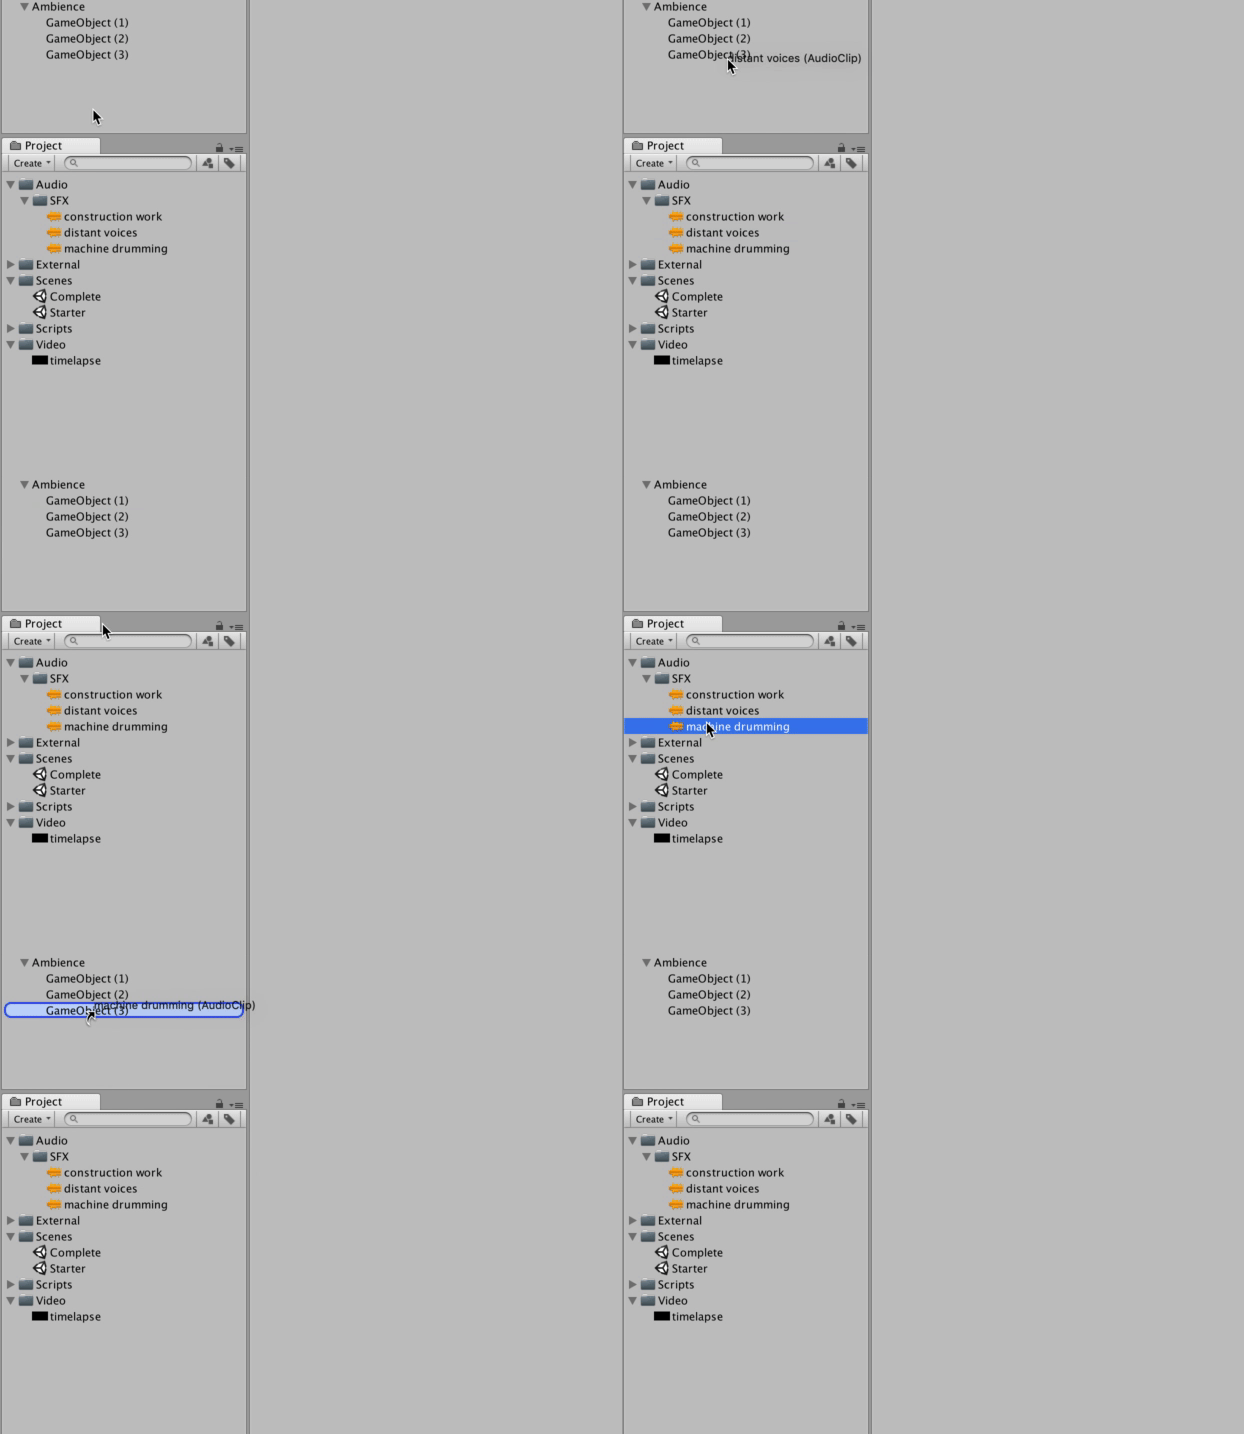
1. In the Hierarchy, click on ocean_audio (1).
2. Duplicate it 11 times.
3. Move each instance within the Scene view until the placement seems reasonable. Note: "Reasonable" means that there is some audio surrounding the main Camera almost anywhere the person goes
4. Rename each Audio Source to something indicative of the sound file you place on it. For example, the GameObject housing “construction work” can be renamed to Construction

--------------------
Tip — Duplicate, don't Recreate
By creating an Empty GameObject, and attaching an Audio Source to it, you can then duplicate that GameObject by Right Clicking and choosing duplicate or you can CMD + D with that GameObject highlighted.
6. Finish Off Setup of Ambient Audio with Spatial Blend and Loop Settings
Use your knowledge of the Audio Source component to enable looping and make the spatial blend 3D.
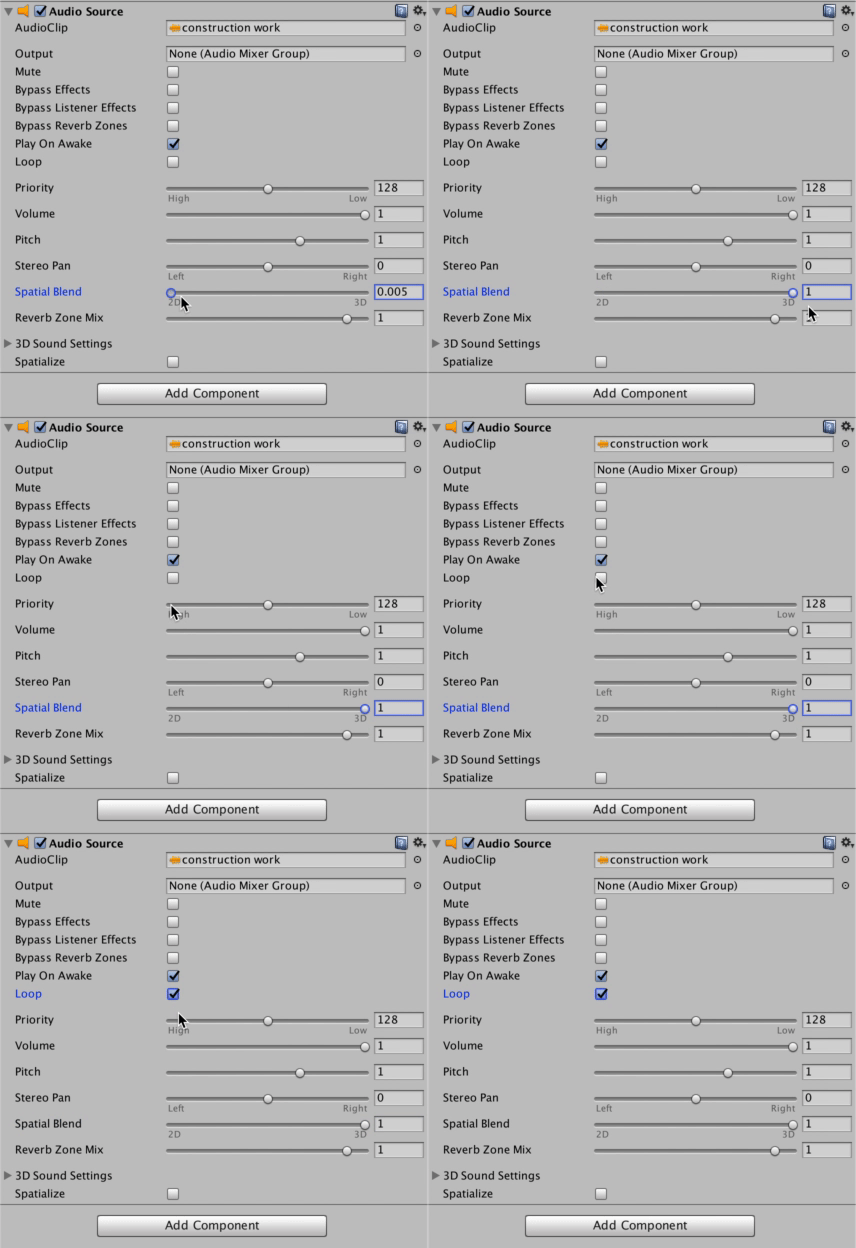
- Turn the Spatial Blend to 3D on each Audio Source so to reflect the location of the viewer of the Site Tour in relation to the point of audio emission
- Check Loop so that the audio plays on repeat
- Jump into the Scene view and position the individual Audio Sources throughout the environment
7. Key Takeaways
You have now added a video player to the portal scene with prehistoric environment and configured the Video Player Controller to work with the Video Player. The Video Player Controller uses some concepts covered in the UI - Basic and UI - Intermediate modules. For a comprehensive look into Unity’s UI system refer to those modules.
By completing this module, you’re now able to:
- Add 3D and 2D audio to your Unity project
- Add and position video content in your Unity scene
- Use the Video Player Controller to allow users to start, pause, and stop video playback on mobile AR.