
Challenge — Illuminating Environments with Unity's Lighting System
Tutorial
Beginner
+10XP
30 mins
(99)
Unity Technologies
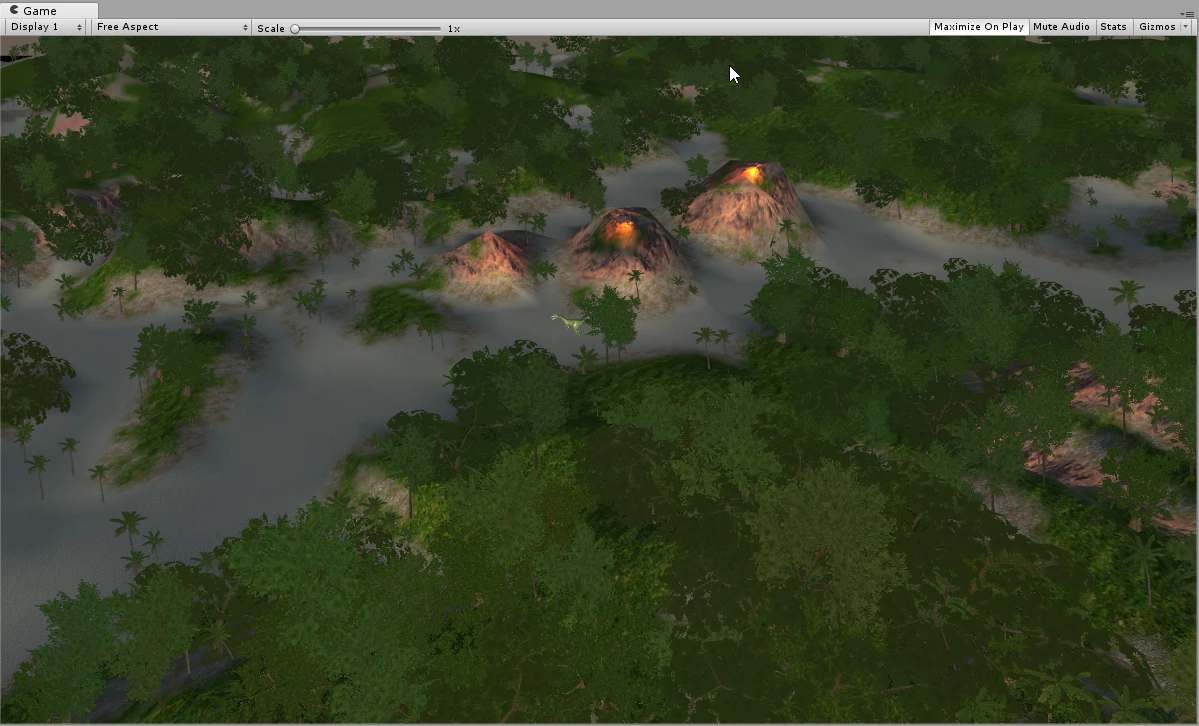
In this challenge, you will be adding lighting to a sample dinosaur Scene.
Resources
Languages available:
1. Overview
In this challenge you will use your knowledge of Unity’s Lighting Engine to light an outdoor Scene. You will add sunlight to light the environment, lava glow to liven up the volcanoes, and three-point lighting to highlight the dinosaur. With Unity’s Lighting Engine, you can give your Scene an added sense of depth and realism as well as use subtle effects to highlight the Scene’s features.
In this challenge, you will:
- Use a Directional Light to create sunlight for outdoor scenes.
- Use Point Lights to simulate glowing lava (these lights can also be used for fire, candles, and electronic devices, such as TVs or computer monitors).
- Use three-point lighting theory to effectively light objects in your Scenes.
2. Add a Sun to the Scene
Add a Directional Light to your Scene to simulate the sun.
- Create a Directional Light (Create > Light > Directional Light).
- Rotate it to simulate dusk. (For this example, we have it shining on the left side of the dinosaur.) Use the Rotate tool (E key) to rotate the light.
3. Make the Volcanoes Glow
Add a light to the top of the volcanoes to simulate the orange glow from the lava.
- In the Hierarchy, locate each volcano (volcano_smoke) in the Scene.
- Create a Point Light (Create > Light > Point Light) and position it so that it's near the center of the volcano’s opening.
- Adjust its color, intensity, and range until you are satisfied with the lava glow simulation.
- Repeat steps 2-4 with the other three volcanoes
--------------------
Tip — Point Light
A Point Light works best for a glow effect as it emits light radially.
4. Use Three-Point Lighting to Illuminate the Dinosaur
Use the three-point lighting technique to effectively light the dinosaur.
- Create two Spotlights (Create > Light > Spotlight).
- Position one to be the Fill Light in front of the object on the opposite side of the Directional Light.
- Adjust the Fill Light’s Spot Angle, Intensity, and Range (don’t overpower the Directional Light — the Fill Light should always be less intense than the Key Light).
- Position the light behind the dinosaur to be the Rim Light.
- Adjust the Rim Light’s Spot Angle, Intensity, and Range to be less intense than the Fill Light
Hint — The Directional light you added in the first step already acts as the Key Light. Use a Spotlight for the Fill Light as well as the Back Light.
--------------------
What is Three-Point Lighting?
Three-point lighting is a standard method used in visual medias (theater, video, film, photography, and computer-generated imagery). This technique uses three separately positioned lights:
- Key Light: Main light positioned in front of the object and slightly off to one side. In outdoor environments, the sun often acts as the Key Light. The best practice is to use a Directional Light as the Key Light.
- Fill Light:The Fill Light is positioned in front of the object and on the opposite side of the Key Light to “fill in” any shadows created by the Key Light. Both Spotlights and Point Lights are good options for the Fill Light; however, if you are working with a large object, like a building, a Directional Light with the intensity reduced (to less than that of the Key Light) works nicely.
- Back (Rim) Light: The Back Light is positioned anywhere behind the object and helps outline the object's periphery. Like the Fill Light, Spotlights and Point Lights are good options, but a Directional Light with reduced intensity works nicely as well.
See the diagrams below for additional information on this lighting technique
Tip — Three-Point Lighting Intensity
For most cases, the Key Light should be the most intense followed by the Fill Light and lastly the Rim Light.
Tip — Choosing Light Types
Spotlights are the most performant Unity lights and, as such, should be the first choice when you are implementing three-point lighting.
5. Key Takeaways
You've now added real-time lighting to the Scene.
By completing this challenge, you’re now able to:
- Create sunlight for outdoor Scenes
- Use Point Lights as simple glowing effects
- Use three-point lighting to effectively light objects in your Scenes