
Challenge — Importing CAD Models Using PiXYZ Studio
Tutorial
Beginner
+10XP
30 mins
Unity Technologies
In this Challenge tutorial, you will replace a placeholder car with an actual car model. To do so, you’ll need to:
- Fix .wire car model in PiXYZ Studio
- Convert .wire model to .fbx
- Replace a stand-in file in Unity with this model
Languages available:
1. Overview
In this tutorial, you will prepare a CAD model for use in Unity. Learn how to manage model specific structural issues with smart orient. Your goal is to build an understanding of how to run various functions in PiXYZ Studio in order to assemble a polygonal format of a model of your choosing.
What Will You Do?
In this Challenge tutorial, you will replace a placeholder car with an actual car model. To do so, you’ll need to:
- Fix .wire car model in PiXYZ Studio
- Convert .wire model to .fbx
- Replace a stand-in file in Unity with this model
Open > PiXYZ Studio on your desktop
-->Disclaimer
Assumes you have a free trial license, if not, visit the Studio page of the PiXYZ website and click on 7-day trial at the bottom of the page. The PiXYZ Studio workflow depends heavily on the model.
2. Challenge: Can we prepare a car model for Unity with PiXYZ Studio?
To do so, you’ll need to:
- Import a model to the PiXYZ Studio editor
- Run multiple commands on the model to prepare it
- Export the final optimized mesh, tessellated, and ready for use in Unity in .fbx format
This tutorial will teach you how to use PiXYZ Studio to prepare a mesh.
3. PiXYZ Studio Import
Import the model of the Aviera into PiXYZ Studio.
Step by step:
- Use the PiXYZ Studio’s normal Import Dialog to bring the Aviera .wire model into the application.
- Adjust the parameters in the off-chance that you need to have a lower or higher tolerance. Click Execute.
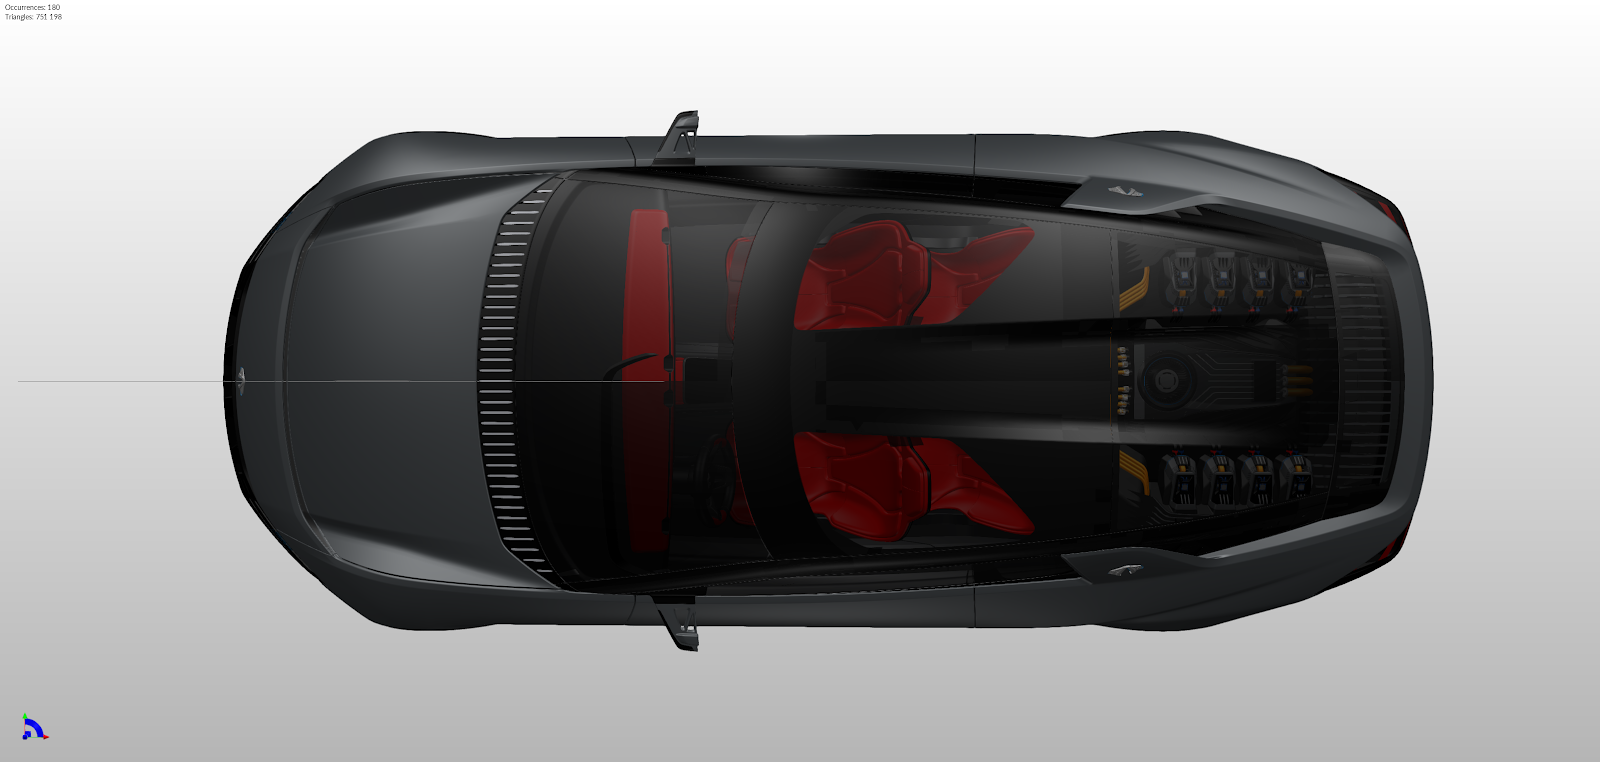
- Note that the Occurrences and Triangle count statistics will look like this in the top left of your main viewer in PiXYZ Studio:
Repair CAD
Repair CAD is a catch-all function call, that will make changes to a variety of topology inadequacies automatically.
Step by step:
- Click on CAD > Repair CAD
- Adjust the parameters in the off-chance that you need to have a lower or higher tolerance. Click Execute.
- After using Repair CAD ensure the car looks like this:
4. Tessellate
Run the CAD > Tessellate function
Step by step:
- Click on CAD > Tessellate
- On the resulting dialog box, you can leave all default values and click execute.
- After using Tessellate the car will look like this:
Note that for the first time now our statistics have changed to 156 Occurrences and 1,175,397 Triangles
5. Explode Patches
Click in Mesh > Explode Patches
Step by step:
- Click on Mesh > Explode Patches
- When you see the following dialog box, make sure to click yes.
After using Explode Patches the car will look like this:
Note that this is the top-down view with 2-Sided, 100% visibility, and B-Rep, Shaded, and Outline toggled on.
6. Use BF Color View
You will note that currently you’re using a view that is default called 2-Sided.
This isn’t going to showcase those areas of the car that still aren’t fixed. Switch the view to BF Color to see areas we need to work on.
Step by step:
- Use the view toggle found in the central bar of tools and click on it three times to see BF Color
- In the central bar of tools, there’s a box with multiple view types: Click on that until you find BF Color
Pro Tip: Use BF Color
By using the BF Color view you’ll be able to see areas of the geometry where the faces of the polygons generated using “Tessellate” are misaligned, hidden, or flipped. This can be managed by then using a smart orient script in the next step.
7. Use Smart Orient
Note the number of Occurrences has since grown drastically as patches were exploded to parts in step four. Smart Orient is a script used to correct and reorganize the topology to reduce pink blotches where the surface isn’t complete.
Pro Tip: The Smart Orient Script
The Smart Orient Script is actually just a way to speed up workflow; however, what it really does is call four other functions. Those are Smart Hidden, Create Visibility Information, Orient, and Delete Hidden Attributes.
Step by step:
- Open up the Help menu in the toolbar, and click on Open Sample Scripts Directory.
- Use the resulting file explorer window by and drag the Python script “SmartOrient.py” over into the Scripts window.
- The Scripts window is located down at the bottom where you’ll see Output as well.
Note: this is how my editor looks and I’ve dragged the script editor window into the bottom of the screen so that I can see more of the text in the document
- Click execute the script.
Note: this window may be on the right-side of the editor or also right next to the Output bar, you need to find the scripts window and then you’ll be able to use the execution button
When done, the car should look like this:
8. Invert the Orientation of Selections
Invert Orientations all around the car model (until the amount of pink showing is reasonably minimized) to fix subtleties that weren’t addressed in the previous operations.
Pro Tip: When dealing with Details
You may find it helpful to click “F” on the keyboard to focus in on areas that are selected. PiXYZ Studio will automatically reorient the view to fit those pieces.
Step by step:
- Find areas like the one on the roof where the patch is contained to a small section.
- Hold CTRL on Windows or Command on Mac and select these areas by clicking them.
- Run open the Mesh dropdown from the toolbar and click Invert Orientation
- Use your eye to ensure minimal pink is showing.
Pro Tip: Save as you go along
PiXYZ Studio allows you to save a workspace file known as a .pxz file. Definitely take advantage of this as you move along to save your work.
Pro Tip: Finding small Details
Watch how you can use the view tool along with ‘F’ to focus in on a small area.
Here is the front section in the above gif from up close, and you’ll need to do the same thing on the opposite side of the front of the car.
9. Merge Final Assemblies
Merge final assemblies to reduce our occurrences and optimize the model for Unity.
Step by step:
- Found by going and clicking on Scene > Merge Final Assemblies
10. Smart Hidden Removal
At the very end we need to drastically reduce the amount of overall Triangles in the road flattener model.
- Use Optimize Mesh > Smart Hidden Removal:
11. Key Takeaways
You have now a command of the main functions within PiXYZ Studio
By completing this tutorial, you’re now able to:
- Import a model
- Repair a model
- Tessellate a model
- Switch view types
- Switch orientation types
- Select multiple parts
- Invert the orientation of those parts
- Merge the final assemblies
- Execute a smart hidden removal script