Challenge: Make a worldspace UI
Exercise
Beginner
+60XP
30 mins
Unity Technologies

A World Space UI can exist in the three dimensional world, just like any other GameObject. This allows you as a UI designer to create completely different types of interactions, compared with a traditional Screen Space UI. In this tutorial, you will learn more about the use cases for World Space UIs, then design a new version of your UI in world space.
By the end of this tutorial, you'll be able to:
- Identify the use cases for different Canvas render modes: Screen Space - Overlay, Screen Space - Camera; World Space.
- Demonstrate your new skills in user interfaces.
Languages available:
1. Overview
Up to this point, you have designed a Screen Space UI. A screen space UI sits flat on the screen, rendered on top of everything else in the environment, regardless of camera position.
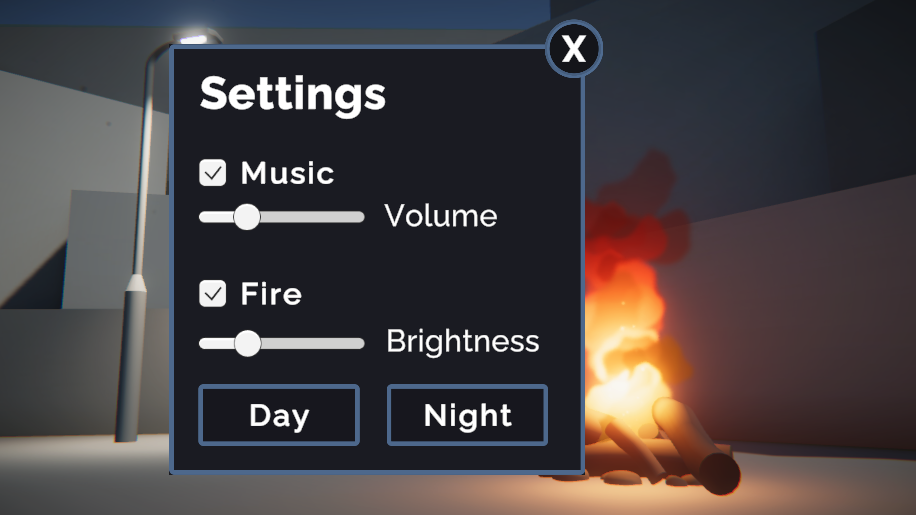
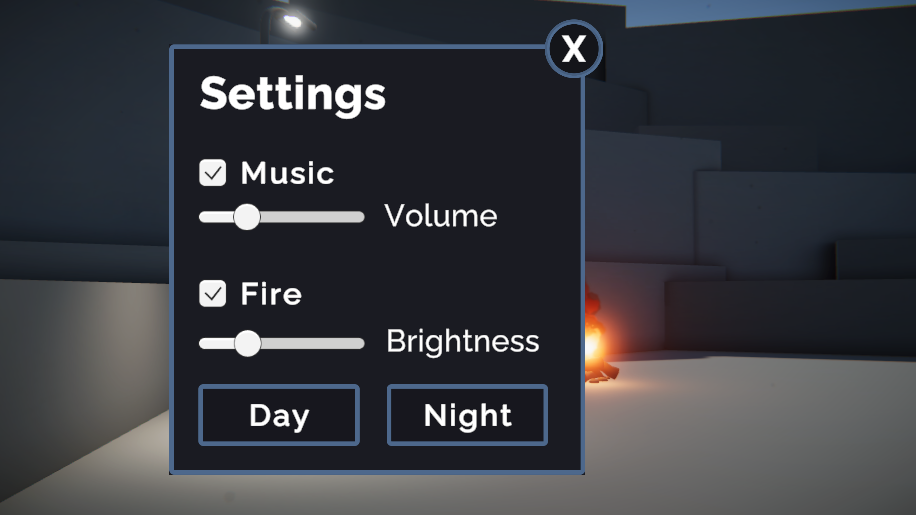
A World Space UI, on the other hand, can be moved around and rotated within the 3D environment, just like any other object in the scene.
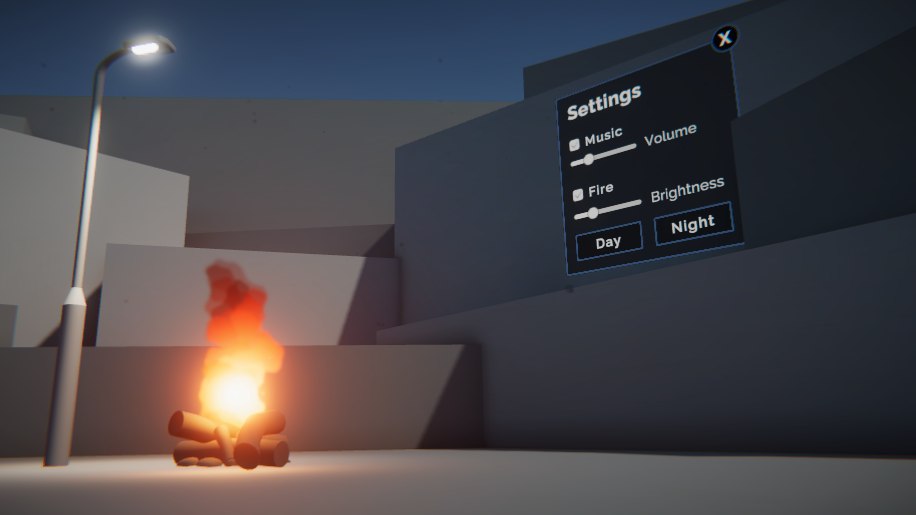
In this challenge, you will design an updated version of your UI in World Space.
2. Why use a world space UI?
A world space UI can be very effective if you’re trying to integrate the UI into the physical 3D world, like with an in-game control panel.
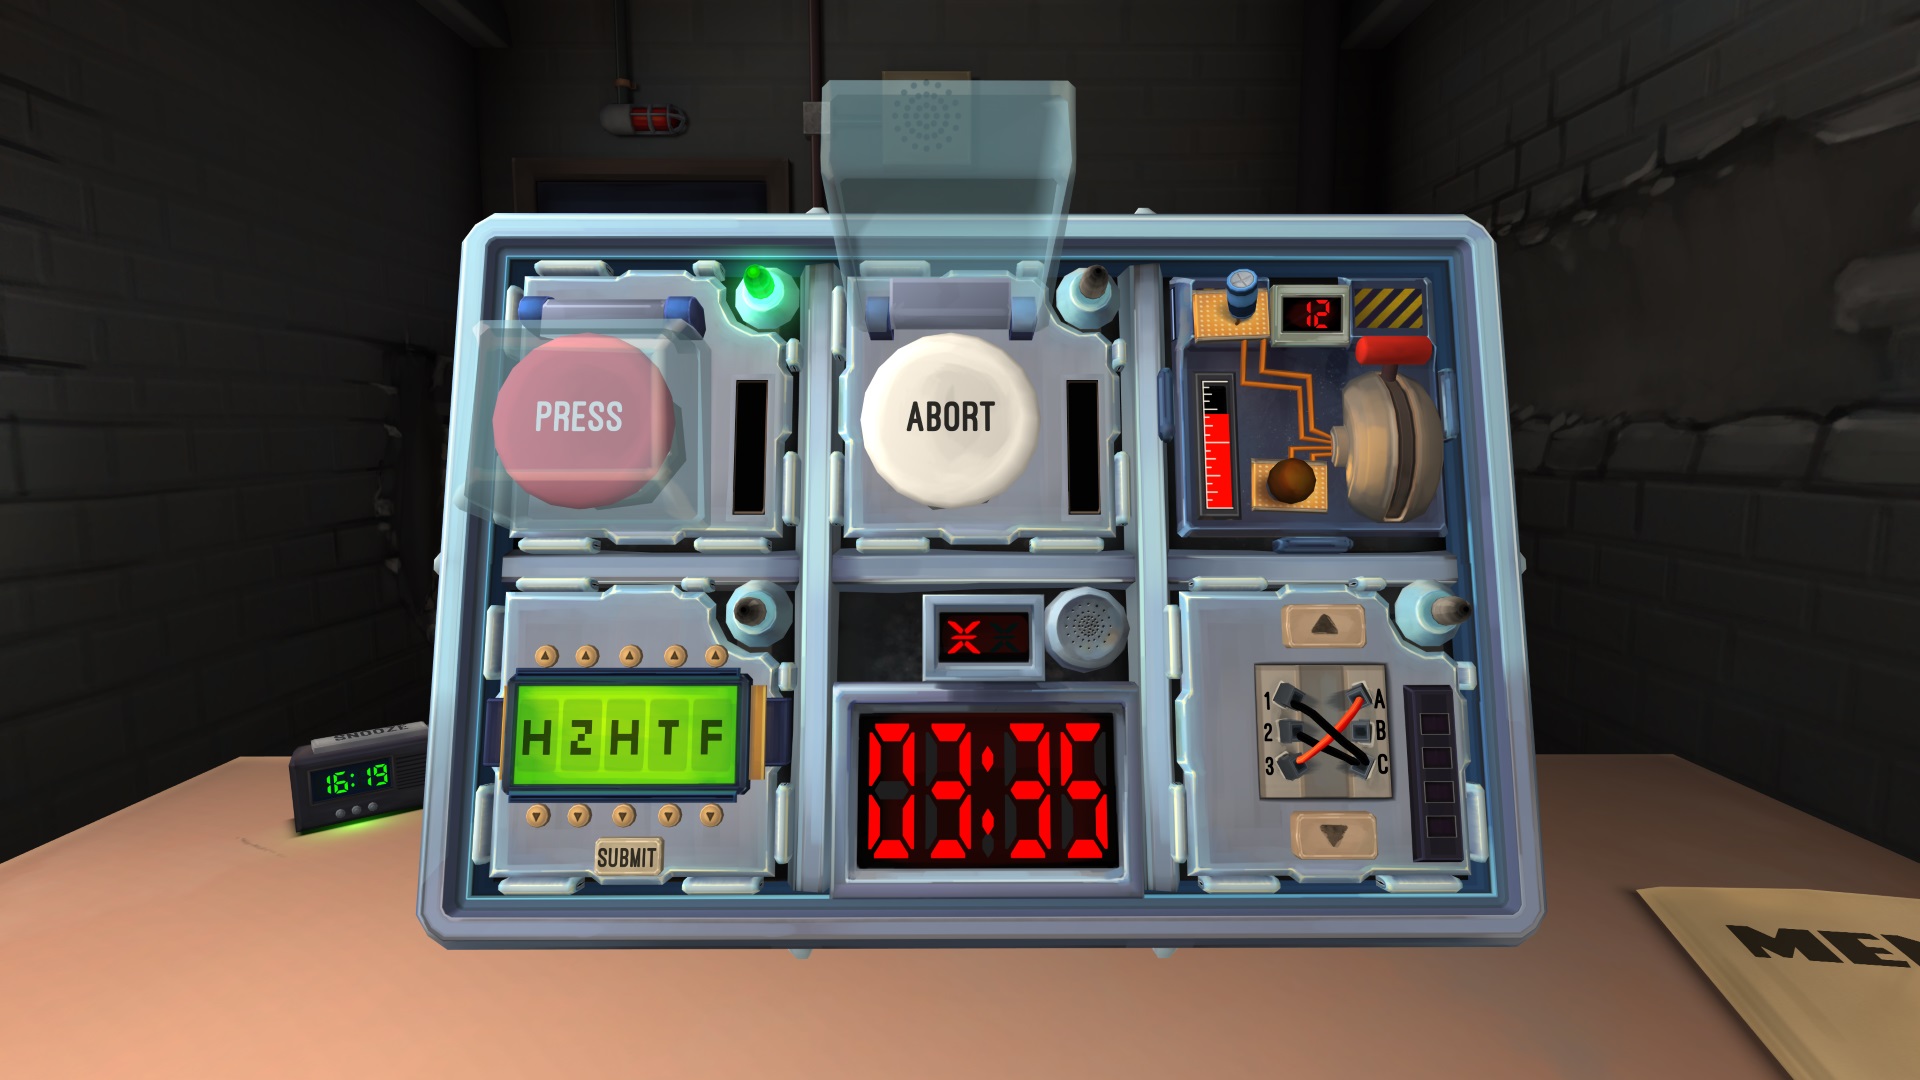
Keep talking and nobody explodes. © 2015 - Steel Crate Games. Image from Press kit.
In VR experiences, screen space UIs are almost never used, since this would make it feel like the UI elements were stuck to your face. Instead, UIs in VR are set in world space and the user usually uses a ray to select their options.
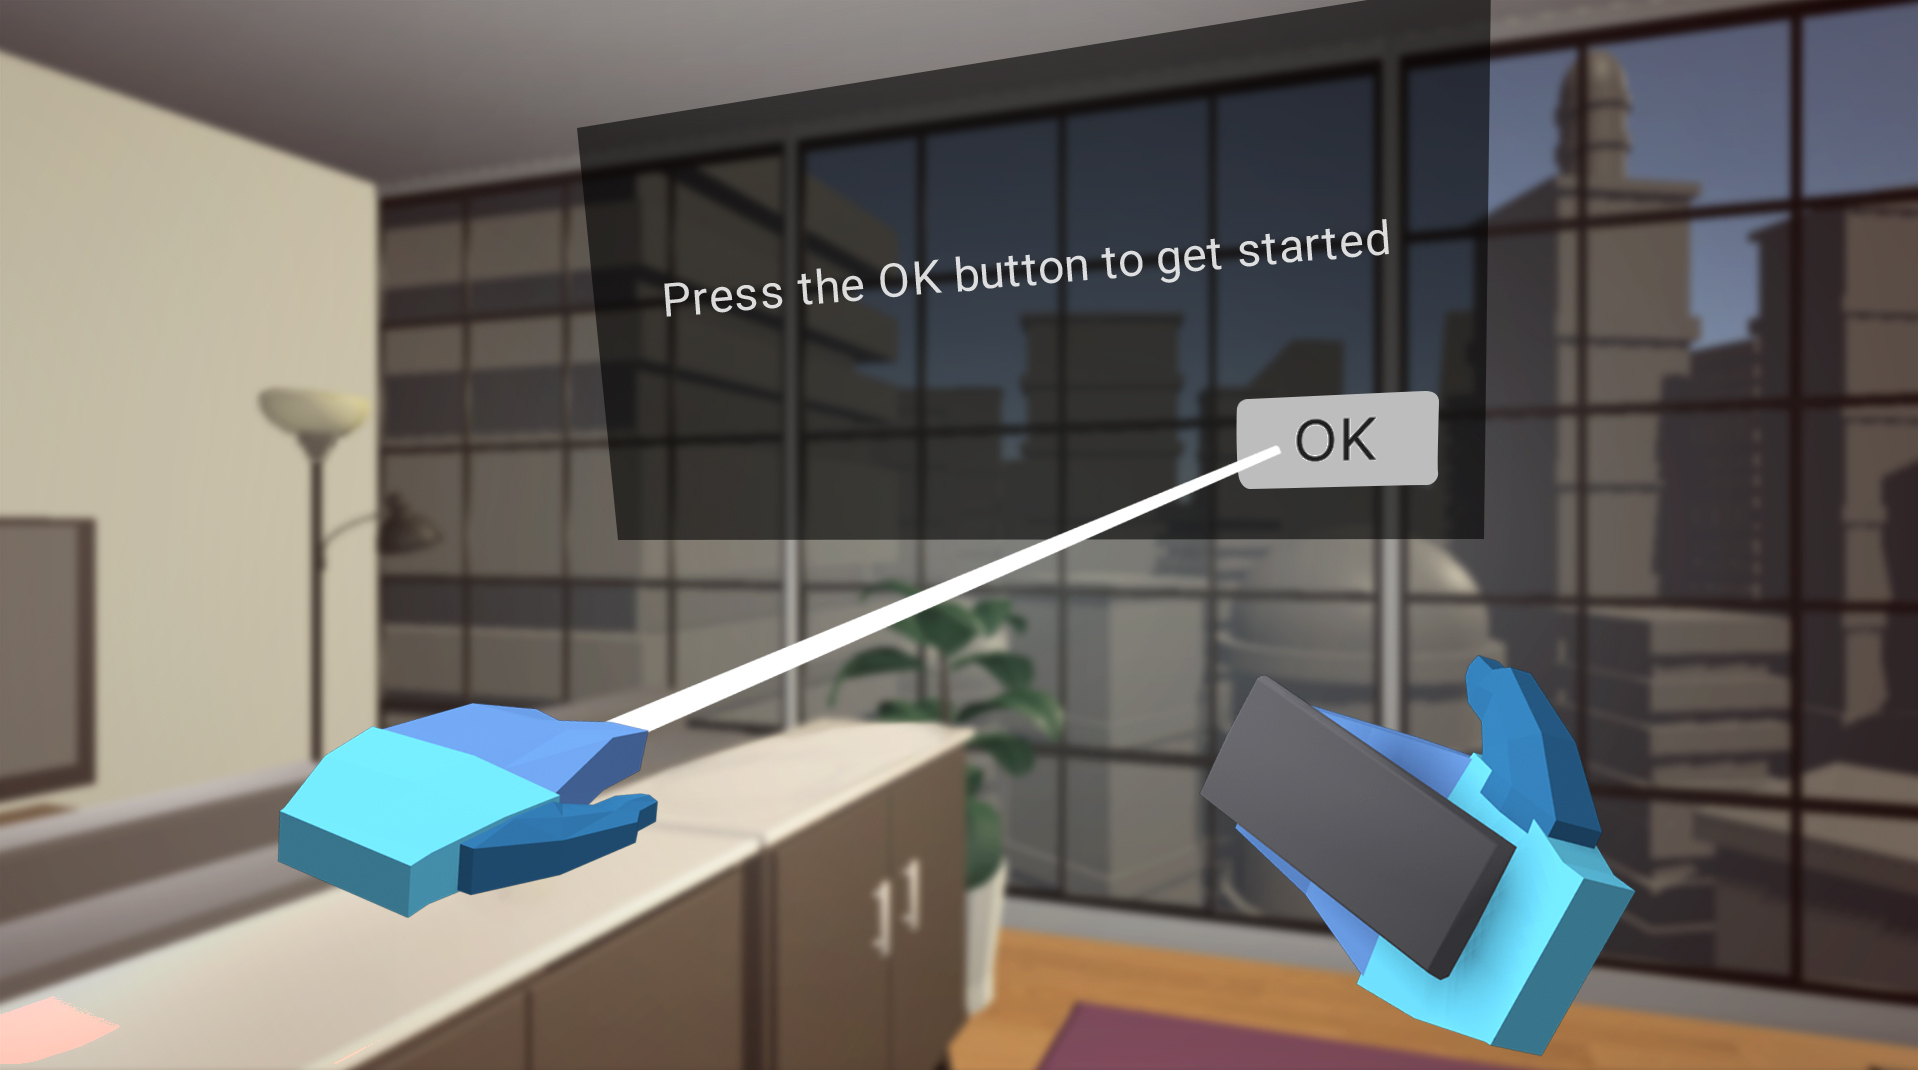
The examples above illustrate diegetic UI, where the interface is integrated into the actual gameworld and visible by the characters. Screen space UIs, on the other hand, are usually what’s known as non-diegetic, since they are not part of the game world and cannot be seen by the in-game characters.
3. Get set up with a World Space Canvas
Before you make any major changes to your UI, make a duplicate of your scene that you can freely experiment in.
1. In the Project window, select your current scene and press Ctrl+D (Windows) or Cmd+D (macOS) to duplicate it, then rename it something like “UI_Worldspace” and open it. This will keep your original Screen Space UI saved safely in a different scene.
2. Select the Canvas object. In the Canvas component, change the Canvas Render Mode to World Space and assign your Main Camera to the Event Camera property.
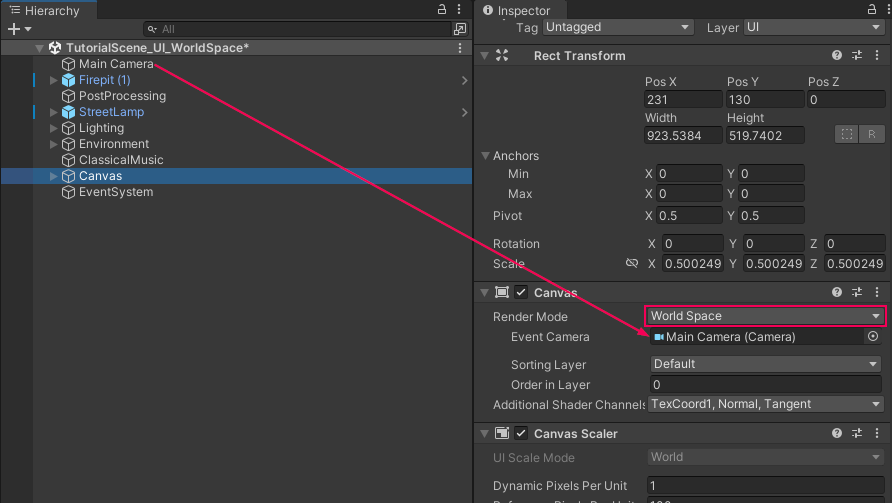
When you do this, your entire UI will seem to disappear. Not to worry - it is still there; it’s just gigantic and out of view.
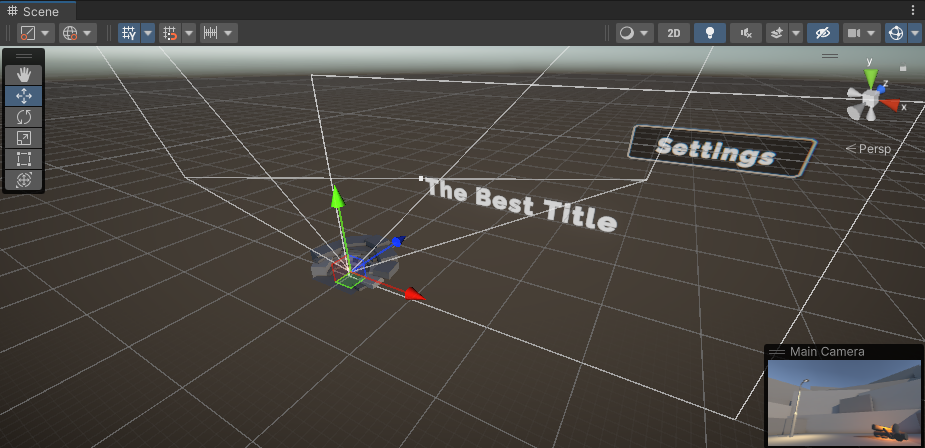
3. In the Rect Transform component of the Canvas, reduce the scale to X=0.03, Y=0.03, Z=0.03, and reset its position to X=0, Y=0, Z=0.
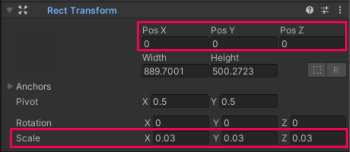
This will place the Canvas at an appropriate scale for your scene, centered near the environment.
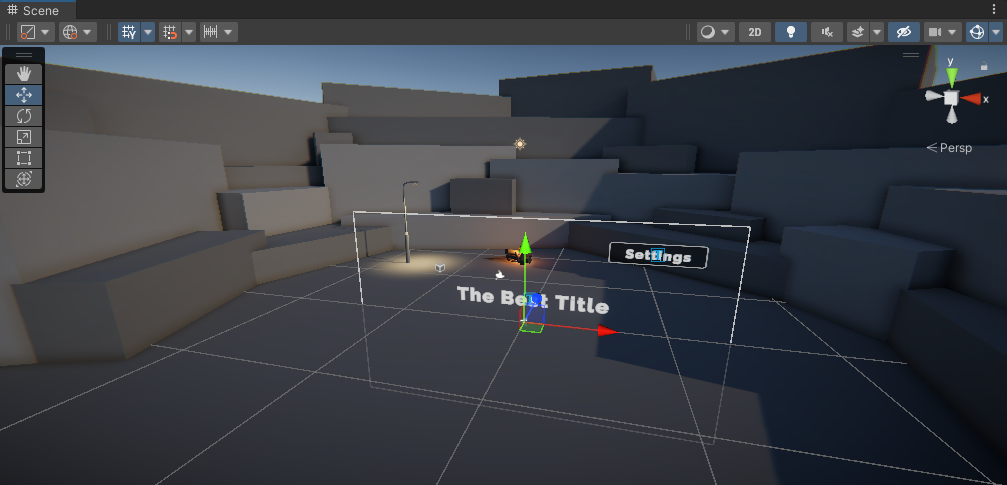
Note: Apart from the World Space render mode, there are actually two types of Screen Space render modes: Screen Space - Overlay and Screen Space - Camera.
Screen space - Overlay
Screen space - Overlay is what we have used up to this point, which overlays the UI on top of the screen, regardless of what’s behind it. Notice in the video below how the UI always renders on top of everything else, regardless of whether an object might be in front of it.
Screen space - Camera
Screen space - Camera places the UI a set distance from the camera and moves when the camera moves. In this mode, the UI can be obstructed by 3D objects if they are positioned between the camera and the UI elements. In this way, this mode is in between Screen space - Overlay and world space in terms of interaction with the physical world. Notice this obstruction by 3D objects in the video below.
If you’re interested, you can read more about the differences between those in the Manual.
4. Design your World Space UI
Redesign your UI in world space. You should now be able to move, rotate, and scale the entire Canvas, or individual UI elements, just like you would any other 3D object.
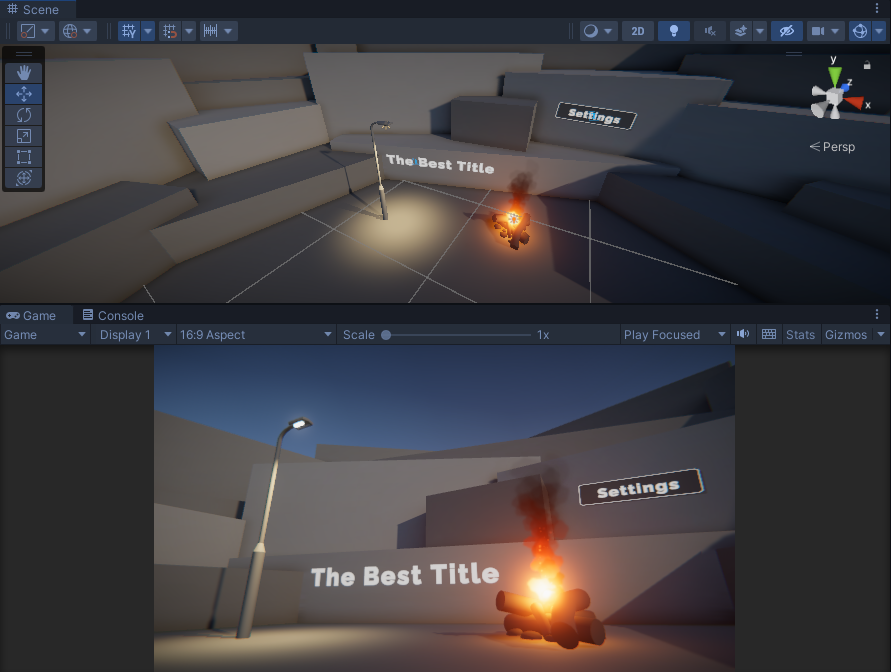
In order to create something that looks good, you may need to reorient your camera or rearrange the objects in the scene.
When you’re done, your UI could look like one of the following examples, or something completely different!
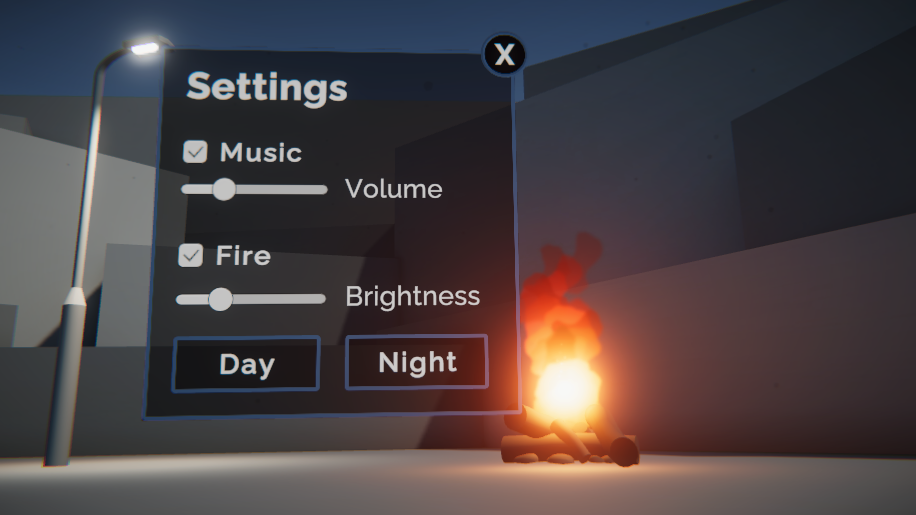
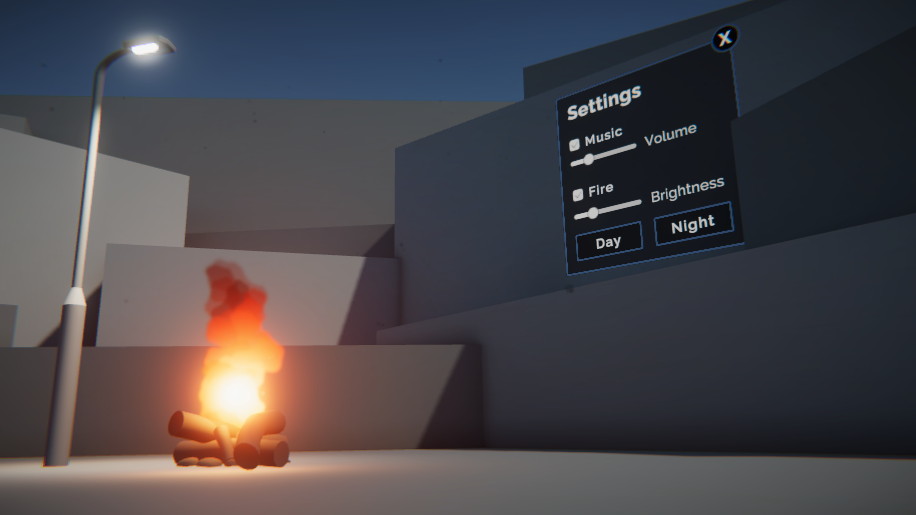
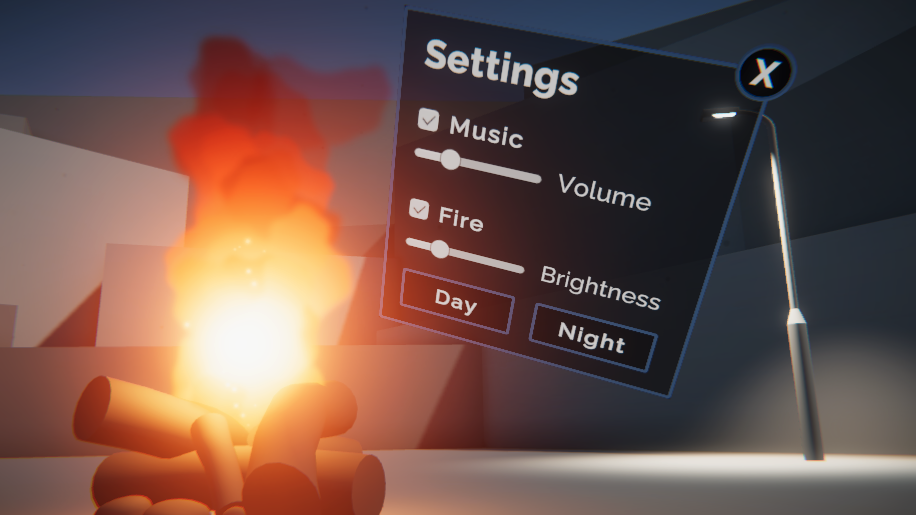
You should expect to spend at least 30 minutes on this challenge.
If you’re interested in a programming challenge, you could also attempt the smooth camera movement shown here, which highlights the world space aspect of your UI even more.
5. Challenge criteria
To successfully complete this challenge, your world space UI should:
- Use a world space render mode.
- Be designed and positioned in interesting ways in world space.
- Retain its full functionality (settings button shows settings menu and all menu items work).
6. Next steps
Congratulations! You have completed the learning required for Core UI.
You have the core skills and knowledge for one of the primary creative domains within the Unity Engine.
Now you’re ready to apply these skills in other projects! We can’t wait to see what you make next.
7. Submit your project
When you’ve completed this challenge, please submit and share your project. This isn’t required but it’s a great opportunity to share your progress and learn from the work of others.To submit your project:
1. Review the specific guidance for this challenge (above) and check your project to make sure that you have achieved the challenge criteria. Remember, there’s no deadline on submissions; you can take the time that you need to do this.
2. Take some screenshots or a screen recording of your project.
3. Add a submission title and description.
- Make sure to include the screenshots or video recording. If you have additional details to share about your process or the project that you have created, you can share them in the description too.
4. Set who can view your submission:
- Public: Anyone who views this tutorial.
- Private: Just you.
5. Select Save and preview submission.
6. Check your submission preview and then complete the CAPTCHA test and select Submit and continue.
Please login to submit
Complete this Tutorial
Submission Gallery

The Ballad of the Lost Banana Boy
A Banana Boy is Lost
3D World UI
Hehe Nothing Special

Exercise - UI
Exercise Solved
UI Lesson
settings menu with music, fire & lights toggle ...

Never Trust a Pear
Scary..........

World Space UI Design - Interactive Environment
I converted the UI to World Space and positioned it on the wall for a 3D effect. I also implemented a Lights Toggle that successfully turns off the street lamps by deactivating both the Spot Light components and the Capsule meshes. The menu is fully functional and interactable using the Event Camera.