
Challenge: Rocket Blast Off
Tutorial
Beginner
+10XP
20 mins
(68)
Unity Technologies
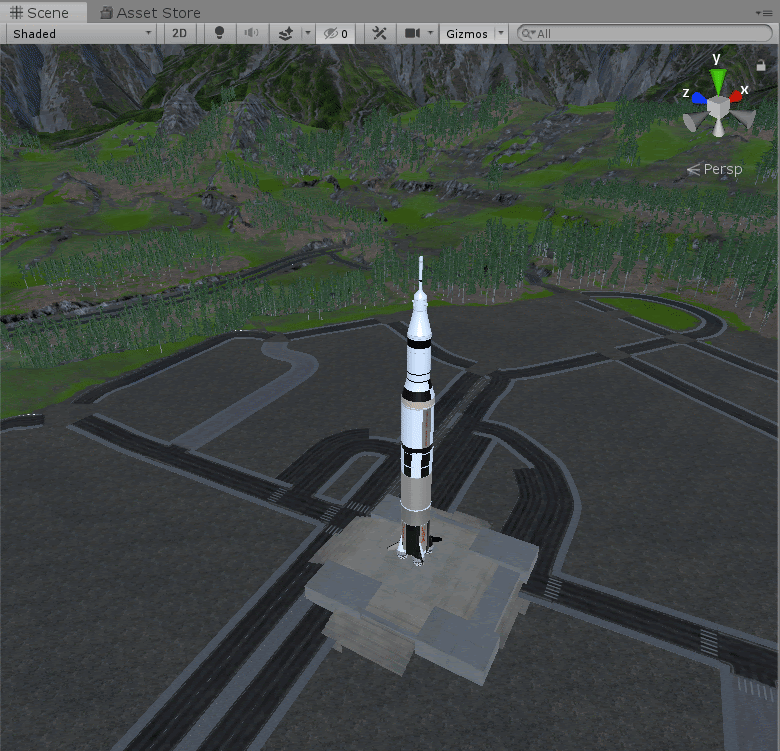
In this exercise, you will use Cinemachine and Timeline to make the Saturn V rocket take off. Using Cinemachine Virtual Cameras and Dolly & Tracks, you will create several highlight shots of the stationary rocket, using fade-in/fade-out transitions. Then you will pan out as the rocket begins to take off.
Resources
Languages available:
1. Create the Timeline takeoff sequence
- Download the Zip file, and open the project.
- Open the “Main” scene.
- Create a new Timeline and call it RocketTakeoffTimeline.
- Add the WaterParticles GameObject to an Activation Track in the Timeline. Ensure the beginning of the Timeline begins with the water particles activating.
- Add the PreLiftoffParticles and LiftOffParticles to two more Activation Tracks in the Timeline.
- Animate the Saturn V rocket GameObject so it takes off after the particles activate.
- Add the EarthEnvironment GameObject to an Activation Track, so the surrounding mountains are active during the Rocket’s takeoff.
Note: be sure to set its Post-playback state to “Inactive.”
2. Set up your camera angles
- Make a new Timeline and call it “Master Timeline.”
- Add a Virtual Camera looking at each part of the rocket you would like to highlight.
- Add the Cinemachine Track to the Timeline.
- Add the Cinemachine Brain to the Cinemachine Track.
- Add a Cinemachine Camera Dolly and Track, so the camera moves from the top of the Rocket and spirals to the bottom. Ensure the camera is looking at the rocket engines the entire time.
- Add each Virtual Camera to the Cinemachine Track, and overlap them so the Camera’s position interpolates between each of them.
- Add the Virtual Camera associated with the Dolly Track to an Animation Track in the Timeline, and animate its position value so the camera moves across the track.
- Add the RocketTakeOffTimeline to a Control Track. Ensure RocketTakeOffTimeline plays on awake.
3. Make the Camera Fade Transitions
- Create a Canvas and expand the Image so it covers the Camera’s field of view.
- Change the Image’s color to black.
- Add the Image to MasterTimeline, in an Animation Track.
- Adjust the Image’s Alpha values, so it fades to black and then fades out to transparent again.
- Convert the Animation Track to a Clip Track, so we can easily add it between the Virtual Cameras. Call the Clip Track “FadeOutFadeIn.”
- Duplicate the Clip Track and re-position each duplicate so they sit between the Virtual Cameras. Each Virtual Camera should now fade to black at each transition. Feel free to use your best judgement on these.
- Create two more Animation Tracks with the Image, and create both a FadeToBlack Clip Track and a FadeFromBlack Clip Track. We will place these Clip Tracks at the beginning and end of our Master Timeline.
4. Setup the EnvironmentManager so we can swap the Skybox with Timeline Signals
- Add a new GameObject, and call it "Environment Manager".
- Add the EnvironmentManager component to the Environment Manager.
- Add the MilkyWay skybox material to the Skybox Swap parameter.