Challenge: Sprite pachinko
Exercise
Beginner
+60XP
30 mins
Unity Technologies

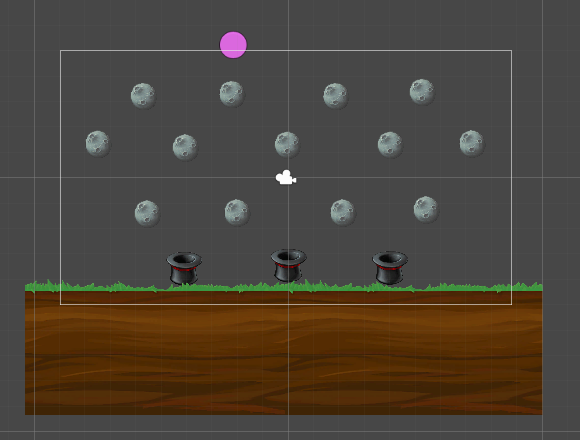
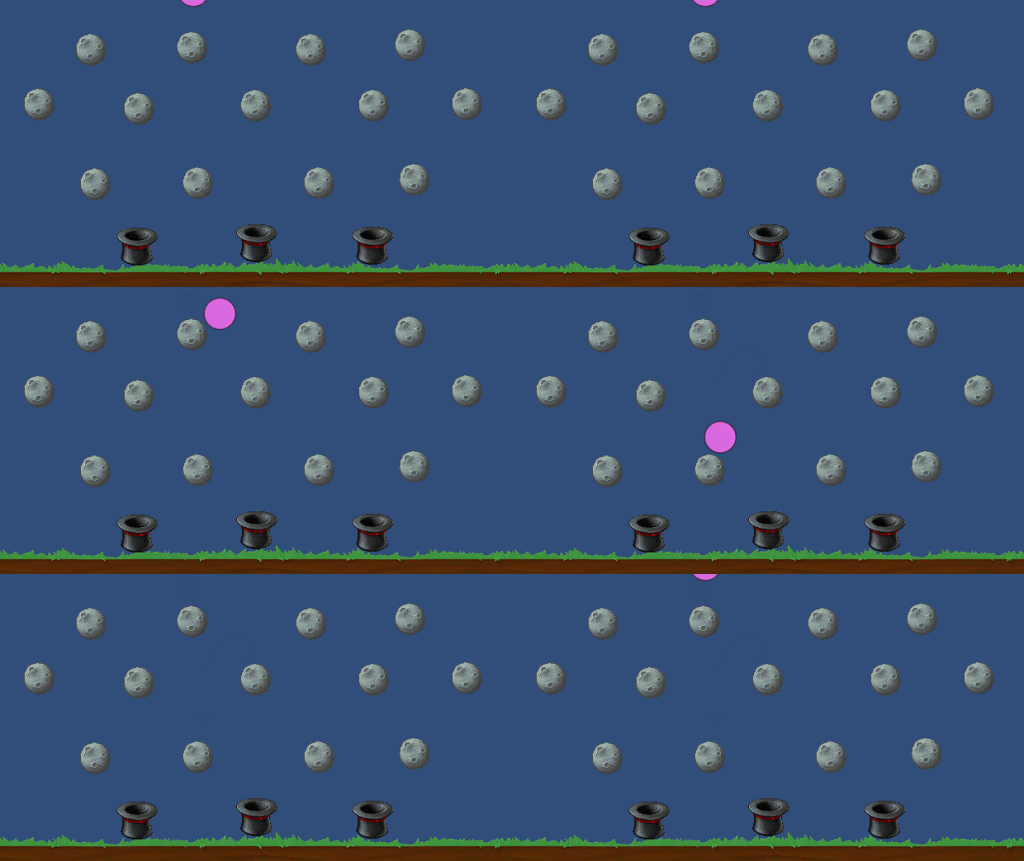
It’s time to put your new skills to the test! In this challenge assignment, you will create a pachinko-style interaction using Sprites. You will make a circle (or whatever you like) fall through a grid of “pins” (other Sprites) to see where it lands.
To complete the requirements for this Mission, submit your 2D project to the gallery in this tutorial. (You may share it with others or keep it private.)
Languages available:
1. Overview
In this challenge, you will build your own Scene using Sprites. In the process of meeting this challenge, you will:
- Create a new 2D Scene.
- Create new Sprites.
- Navigate in 2D and/or 3D space in the Scene view.
- Move, rotate, and scale Sprites.
- Move and rotate the Main Camera.
- Add a RigidBody 2D Component to Sprites.
- Add a Collider Component to Sprites.
- Playtest your game in the Game view.
2. Build your Scene
In this challenge, create a simple pachinko-style game similar to this:

A few instructions are provided below, but the creative part is all up to you.
1. Use the Sprites you installed in the previous tutorial, or Sprites from your own projects.
2. Use the RigidBody 2D and Collider Components to each Sprite to give them physical properties.
3. Use the Order in Layer property in the Inspector window to move objects like the hats and ground planes to the front. Setting the “Order in Layer” property to 1 for these objects will move each object forward and allow the ball to fall behind it.

4. Hint: To freeze a Sprite in place, use the Constraints section of the RigidBody 2D Component.

5. Position the Main Camera to find a good viewpoint.
6. Run the Scene to test it, and make adjustments as necessary until the ball runs through the pachinko you created.
7. Try adding more falling Sprites of different shapes. Experiment with 2D Colliders in other shapes.
8. Apply any other skills you have learned to make the Scene uniquely your own.
3. Publish your project
Following the instructions in the Create and Publish WebGL builds tutorial, publish your 2D project to WebGL.
Alternatively, you can also create a build through the build settings (File > Build Settings...). Zip all of those files together, and publish your sprite pachinko game directly on Unity Play.
4. Submit your project
To complete this Mission and earn the Explore Unity Badge, please upload your game to the Foundations 2D Project Gallery, to share with others who are starting out, just like you.
Enter the link to your 2D project below. Please also share any "behind-the-scenes" information about how you created it!
You have just published another Made with Unity interactive experience. What’s more, you have now created in both 3D and 2D spaces. Nice work!
