
Configuring Reflection Probes
Tutorial
Beginner
+10XP
15m
Unity Technologies
By default, any objects that have reflectivity in a scene will reflect the currently assigned Skybox. If the scene is sparsely populated, it’s easy to assume this effect is appropriate; however, the illusion of true reflectivity falls apart once other objects are placed in proximity to the reflected object. Without special configuration, other objects will not reflect in the surface. In this tutorial, you will learn to create this special configuration.
Languages available:
1. Configuring Reflection Probes
If you are using Unity 2019.1 or 2019.2, click here. If you are using Unity 2019.3 or above, click here.
By default, any objects that have reflectivity in a scene will reflect the currently assigned Skybox. If the scene is sparsely populated, it’s easy to assume this effect is appropriate; however, the illusion of true reflectivity falls apart once other objects are placed in proximity to the reflected object. Without special configuration, other objects will not reflect in the surface (Figure 01).
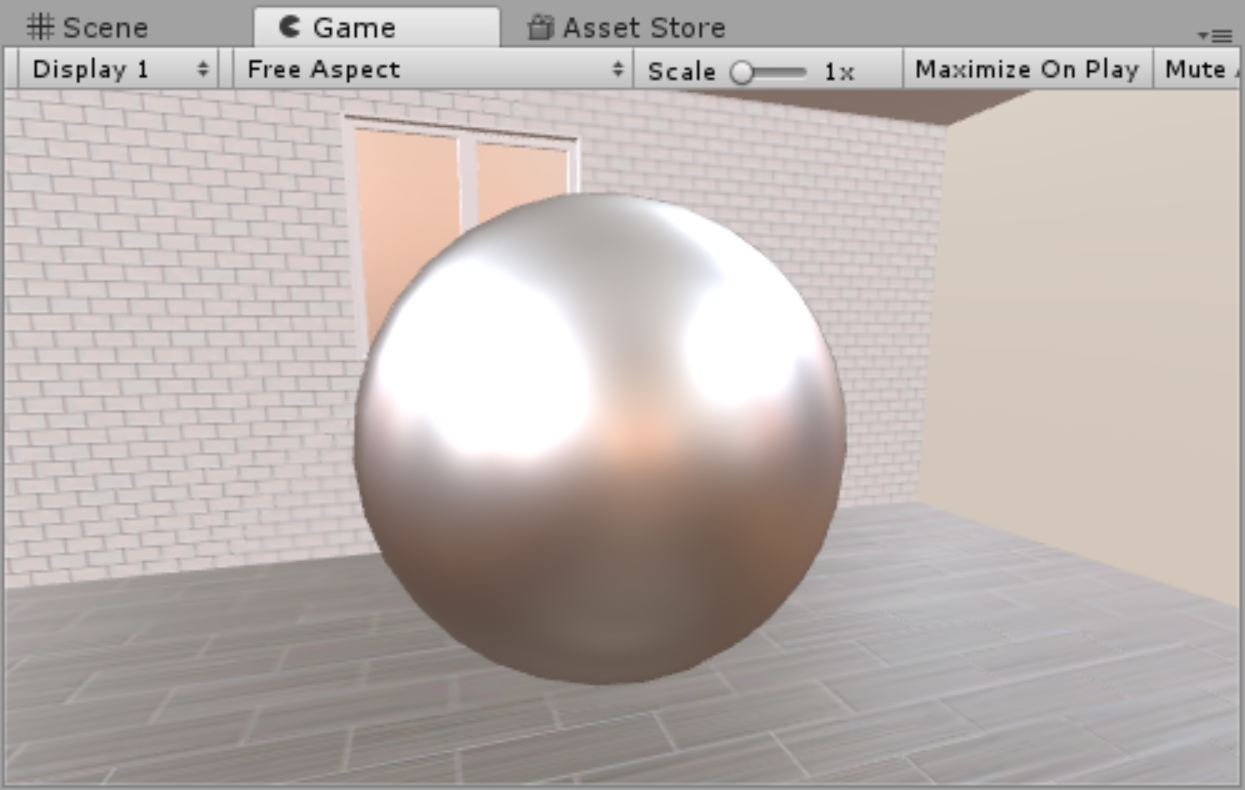
Issues become more apparent when a custom Skybox is used. Even with a chrome material, the reflection of the Skybox appears blurred and indistinct (Figure 02).
To resolve this issue, Unity utilizes Reflection Probes that feed reflection information about a scene to all materials that can make use of this data. The setup for Reflection Probes is very simple, and after they are configured, no further work must be done. The probes automatically communicate with the Materials in the scene.
- Select all of the objects in your scene that should be visible in reflections and will not move under any circumstances.
- In the upper right hand corner of the Inspector, click Static. If prompted, apply these changes to child objects (Figure 03).
After a moment the scene lighting will update, but accurate reflections still will not be present (Figure 04).
- From the GameObject dropdown select Light > Reflection Probe.
A Reflection Probe is represented by a metal sphere in the center of a yellow wireframe cube. This wireframe represents the bounds of the probe, and any object that appears within the bounds will immediately show reflective information (Figure 05).
- Align the Reflection Probe so that the sphere is in the center of the scene.
- In the Inspector, click the Edit Bounding Volume (Figure 06).
- Click and drag the new handles on each probe face to roughly align the sides to the scene (Figure 07).
The chrome sphere will now accurately reflect the scene environment; however, note that there are black artifacts present as well. These artifacts represent the sphere itself and the windows. These artifacts occur when objects in the scene attempt to render reflections for a scene that includes themselves--essentially, the objects are attempting to self-reflect. To remove these artifacts, the objects producing them must be placed on a layer that can be ignored by the Reflection Probe (Figure 08).
- In the Inspector, click the Layers dropdown in the upper-right hand side and select Add Layer.
- In an open Layer, type “DoNotReflect.”
- Select the self-reflecting objects in the scene and apply the DoNotReflect layer by clicking on the Layer dropdown in the Inspector and choosing the new Layer.
- Select the Reflection Probe and locate the Culling Mask dropdown. Uncheck the DoNotReflect Layer (Figure 09).
The scene lighting will re-bake, and the self-reflecting objects will disappear (Figure 10).
The vast majority of the time, the default settings for Reflection Probes will suffice for the project. However, there may be instances where it is absolutely vital to have reflections update in real time. By default, Reflection Probes will only work with objects that are marked as Static, which indicates that an object will never move in the scene, and reflection, as well as lighting information, can be pre-baked. Further, any non-static object that is now added to the scene will not appear in the reflection at all (Figure 11).
Reflection Probes are able to update in real-time, which would allow for dynamic objects to be visible in scene (vital for animated objects), but be aware that this comes at a high-processing cost. Real-time reflections should be kept to areas where they are absolutely necessary. An example of where real-time reflections would be needed would be the rear view window of a driving simulator.
To enable real-time reflections, select the Reflection Probe and set the Type to Realtime. Any dynamic objects in the scene will now appear in the reflection (Figure 12).
The Realtime option also reveals two other options: Refresh Mode and Time Slicing.
By default, Refresh Mode will be set to On Awake. This allows dynamic objects to be visible in the reflection, but they will not update beyond the first frame in Play mode. The remaining two options in Refresh Mode are Every Frame and Via Scripting.
As it sounds, Every Frame will update the reflection during every update frame. While this produces a realistic effect, it is processor intensive to manage. Via Scripting alleviates this issue to some degree by allowing a programmer to control when the Reflection Probe should update. An excellent use of this would be to only trigger the probe to update when the user camera can see it.
Time Slicing is meant to help optimize the probe by controlling how the real-time reflections are updated. There are three options with the default being All Faces at once. This will update the probe reflection across nine frames to try and offset some of the cost to the GPU. As an object in the scene moves, there may be some subtle lag in the reflection, but generally, it isn’t noticeable. The next option, Individual Faces, tries to optimize even further by spreading the reflection update across 14 frames. The result is visibly choppy, but may be viable for slower moving objects. Finally, there is No Time Slicing, which does not attempt to optimize the update at all, giving true 1:1 movement between object and reflection. Again, this level of accuracy is extremely expensive and should only be used when there is no other choice.