
Controlling Audio Levels with Audio Mixer - 2019.3
Tutorial
Beginner
+10XP
15m
Unity Technologies
Unity’s Audio Mixer allows you to control levels of audio sources in your Scene. Each Audio Mixer has a Master AudioGroup. You can add additional AudioGroups to help define the structure of the mixer for your specific audio needs. In this tutorial, we’ll take a look at the Audio Mixer and learn how to adjust the volume of sound Assets that are routed through the AudioGroups you will create.
Languages available:
1. Introduction
If you are using Unity 2019.2 or below, click here.
The Audio Mixer allows you to modify how the audio is played to the user (Figure 01).
We will be focusing on controlling the volume of the audio that is routed to the mixer. This is done through the Attenuation Unit of a selected AudioGroup (Figure 02).
2. Setting up the Audio Mixer
First, we need to set up an Audio Source and the Audio Mixer.
1. Right-click in your Hierarchy window and select Audio > Audio Source.
2. Attach your desired Audio Asset to the newly created Audio Source in your Scene (Figure 03).
3. Go to the Window drop-down and click Audio > Audio Mixer.
4. Click the + icon to the right of Mixers to create a new Audio Mixer (Figure 04).
5. Select the Audio Source you created in Step 1 and drag and drop your Master AudioGroup from the Audio Mixer Asset in your Project window (Figure 05).
6. Go back to the Audio Mixer window and select your Master AudioGroup.
With the Audio Mixer and AudioClip set up, we can now adjust the volume of our Audio Source.
3. Controlling Audio Levels Through Attenuation
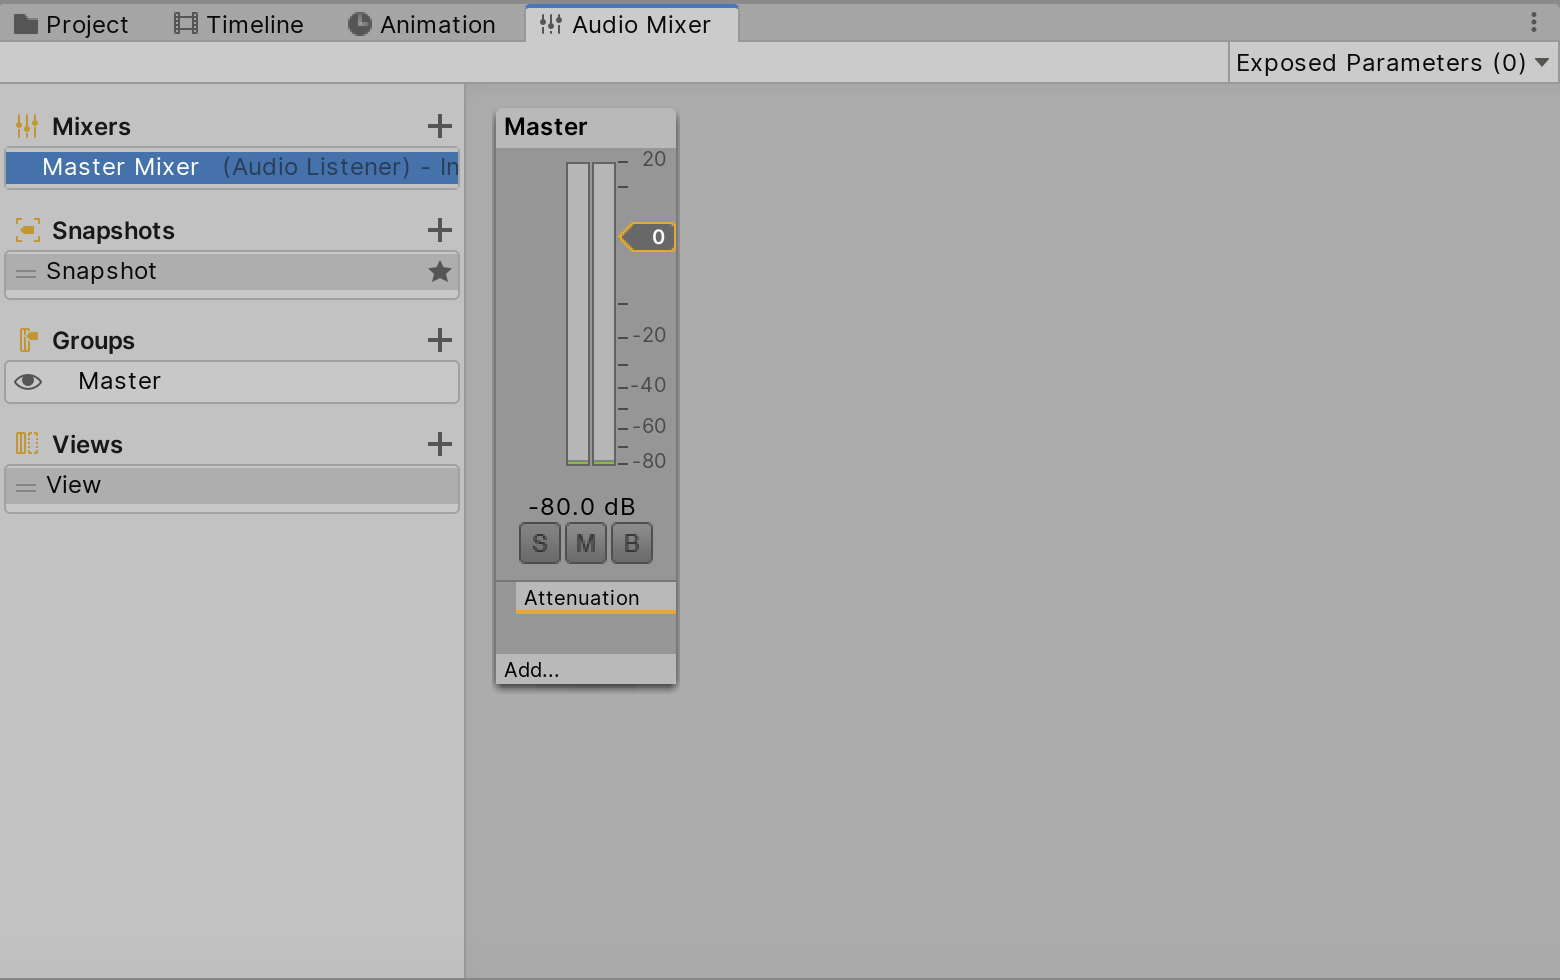
There are two ways you can control the volume of the group — either using the yellow slider tab in the Audio Mixer window or using the slider on the Attenuation in the Inspector window when the group is selected.
The Attenuation applies a gain to the audio signal passing through the AudioGroup. It’s computed and applied to the signal at the unit. This allows for complex and interesting combinations with other sound effects. Attenuation can be applied at -80dB (silence) and the gain can be applied to +20dB (Figure 06).
Every Attenuation Unit has a VU meter in the Inspector and Audio Mixer window. This meter will show the audio signal levels at that point in the signal chain, just after the attenuation is applied. So if you have other effects being applied to the AudioGroup, the VU meter is a great way to debug the AudioGroup signal. This is done by dragging the Attenuation Unit up and down the processing chain to see the metering at different points.
4. Conclusion
The Audio Mixer gives you control over the audio sources in your Scene so you can deliver high-fidelity audio and build amazing effects for your users.