Create 3D models with round faces
Tutorial
foundational
+10XP
30 mins
(167)
Unity Technologies

In this tutorial, you'll learn how to make curved shapes using the additional features of ProBuilder.
Languages available:
1. Enable additional features
There are many environmental settings in ProBuilder, which you can check by going to Edit > Preferences > ProBuilder
From the settings, you can select Experimental Features Enable to use additional features you didn't have before
Note: Make sure you save your work before enabling the checkbox, as new components will be added once you enable it, which requires the project to recompile.
2. Build a curved model
You’ll find that the New Bezier Shape tool has been added in the ProBuilder window after recompiling.
Select this tool to create a 180-degree curved model in the scene.
There are three components of Bezier curves:
- Vertex: a component that comprises the green curve, which can be added by selecting the curve.
- Tangent Handle: adjusts the tangent angle of each vertex, changing the drawn curve.
- Rotation Handle: a handle that appears when you select a vertex, which changes the rotation value of the vertex.
You can also adjust the shape of the curve in the Bezier Shape component in the Inspector window with the following components:
- Close Loop: draws a curve to the opposite side to make a completely closed shape.
- Smooth: smooths all the surfaces.
- Radius: this is the thickness of the curve.
- Rows: sets the number of faces that comprise the perimeter of the curve.
- Columns: sets the number of surfaces that comprise the length of the curve.
3. Building shapes through operations
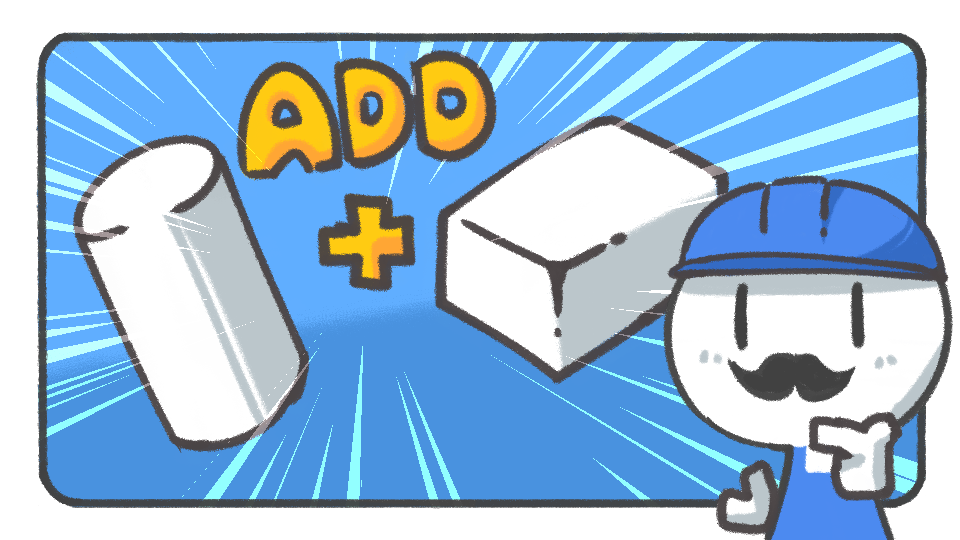
You can use operations on two overlapping 3D models to create a unique shape in ProBuilder from their intersection, union, or subtraction.
1. Open the Boolean editor window by navigating to Tools > ProBuilder > Experimental > Boolean (CGS) Tool.
2. Drag the two shapes you want to combine from the Hierarchy window into each slot, select the Operation type you want, and then select Apply.
The newly created shape will appear as a new GameObject.
- Intersection: results in the shape of the area where the two objects intersect.
- Union: results in the shape of the two objects combined.
- Subtraction: results in the union shape excluding the intersection of the two objects.