
Create a Menu to Play/Stop your 360 video
Tutorial
Beginner
+10XP
5m
(51)
Unity Technologies
There are many times when a user may want to control a video’s playback state (from playing to paused, paused to playing, etc.). To allow this, you need to create a user interface with play and pause buttons.
Languages available:
1. Creating a menu to play/stop your 360 Video
This tutorial has been verified using Unity 2019.4.12f1 LTS
There are many times when a user may want to control a video’s playback state (from playing to paused, paused to playing, etc.). To allow this, you need to create a user interface with play and pause buttons.
2. Configuring 360 Video playback in Unity
1. Add a Video Player to your Scene, and add a 360 Video Clip to its Video Clip reference.
2. Change the Render Mode to Render Texture.
3. In the Project window, create a Render Texture and name it “VideoRenderTexture”.
4. Configure its size to match the resolution of your 360 Video. Note: You can find the resolution of your 360 Video by selecting it in the Project window, selecting the drop-down on the preview (at the bottom of the Inspector) and selecting Source Info (Figure 01).
5. On the Video Player component, add VideoRenderTexture to the Target Texture field.
6. Create a Material, name it “VideoMaterial”, and configure it to use the Skybox/Panoramic Shader.
7. Add the VideoRenderTexture to the Spherical (HDR) reference and configure the Mapping to match your video (Figure 02).
8. Open the Lighting window (Window > Rendering > Lighting) and assign the VideoMaterial to the Skybox.
9. Ensure Play On Awake is selected on the Video Player and press Play to test the video playback.
3. Creating and configuring play and pause buttons in Unity
10. Add a Canvas to your Scene.
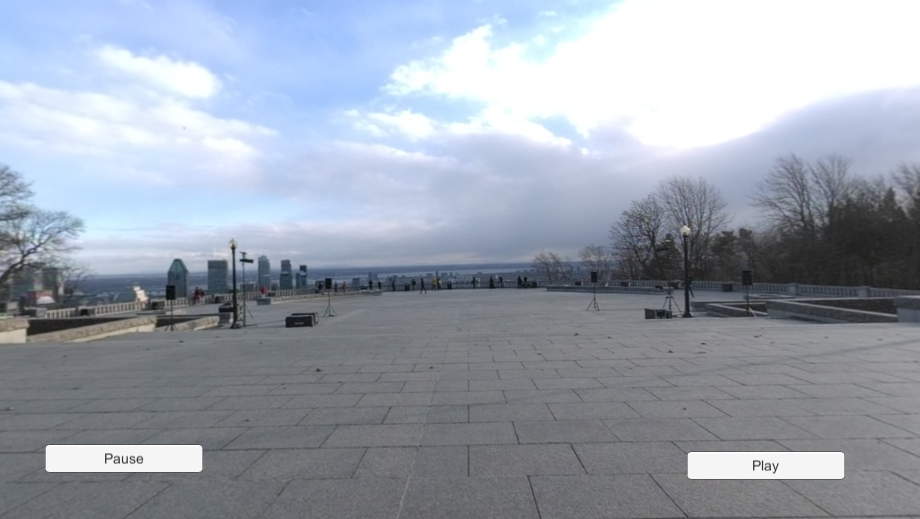
11. At the bottom of the Canvas, add two buttons to represent Play and Pause, then position them much like what you would see in a standard media or web player.
12. Rename the buttons to “PlayButton” and “PauseButton”, and change their child text objects to “Play” and “Pause”, respectively.
13. Select both buttons in the Hierarchy.
14. In their Inspector, add a new OnClick() event.
15. Drag the Video Player into the OnClick() reference, so we can access the Video Player’s parameters later on (Figure 03).
16. In the Hierarchy, select only the PlayButton GameObject.
17. In the Inspector, navigate to the OnClick() event, and assign its logic to VideoPlayer.Play(). The button will now play the video when it’s clicked.
18. In the Hierarchy, select only the PauseButton GameObject.
19. In the Inspector, navigate to the OnClick() event and assign its logic to VideoPlayer.Pause(). The button will now pause the video when it’s clicked.
4. Conclusion
Congratulations! You’ve now set up a Playback menu. Take a moment to explore additional native OnClick functionality within the Video Player. You will also find that you can modify the Video Player’s volume, playback speed, and other settings as well.