
Create a scene flow
Tutorial
foundational
+10XP
20m
(398)
Unity Technologies
In this tutorial, you’ll set up the scene flow between the Menu and Main scenes, and the exit flow for the application in the application.
By the end of this tutorial, you will be able to:
- Call the appropriate start-up methods in the initialization sequence of the app
- Load the next scene when triggered by an event
Languages available:
1. Overview
As you reviewed in the previous tutorial, the application you’ll be working on in this mission has a number of different scenes that the user needs to navigate between.
Right now the application starts directly in the Main scene. In a real-world application, there would be a menu at the start of the application where the user could adjust settings or quit. In this tutorial, you’ll create that menu.
2. Review the required scene flow
We’ve prepared a basic UI menu Canvas in the Main scene, but it doesn’t work out of the box.
If you need to refresh your memory, take a moment to review the full scene flow overview in the project brief.
Let’s begin by setting up the application so that the user can:
- Launch the Main scene
- Exit the application
3. Review the UI menu
Let’s review the UI Canvas that’s already been created for this project:
1. If you haven’t done so already, open your project from the Unity Hub.
2. In the Project window, go to Assets > Scenes and open the Menu scene.
3. In the Scene view control bar, set the Scene view to 2D mode.
4. In the Hierarchy, expand the Canvas and then the Container GameObject, which contains two more GameObjects: StartContainer and Exit.
5. Expand the StartContainer GameObject.
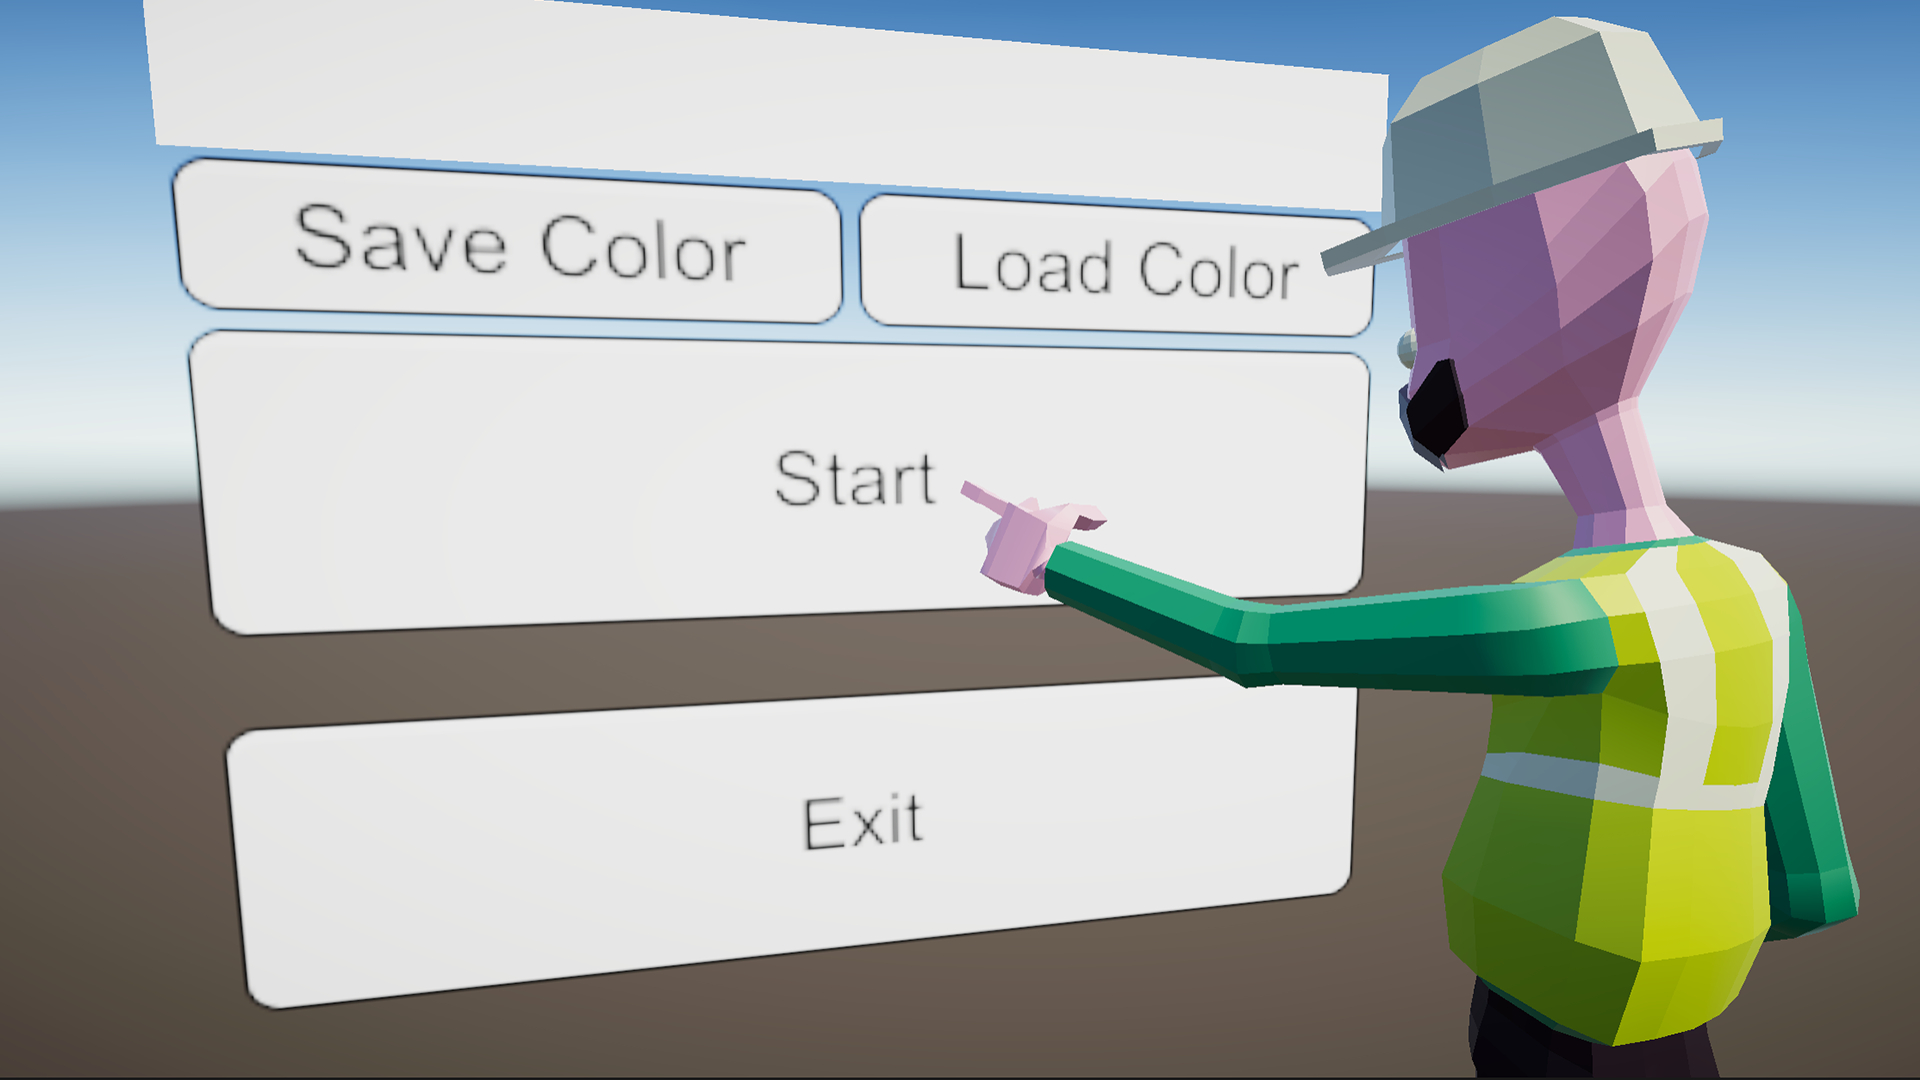
StartContainer contains four button GameObjects grouped together in the StartContainer section of the Canvas:
- Start button (StartButton)
- A mystery white rectangle (ColorPicker)
- Save Color button (Save)
- Load Color button (Load)
The menu isn’t functional yet, but you can still review the color selection buttons in action — let’s try that now.
6. In the toolbar, select Play to enter Play mode. You’ll notice that there are now four color selection buttons available in the white rectangle.
7. Exit Play mode.
The color selection buttons are controlled by the MenuUIHandler.cs script on the Canvas GameObject. This is a custom script that’s been written for this project. Right now, all it’s doing is initializing the color buttons. Let’s add two methods: one to start the Main scene and one to exit the application.
4. Write a method to load the Main scene
Let’s start by writing the method to load the Main scene from the menu:
1. In the Project window, go to Assets > Scripts. Double-click MenuUIHandler.cs to open the script in your default IDE. You’ll find the following script prepared for you:
using System;
using System.Collections;
using System.Collections.Generic;
using UnityEngine;

// Sets the script to be executed later than all default scripts
// This is helpful for UI, since other things may need to be initialized before setting the UI
[DefaultExecutionOrder(1000)]

public class MenuUIHandler : MonoBehaviour
{
    public ColorPicker ColorPicker;

    public void NewColorSelected(Color color)
    {
        // add code here to handle when a color is selected
    }

    private void Start()
    {
        ColorPicker.Init();
        // this will call the NewColorSelected function when the color picker has a color button clicked
        ColorPicker.onColorChanged += NewColorSelected;
    }
}
2. Under the Start method, add the following new method called StartNew:
public void StartNew()
{
    SceneManager.LoadScene(1);
}
SceneManager is the class that handles everything related to loading and unloading scenes.
3. Save your file, and return to the Unity Editor.
Take a moment to review the Console. You may notice the following error message: “The name 'SceneManager' does not exist in the current context.” This occurs because SceneManager is grouped in a different namespace (that is, a different group of code) from the one included in this script file.
If you don’t see this error, your IDE might have added it automatically when you typed “SceneManager”. Follow the next steps to double-check that the namespace was added.
4. Return to your script editor. The namespaces included in a script can be found at the top of the file in the lines starting with using.
using System;
using System.Collections;
using System.Collections.Generic;
using UnityEngine;
There are multiple namespaces in this script already. The line using UnityEngine;, for example, means that everything in the UnityEngine namespace (that is all classes you have used so far, such as Vector3 and Transform) can be used in this script file.
5. Add the following namespace to the list in the script, and then save your changes:
using UnityEngine.SceneManagement;Now the SceneManagement namespace is included in this script and can be used in the scene.
5. Set the Menu scene index
Next, let’s prepare to set up the Start button by setting the Menu scene index:
1. Before you return to the Editor, take a moment to review the instruction that you wrote in your new method to load the scene: SceneManager.LoadScene(1);
The LoadScene parameter is a number, but what does this refer to? It’s the index of the scene that you want to load. You can define a scene’s index in the Build Settings window.
2. In Unity Editor’s top menu, go to File > Build Profiles. A new window will appear, in the Platforms section select Scene List. This is where a scene’s index is set.
3. Make sure both the Main scene and the Menu scene appear in the Scenes List menu. If either is missing, go to the Project window, navigate to the Scenes folder, then drag and drop the missing scene into the Scenes List section. The Menu scene needs to be above the Main scene in the list so that it has the lowest index value (0). If you need to, select and drag items in the list to change their order.
6. Configure the Start button
Now you’re ready to set up the Start button:
1. In the Hierarchy, select the StartButton GameObject (which is a child of the StartContainer).
2. In the Inspector, find the Button component.
3. Find the On Click () property. This is where you can set the events that Unity will invoke when the user selects the button. Select Add (+) to add a new Event array.
4. Drag and drop the Canvas GameObject to the target field of the On Click event, underneath the Runtime Only drop-down, to assign it.
The Canvas GameObject has the MenuUIHandler component attached.
5. In the Function dropdown menu, select MenuUIHandler > StartNew.
6. Save your changes, then go to the toolbar and select Play to enter Play mode.
7. Try selecting the Start button — you should find that it launches the Main scene! You won’t be able to get back from that scene for now. When you’re done, remember to exit Play mode.
7. Write a method to quit the application
Now, let’s set up the Exit button in the Menu scene:
1. Return to MenuUIHandler.cs in your IDE.
2. Under the StartNew method, add the following new method called Exit:
public void Exit()
{
    Application.Quit();
}
The instruction calls the method to close an application: Application.Quit().
3. Save and return to the Unity Editor, then test the Exit button in Play mode — does it work? Take a moment to consider why before reading on.
What’s the problem here?
The button isn’t currently working because Application.Quit only works in the built application, not when you’re testing in the Editor. To make it work similarly there, you’ll need to use a special method to stop PlayMode. But how can you change the code to run different lines depending on where the application is running?
That’s where conditional compiling comes in. You can use conditional compiling to branch the code based on where the code is compiled — in the Editor, or for a build.
8. Revise your method with conditional compiling
Revise your method using conditional compiling:
1. Return to MenuUIHandler.cs in your IDE.
2. Update your Exit method with the following code:
  public void Exit()
    {
#if UNITY_EDITOR
        EditorApplication.ExitPlaymode();
#else
        Application.Quit(); // original code to quit Unity player
#endif
    }
3. Save your changes.
Review the new conditional code
But what does this code mean? All lines starting with # aren’t really “code”. They won’t be compiled and executed — they’re actually instructions for the compiler. It is similar to code you’ve encountered before, though!
Let’s translate it into something a little more familiar:
if (UNITY_EDITOR)
{
    // run this code
}
else
{
    // run this code
}
Because this if conditional statement is an instruction to the compiler, the part that is not true will be completely removed.
In your case:
- When the code is compiled inside the Editor then UNITY_EDITOR is true, it will keep the EditorApplication.ExitPlaymode() code and discard the Application.Quit.
- When you build a player, UNITY_EDITOR will be false, and so it will keep Application.Quit() and discard EditorApplication.ExitPlaymode() !
9. Add a new namespace
If you return to Unity Editor, you may find a familiar error in the Console: “The name 'EditorApplication' does not exist in the current context.”
Just like SceneManager, EditorApplication is in another namespace — this time, that namespace is UnityEditor, which is only available within the Unity Editor, so the fix is slightly different:
1. Return to MenuUIHandler.cs in your IDE.
2. Add the following code to the end of the list of namespaces:
#if UNITY_EDITOR
using UnityEditor;
#endif
You’ve added conditional instructions to the compiler around the namespace: #if UNITY_EDITOR, so that the namespace will only be included when you are compiling within the Unity Editor.
If you didn’t add an if statement for the compiler, then when you tried to build a standalone player, you’d get an error that it can’t find UnityEditor. This is because it’s not included in a player build. (If you want to test this out, remove the conditional instructions and give it a go!)
When you create a build for a player, it will discard the line of code and won’t try to import the namespace. On the other hand, if you select Exit while testing in the Editor, it will exit Play mode.
10. Challenge: Set up the transition back to the Menu scene
Now users can get to the Main scene and exit the application from the starting menu, but at the moment they can’t get back to that menu from the Main scene.
We’ve created a Back to menu button in the Main scene, but you’ll need to get it working yourself.
Remember:
- You can find the GameObject for the button in the Canvas GameObject.
- The Canvas GameObject has the UI Main Scene (Script) component attached — this handles the UI in the Main scene.
- You can review the process you followed in Configure the Start button if you get stuck.
- Test your changes in Play mode to make sure they work properly.
11. Next steps
Now you’ve connected your scenes to the UI to meet the mission brief! But there’s something missing — the color selection buttons still don’t work
In the next tutorial, you’ll add this functionality by implementing data persistence.
Make it your own!
If our pre-created menu is a little boring for your taste, don’t despair — you can customize the appearance of the default menu, or create your own from scratch! This is a great opportunity to consolidate your work in Create with Code Unit 5 - User Interface.
Important: If you do create your own menu, make sure that your menu includes the same buttons that we’ve used — otherwise, the user won’t be able to complete the required interactions in the application.