Create a VR Starter Project from Scratch
Tutorial
Beginner
+0XP
60 mins
192
Unity Technologies
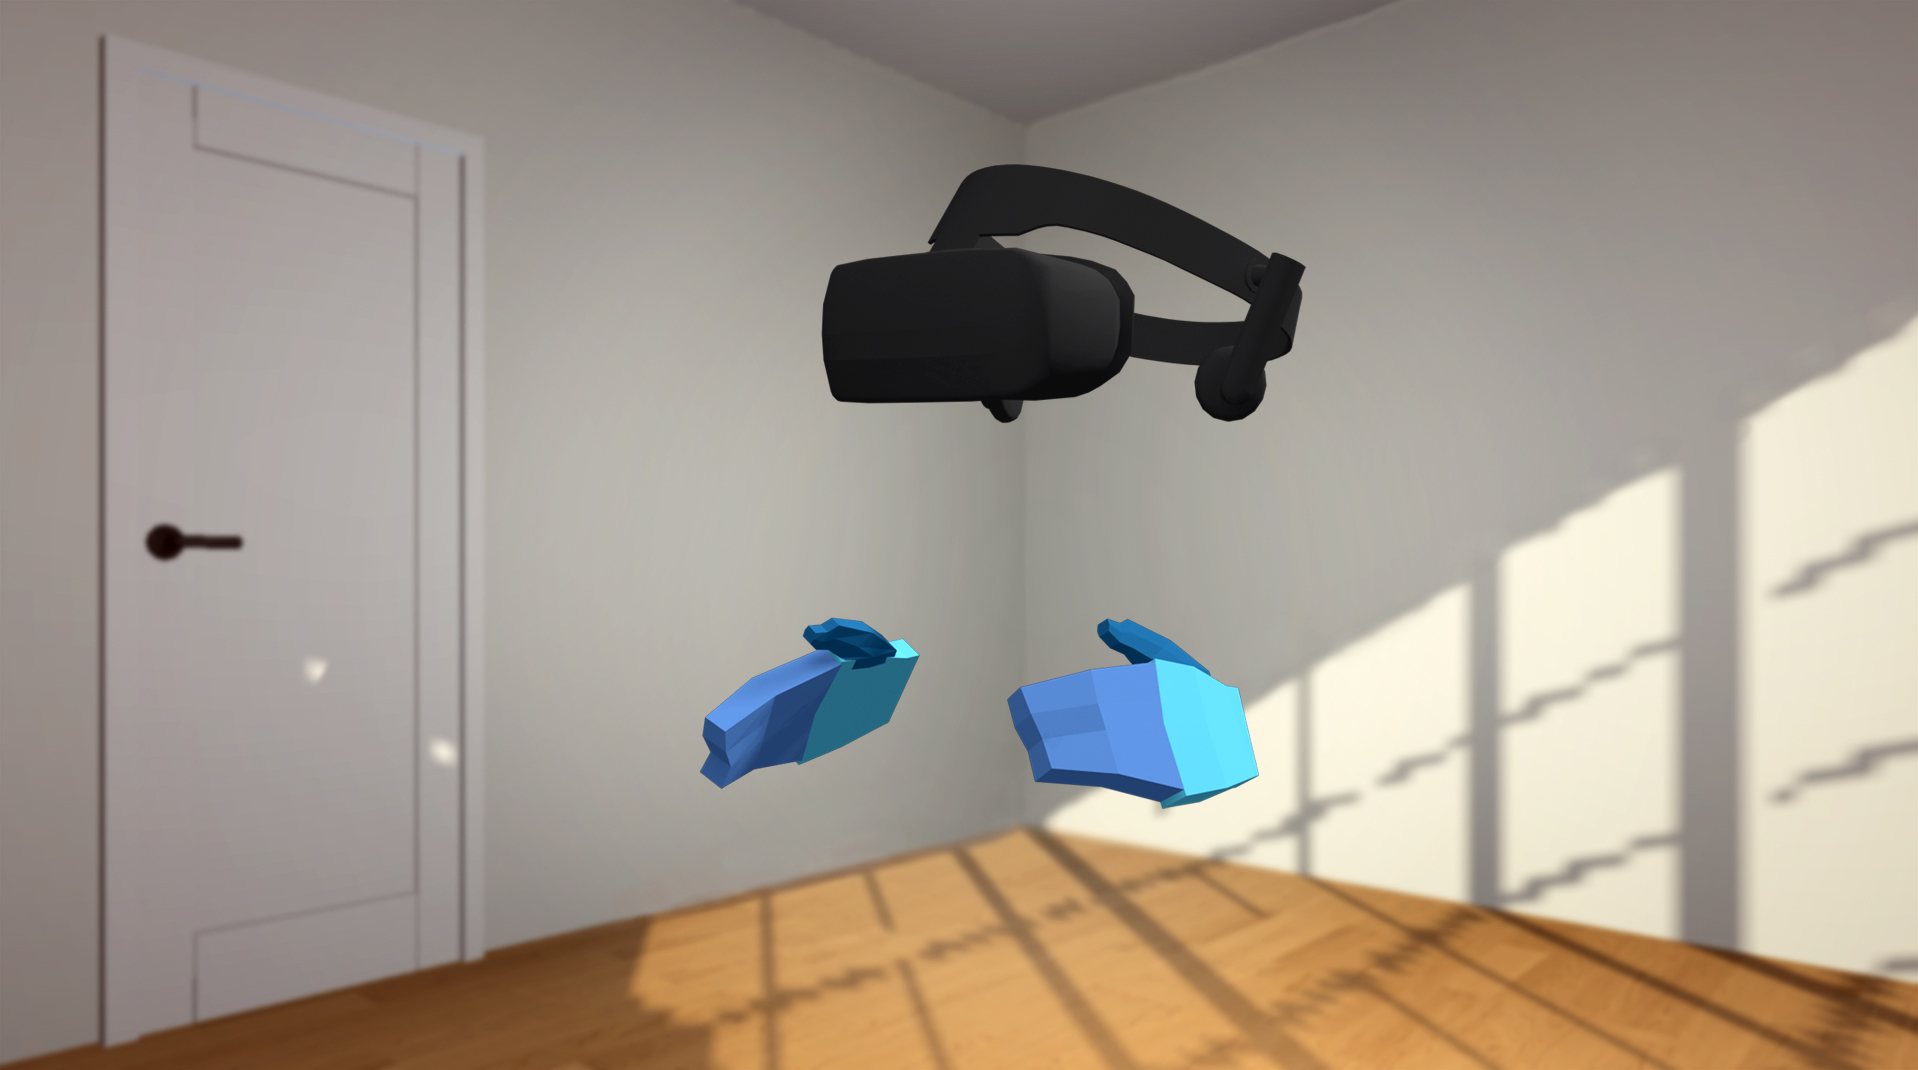
In the Create with VR course, you are provided with a "Starter Project" that is already configured with the packages and settings required to quickly get started working on your Project.
If you are interested in understanding more about what goes into setting up a project for VR, starting with a typical 3D scene in Unity, this will provide step-by-step instructions for doing so.
Materials
Languages available:
1. Overview
In the Create with VR course, you are provided with a “Starter Project” that is already configured with the packages and settings required to quickly get started working on your Project.
However, if you are interested in understanding more about what goes into setting up a project for VR, this tutorial will teach you step-by-step how to set up a new VR project.
2. Install the correct version of Unity
Before you make a project, make sure you have the correct version of Unity installed, which can support stable VR development:
1. From Unity Hub, install Unity 2022 LTS (long-term support).
2. If developing for mobile VR (e.g. Meta Quest), make sure to download the Android export module.
You should now have the correct Long-Term Support version of Unity installed with the appropriate export modules.
3. Create a new URP Project
Now that we have the correct version of Unity installed, we need to make a new project on that version configured for VR.
1. Open the Projects tab in Unity Hub
2. Select New Project
3. Make sure the Editor Version of your new project is set to the recommended version from the previous step.
3. From the list of templates, select 3D (URP), then set the Project Name, and the Location to save it.
4. Click Create and wait for your project to open.
You should now have a new empty URP project open.
4. Create a new empty scene.
Before we do anything related to VR, let’s set ourselves up with a simple empty scene.
1. Make a new Scene:
- In the Project window, right-click on the Scenes folder and select Create > Scene.
- Select the Basic (URP) scene template.
- Rename the new scene “VR Starter Scene”.
- Open the new scene
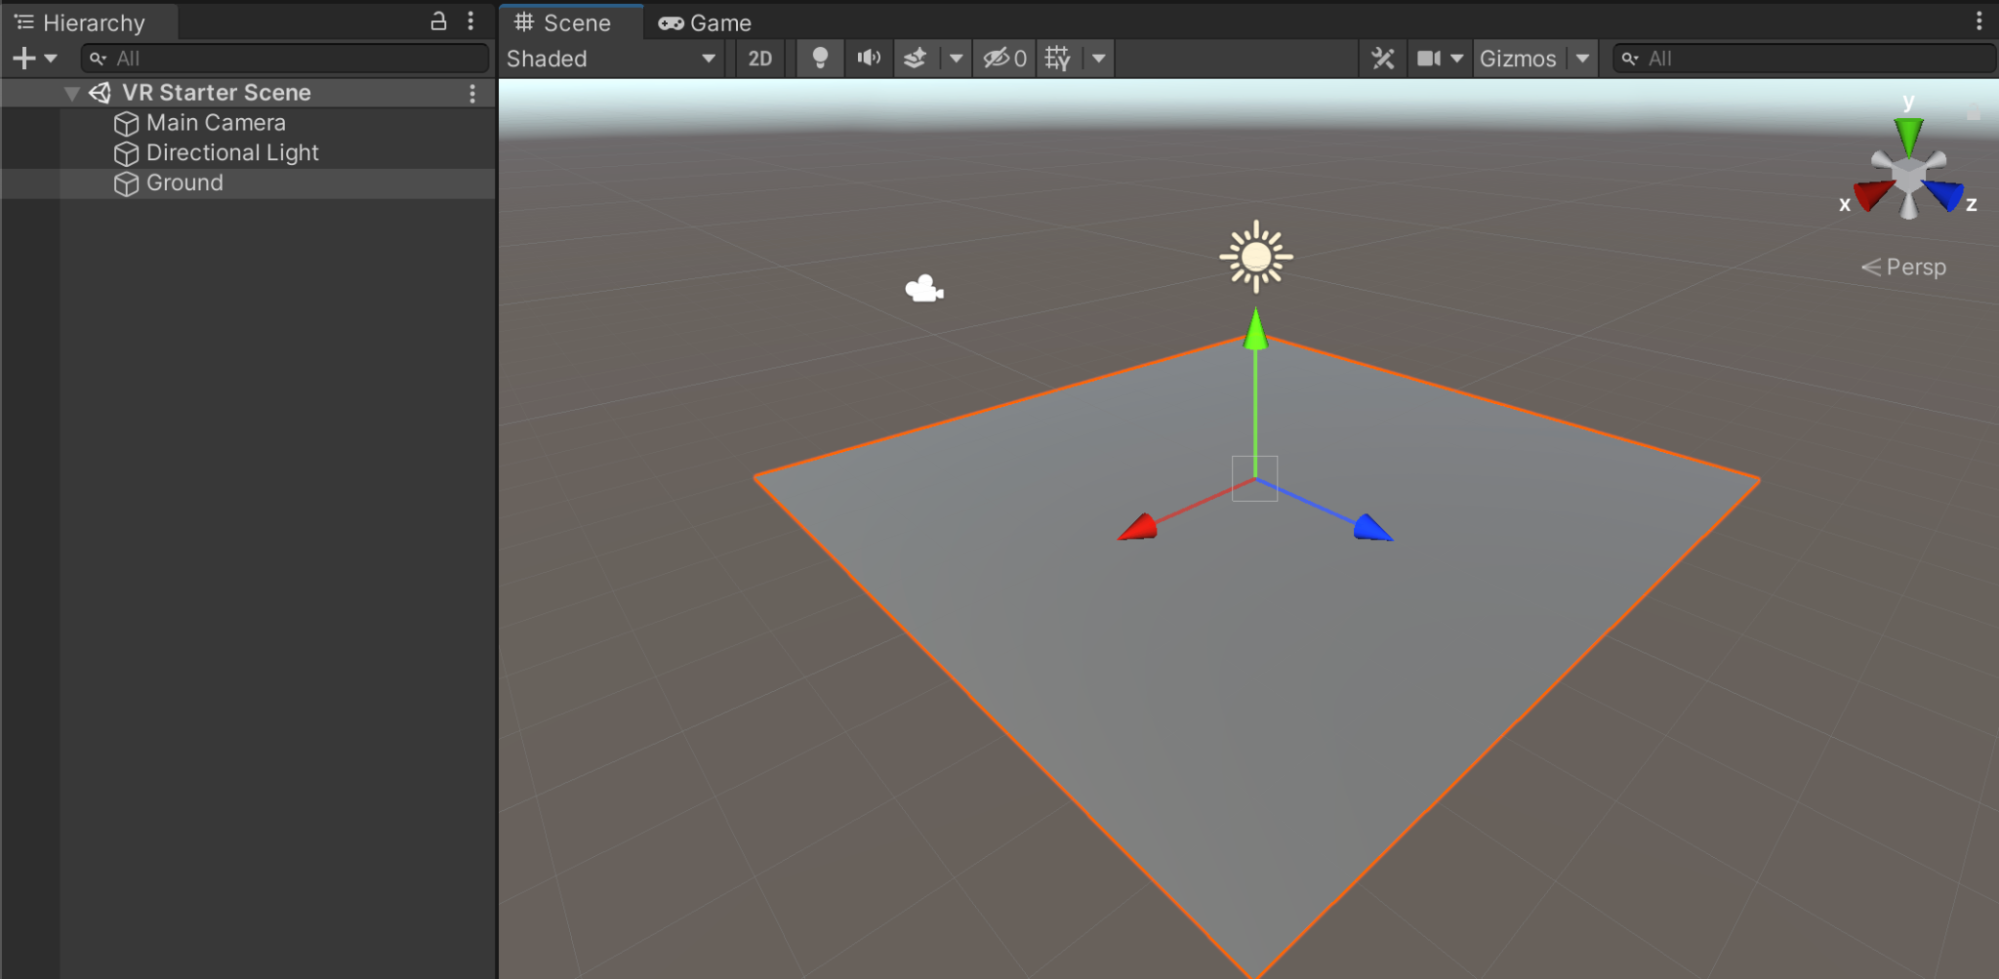
2. Add a simple ground object:
- In the Hierarchy, right-click to create a 3D > Plane object.
- Rename the Plane object “Ground.”
- In the Inspector, make sure its XYZ coordinates are set to X=0, Y=0, Z=0.
You should now have a new empty scene open with a simple ground object.
5. Install XR plugin packages.
Before we can begin developing for a particular device, we need to make sure we can interface with different devices.
1. Enable XR plug-ins:
- From the top menu select Edit > Project Settings.
- In the XR Plugin Management panel, select the Install XR Plugin Management button.
2. Install the OpenXR package:
- From within the XR Plugin Management panel, in the PC, Mac, Linux & Standalone tab, select OpenXR from the list of available Plug-in Providers to install the plug-in.
- This will allow you to publish to a wide range of devices using a single plugin.
- If you are prompted to restart your project in order to switch to the new input system, select Yes.
3. Resolve warnings by setting up an interaction profile.
- After adding the OpenXR plugin, notice the warning or error icon that appears next to the plugin Name
- Click on the warning or error icon to open the OpenXR Project Validation window, which will tell you that you need to add an “interaction profile” for the device you’re using, select the Edit button to do that. This will open the OpenXR settings panel.
- In the Windows, Mac, Linux tab, make sure the Oculus Touch Controller Profile appears in the list of Interaction Profiles, then enable all available OpenXR Feature Groups.
- If you are using a different device, such as the Valve Index or HTC Vive, select that interaction profile instead.
- There should no longer be any warnings in the XR Plugin Management panel. If there are, select them and follow the recommended steps to resolve them.
- If you are having trouble resolving warnings or errors, or if you need help troubleshooting, check out this detailed documentation on configuring the OpenXR plugin.
You should now have the appropriate plugins installed for your target device.
6. Install the XR Interaction Toolkit and samples
It would technically be possible to deploy to a device now if we already had a functioning project, but in order to actually develop the project, we need to install the XR Interaction Toolkit XRIT.
1. Allow the installation of “Pre-release” packages:
- In the Project Settings window, in the Package Manager panel, select the option to Enable Pre-release Packages and then select “I Understand”.
2. Browse preview packages in the Package Manager:
- From the top menu, select Window > Package Manager.
- To be able to search through all packages, from the drop-down in the top-left, change the scope from “In Project” to “Unity Registry”.
3. Install the XR Interaction Toolkit package:
- Search for and select the XR Interaction Toolkit package.
If you don’t see it in the list, you can select the + button and choose to Add Project by Name, then enter “com.unity.xr.interaction.toolkit”. - Click Install.
- This will allow you to quickly develop XR interactions.
4. Install helpful samples for quick development:
- After the XR Interaction Toolkit package has installed, a new Samples fold-out should appear at the bottom of the description.
- Click to Import the Starter Assets.
- This provides a set of Default Input Action presets for mapping specific buttons to actions using the action-based input system
- Click to Import the XR Device Simulator
- This allows you to test your VR app using keyboard and mouse controls rather than an actual headset.
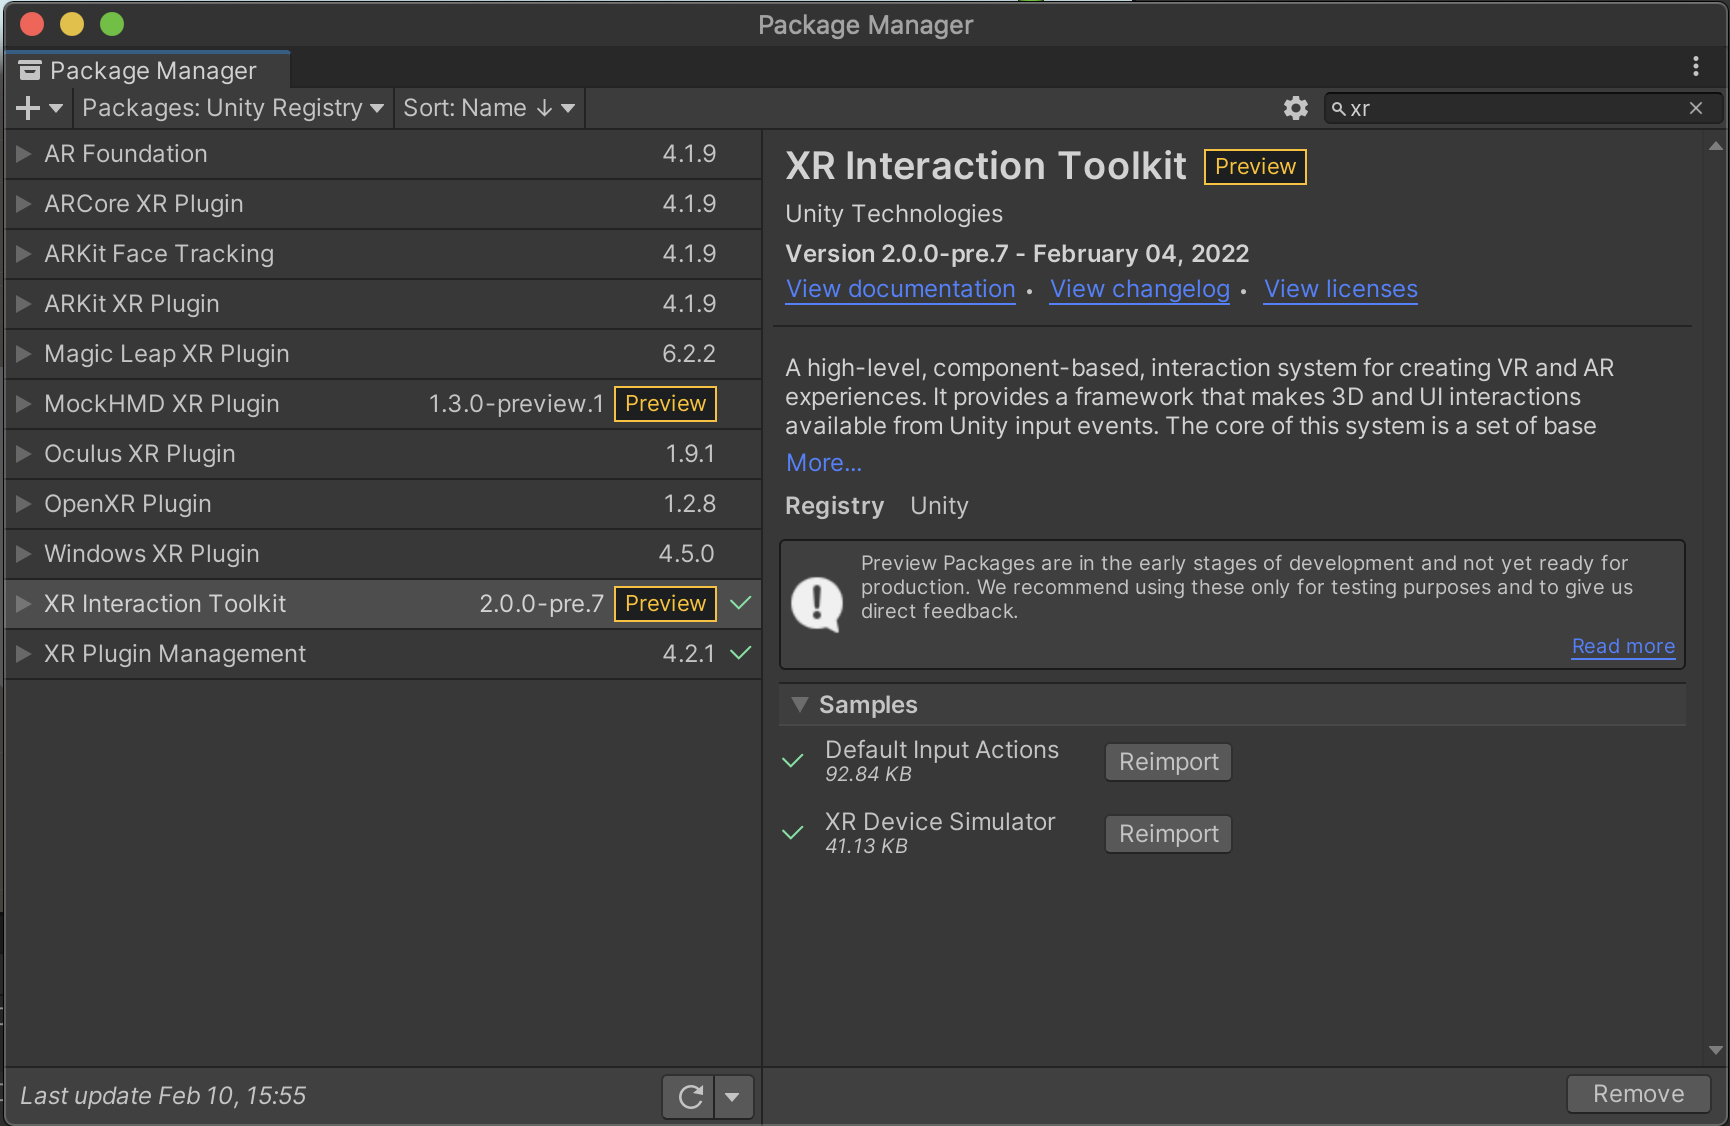
You should now have the XR Interaction Toolkit package installed, including helpful samples, and have a new XR option when creating new objects in the Hierarchy.
7. Add an Action-based XR Origin to the scene.
Now that you have all of the packages and samples you need to get started, you can set up your scene for XR Development. If you require additional information after trying this step, check out the Samples Documentation.
1. Set up the action-based input system in your scene:
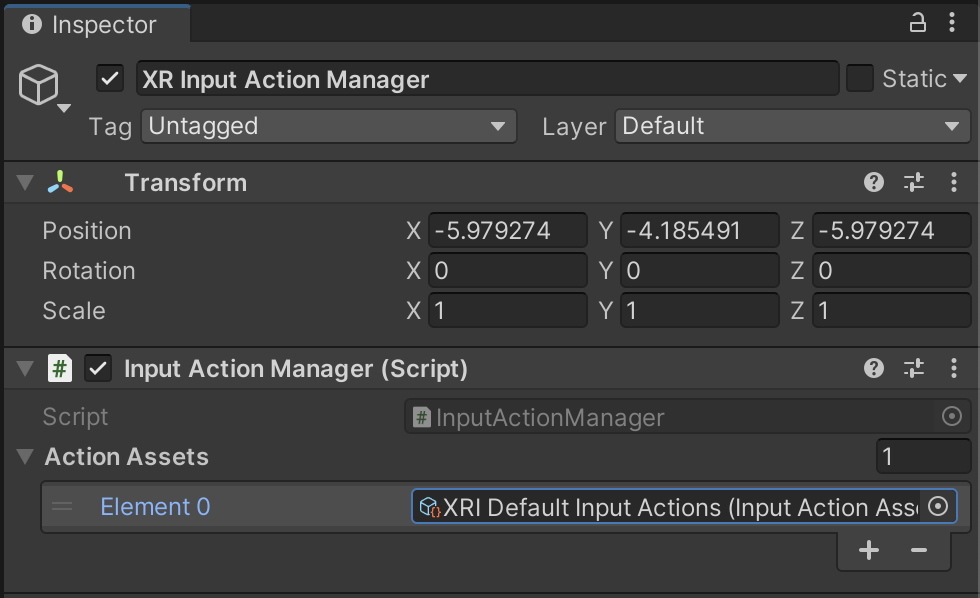
- In the Hierarchy, right-click to create a Empty GameObject, then rename it “XR Input Action Manager”
- Add an Input Action Manager component to the object.
- Expand the Action Assets fold-out and click the + to add a new asset.
- Select the object picker for Element 0 and assign the XRI Default Input Actions preset.
2. Apply action presets automatically when you add XR components:
- In the Project window, navigate to Samples > XR Interaction Toolkit > [version] > Starter Assets.
- Select each default action preset in this folder and, at the top of the Inspector for each one, select Add to [component] Default.
- Now, whenever you add a new XR component, these presets will be applied.

3. Make sure that new XR GameObjects use the appropriate presets:
- From Project Settings, open the Preset Manager panel, then locate the ActionBasedController section
- For the XRI Default Right Controller, type the Filter value “Right”
- For the XRI Default Left Controller, type the Filter value “Left”
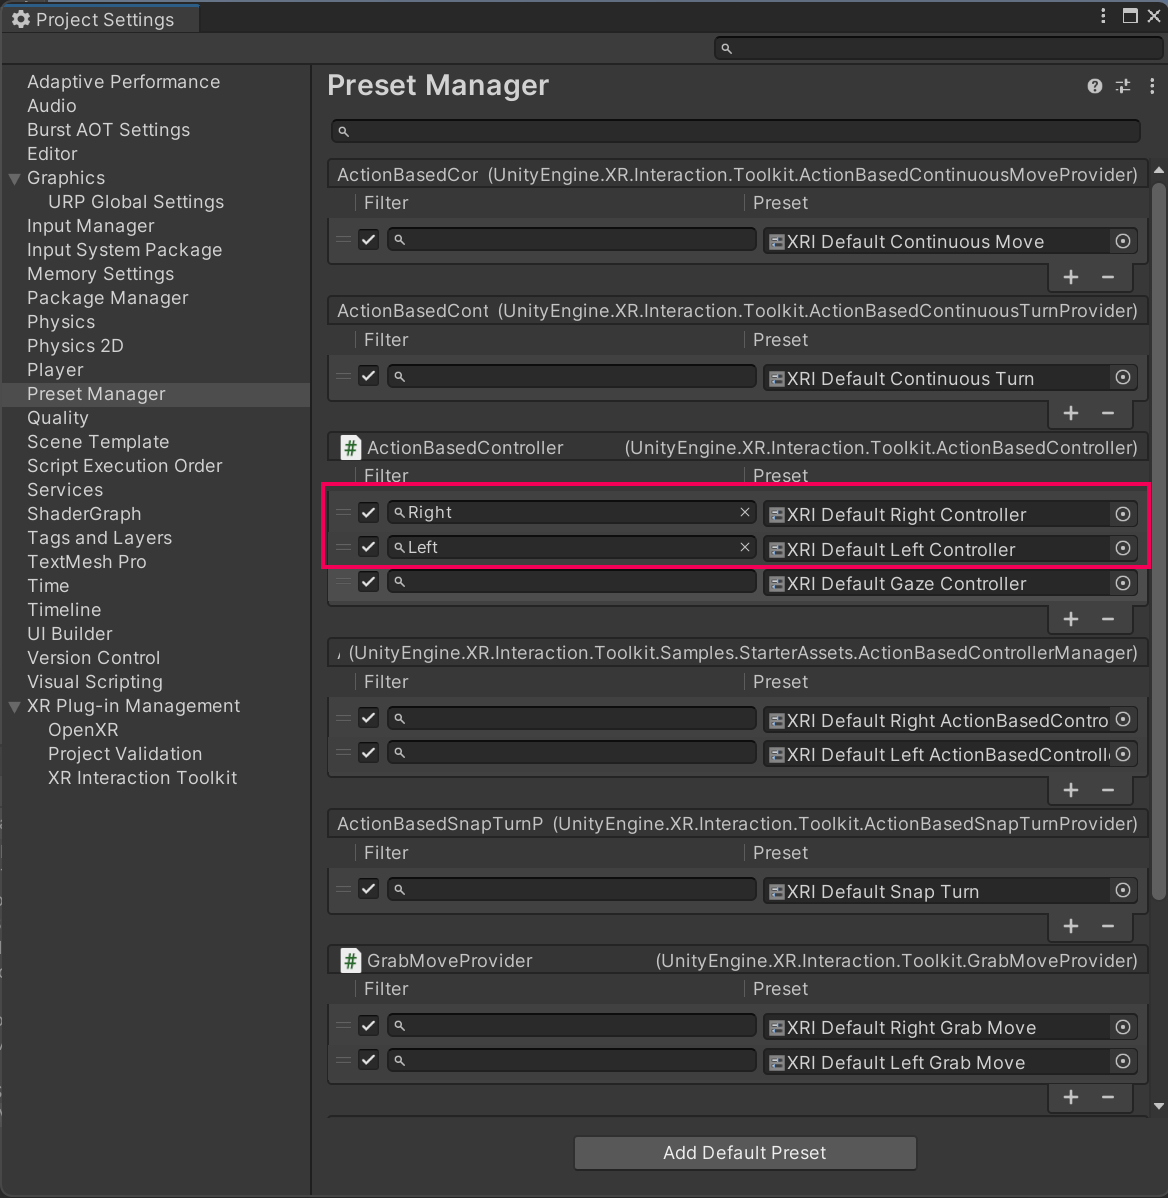
4. Add an action-based XR Rig to your scene:
- In the Hierarchy, right-click to create an XR > XR Origin (VR).
- This object contains the camera and controllers for the user.
- In the Hierarchy, expand XR Origin > Camera Offset, then select one of the controller objects.
- Notice how the Action references are already assigned by default.
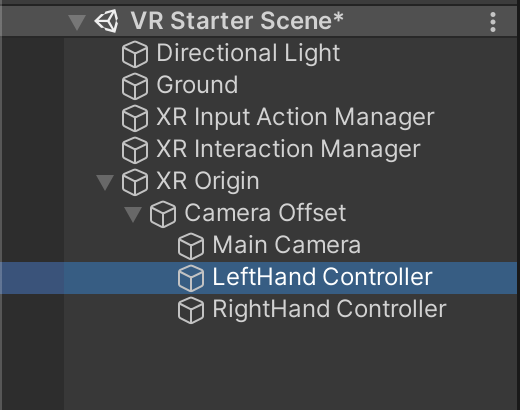
You should now have an XR Origin in your scene set up with action-based inputs already configured.
8. Configure other project settings.
Before running your project, you should also make sure the project’s quality and rendering settings are appropriate for VR.
1. If you are building to Android (for a Quest):
- Still in the Project Settings window, in the Player settings panel, in the Android tab, in the Other settings fold-out, locate the Minimum API Level.
- Set the Minimum API Level to Android 10 (API level 29) (or whatever is recommended in this Quest Documentation).
2. Make sure your graphics quality settings are appropriate for VR.
- Still in Project Settings, click the Graphics panel on the left.
- For the Scriptable Render Pipeline Settings property, use the object picker to select the URP-Balanced option.
- This will ensure your graphics are not too intensive for mobile VR.
3. Remove post-processing from your scene:
- In the Hierarchy, select the if you see a Global Volume GameObject, select it and set it as Inactive.
- This object adds post-processing to your scene, which you will learn about in later tutorials - to start and to keep things as performant as possible, it’s best to remove post-processing for now.
You should now have critical settings configured properly for running VR projects.
9. Import the course assets
With your project now completely set up for VR, you can import the course-specific assets and scenes.
1. Click to download the zip file that contains the assets.
2. Extract the zip file and open the folder inside to locate the .unitypackage within.
3. Import the .unitypackage into your project.
You should now see _Course Library and Challenges folders in your assets
10. Next steps
You now have the project set up for VR development.
Next, you can continue on to Lesson 1.1 - VR Project Setup | Step 2 in order to add the appropriate device-specific plugins and build your project for the first time.