
Place light probes
Tutorial
intermediate
+10XP
60 mins
(115)
Unity Technologies
In this tutorial, you will set up probe lighting to illuminate small objects, and for improved precompute times.
Languages available:
1. Overview
Now that you know that the number of Charts in a scene is detrimental to precompute times, you’ll be able to make big gains in lighting performance by choosing to exclude certain objects from the precompute altogether. This will reduce the number of Charts generated. But how should you light those objects?
Probe lighting is an efficient means of receiving indirect lighting from the scene. Although probe lit objects will not contribute bounced lighting to the scene, often this has little noticeable impact. The objects most suitable for probe lighting tend to be smaller objects which would have little effect on bounced lighting anyway.
2. What is probe lighting?
Probe lighting is a fast technique for approximating lighting in realtime rendering applications such as games. It is commonly used for lighting characters and other non-Static (dynamic) objects in the game world. Probe lighting is very performant at run time and has the added benefit that it is quick to precompute.
Probe lighting works by sampling the incoming lighting at a specific point in 3D space and encoding this information across a sphere using mathematical functions known as spherical harmonics. These coefficients have low storage cost and can then be quickly ‘unpacked’ at gameplay and used by shaders within the scene to approximate surface lighting. In Unity, this functionality is offered by Light Probes.
Probe lighting limitations
There are limitations to using probe lighting. One such limitation is that it is difficult to represent high frequency or dappled lighting across the spherical range without increasing the order (size) of these special numbers. Unfortunately the costs quickly escalate as the precision increases, meaning that for performance reasons you are limited to lower order spherical harmonics.
The fact that you can only have one spherical representation of lighting for one 3D position in the world makes probe lighting unsuitable for representing lighting across very large objects where lots of lighting variation could be expected.
Another limitation is that - as spherical harmonics encode values on a sphere — they are generally unsuitable for large planar objects or those with significant concavity.
Note: The Unity Manual offers some information on Light Probe Proxy Volumes (LPPV) if you are considering using probe lighting with large objects.
Using probe lighting for optimization
Despite these limitations, probe lighting will yield suitably convincing results at relatively low cost when used with suitable smaller, convex objects. Later in the tutorial, you will explore the setup and placement of Light Probes in more depth. For now, you just need to know that you can reduce the number of lightmap Charts in your scene by using probe lighting where it is appropriate.
3. Choosing which objects to light with probes
While it was broadly useful to set the GameObjects under the Environment group to be Static in order to get the lighting setup underway, there are many objects under this parent which would make good candidates for probe lighting instead. Clearing the Static flags for these objects will mean that they are no longer considered by Unity’s Precomputed Realtime GI system and therefore the number of lightmap Charts will be reduced. Remember: reducing the number of Charts in the scene is key to improving precompute times. Small, convex debris objects, for example, make perfect cases for probe lighting.
Review the Environment GameObjects
Let’s examine the children of the Environment GameObject in the Hierarchy window.
If you review the objects categorised as Props, you’ll find that many of these are small, debris style objects and scene ‘dressing’ such as stones, buckets and wooden planks. These objects are numerous, and many of these relatively small objects would be complex to unwrap. Getting lightmap UVs that are free of distortion would most likely result in a large number of UV shells. More UV shells require extra Charts, more Charts mean more lightmap texels to compute, and so on.
Given that these objects are so small, they are unlikely to contribute much to the indirect lighting within the scene. Equally, their size means that there is little surface area in which detailed lighting variation can be displayed. This makes these objects great candidates for probe lighting. Not only will your precompute times benefit, but performance at run time will also be improved due to the reduced number of lightmaps that you need to store in memory and decode in shaders.
4. Remove the props from the precompute
To remove the prop GameObjects from the precompute:
1. Select the Props GameObject in the Hierarchy view.
2. In the Inspector, disable the Static property.
3. Choose Yes, change children when prompted.
At this point, if you were to leave the precompute long enough, you would eventually see the lighting results in the Scene view. You would probably notice then that the probe-lit, non-Static objects are lit differently to the objects around them and do not match the lighting of the scene.
This is because you have not yet set up Light Probes, and therefore these objects fall back to the scene’s Ambient Probe. The Ambient Probe is essentially a hidden probe within the scene, invisible to the user, which only samples the Ambient Source set in the Lighting window.
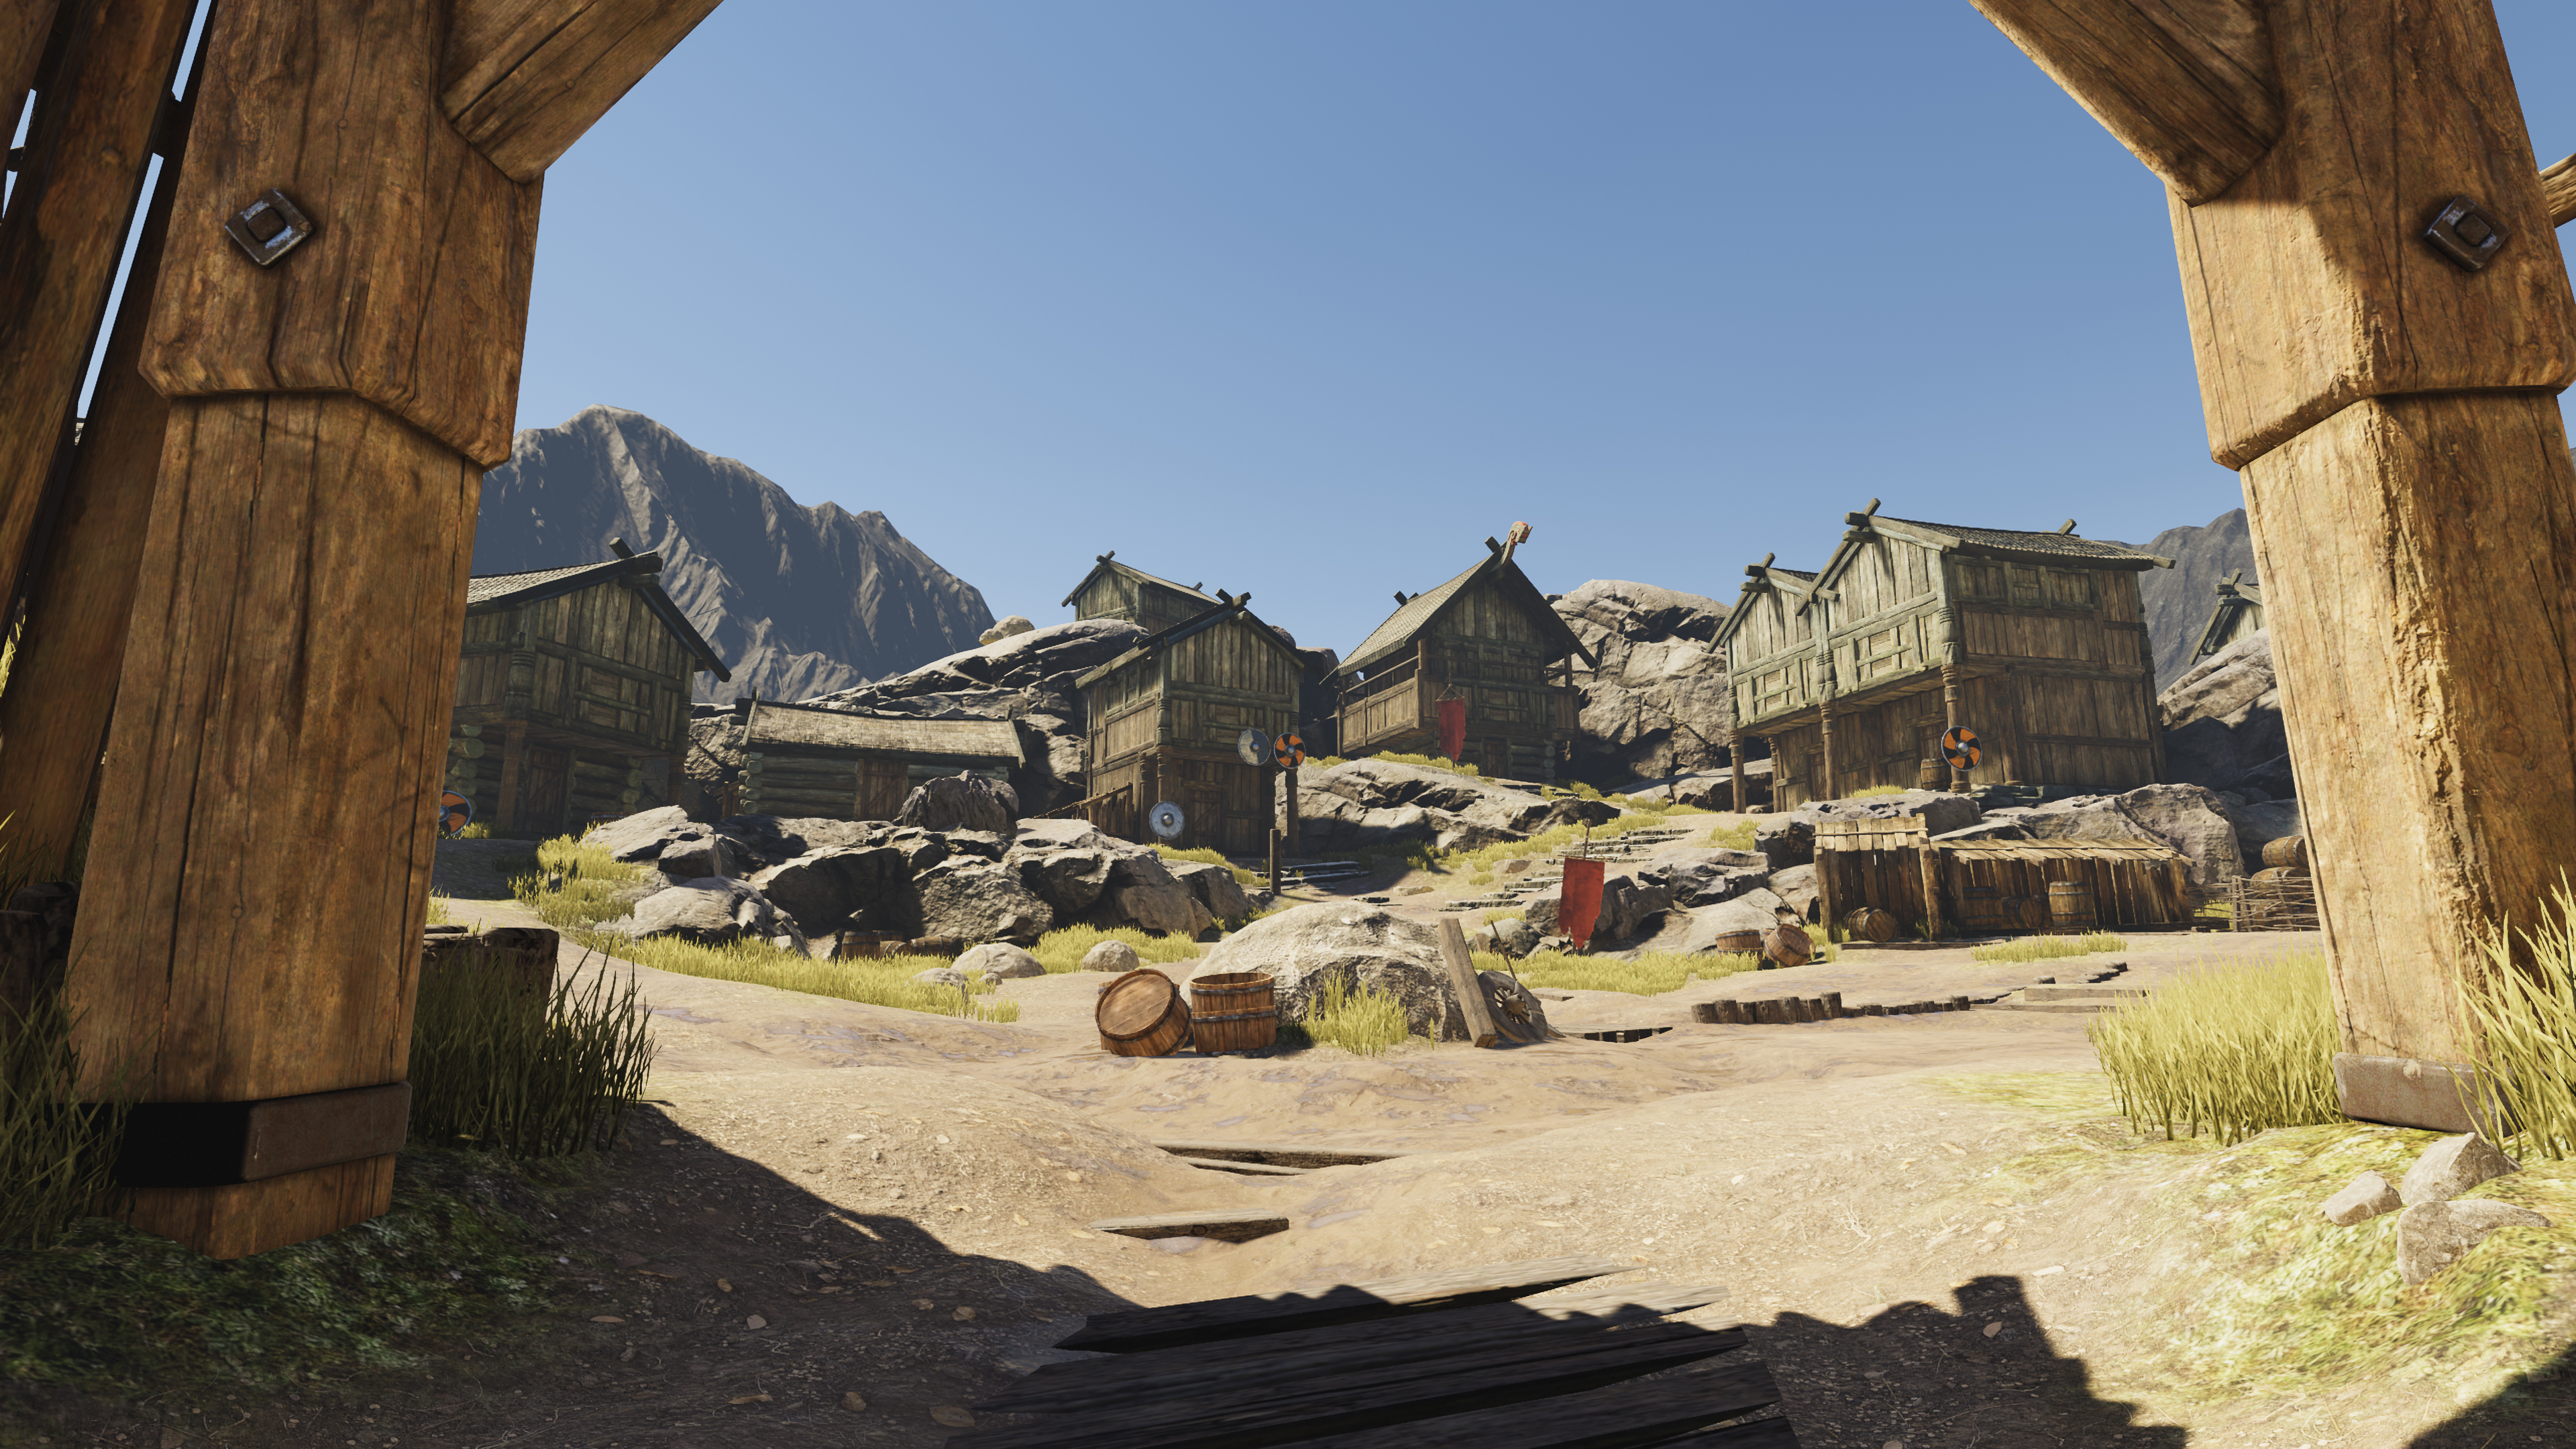
These barrels, for example, demonstrate how non-Static objects can look out of place in their environment without light probes.
In order to place non-Static objects more convincingly into their lit surroundings, you need to spend some time placing Light Probes around the scene in order to sample indirect lighting throughout the world.
5. Introduction to placing Light Probes
Non-Static objects receive lighting based on proximity to nearby probes. The decision about which probe an object might ‘read’ from is made by dividing the space between the Light Probes into tetrahedral volumes and then checking to see which tetrahedron the given object falls within. In order to make these tetrahedrons, the probes must therefore be positioned such that they create a 3D volume, or cage.
Probe lighting is relatively inexpensive at run time and is quick to precompute. However, to maximise performance, you do need to take some care when placing probes. Although quicker to set up, dense grid arrangements of Light Probes are potentially wasteful as many of these probes will not be sampling much variance in the local lighting conditions.
For efficiency, it is better practice to position probes in greater density around areas where there is pronounced change in the lighting. This may include areas where there is transition from light into shadow for example, or perhaps where there are likely to be strong colors created by light bounce.
6. Set up and place Light Probes
Let’s start to set up and place Light Probes in the scene:
1. Create a Light Probe Group from the GameObject menu (Top menu: GameObject > Light > Light Probe Group). Now you can begin placing probes.
2. In the Hierarchy, select the newly created Light Probe Group.
3. In the Inspector, select Edit Light Probes in the Light Probe Group component.
4. You can select the probes themselves in the Scene view. Delete all but one of the corner probes from the default cube arrangement which is created.
5. Position the remaining probe to be just above the Terrain in the environment and then duplicate it by pressing Ctrl+D (Cmd+D on macOS).
6. Using the Translate tool (W), move this second probe up in the Y axis to be around 2 meters above the first.
7. Now duplicate the probe again and move the new copy to be much higher, perhaps another 5 meters up in the Y axis.
The reason for creating a vertical arrangement like this is so that you can sample the indirect lighting bounced from the ground, from around head height and also in the air (it is feasible that objects might leave the ground). When you copy these Light Probes around the scene in order to create volumes, you need to ensure objects anywhere in the playable area will fall within one of the tetrahedrons created between the probes. These volumes are visualized as magenta lines drawn between the probes.
7. Place the Light Probes to light areas of interest
Identify areas of interest
Take a moment to identify areas of interest in the scene. When deciding what is an area of lighting interest, look for areas of shadow, or perhaps where there is a strong change in the color of the Terrain material. Remember that you are aiming to sample indirect (or bounced) lighting throughout the scene. In order to justify the cost of adding a new probe, you must ensure that it is sampling some noticeable change in the lighting.
If you use Light Probes to sample areas with general or consistent lighting, then you are unlikely to see much change as the receiving object passes these probes. Like many aspects of game optimisation, you have to ensure every item that you include in your scene offers some benefit.
Duplicate and place the light probes
To light the areas of interest you have identified:
1. Select all three (3) probes you just created by holding Shift and clicking each probe individually, or by dragging a selection.
2. Duplicate the whole vertical chain you have created and move this to a nearby area of lighting interest in the scene.
3. Continue repeating this process, positioning probes in greater density around areas of lighting change until you have created a sparse cage layout which encapsulates the playable area.
Important: While positioning probes, always remember to check the bottom-most Light Probe remains just off the ground.
Review an example
In the example LightingTutorialOptimal scene, we created two groups of Light Probes:
- VillageLightProbeGroup, for the more densely populated village area
- ExtentsLightProbeGroup, for the sparse non-playable area outside the village called
The second group also covers the extents of the game world, in case any non-Static MeshRenderers leave the playable area. We don’t need the same degree of fidelity in these unreachable parts of the scene, therefore this group can be much less dense. Two probes in the vertical axis is sufficient.
Splitting the Light Probe Groups into two GameObjects makes it easier to position the probes. Individual Light Probe Groups can be enabled or disabled to offer a clearer view when working in the scene. These groups will be automatically combined at run time, along with a deduplication pass to remove any overlapping probes.
8. Review your results
To see the Light Probes lit according to their environment, you must wait for a lighting precompute to complete. If Auto Generate mode is enabled in the Lighting window, this will happen automatically. If Auto Generate mode is not enabled, you must manually begin a precompute by navigating to the Lighting window (Window > Rendering > Lighting Settings) and selecting the Generate Lighting button.
Once this process has completed, you will notice that the non-Static GameObjects in the scene now read from the Light Probes and look better matched to the scene lighting. To see Light Probes in their lit state, deselect the Light Probe Group in the Hierarchy view.
Now that you have set up Light Probes in the scene, you get the visual benefits of indirect lighting on the smaller ‘prop’ objects without the expense of extra Charts created by the inclusion of these objects in the precompute.
9. Next steps
In this tutorial, you used Light Probes to reduce the number of Charts in the scene. But there’s still more to do — next, you’ll work to reduce the number of remaining Charts by optimizing UV unwrapping.