
Create particle spawning positions with Visual Effect Graph
Tutorial
intermediate
+10XP
20 mins
59
Unity Technologies
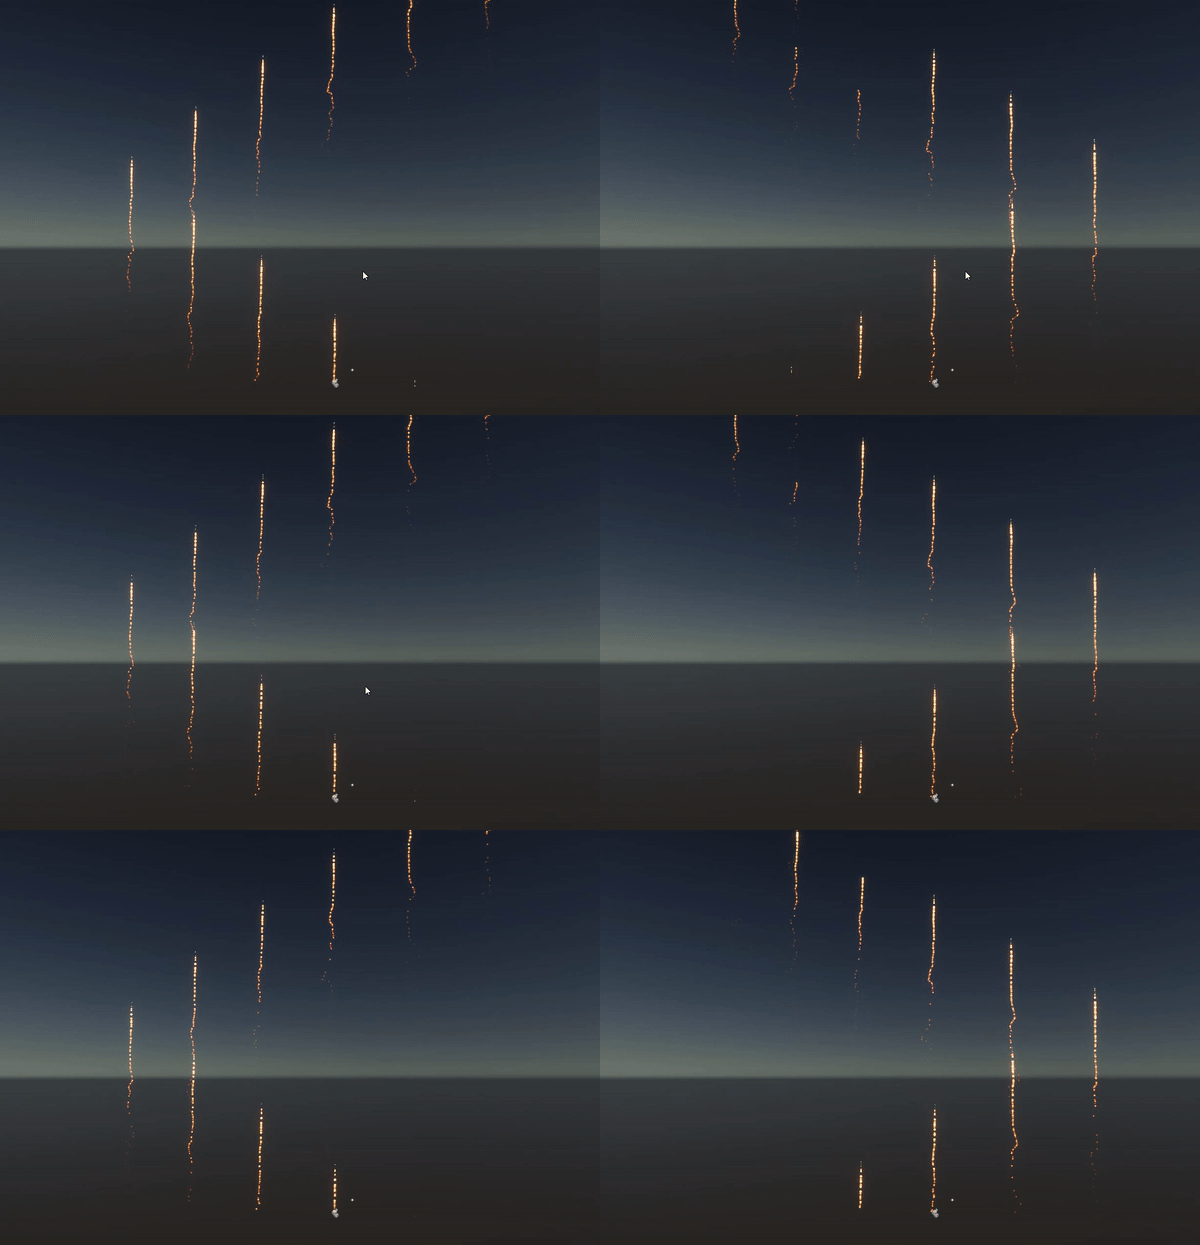
With Unity’s Visual Effect Graph, you can choose where particles spawn using predefined volumes and shapes. In this tutorial, using a simple fireworks display, we’ll explore what a position block is and how it can be used to initialize particles. This tutorial also covers sequential spawning blocks and how you can use them to extend basic particle spawning.
Languages available:
1. Introduction
With Unity’s Visual Effect Graph, you can use position blocks to define a space from which particles spawn. Position blocks are configured as basic shapes; you can use these shapes as volume, surface, or thickness areas for spawning particles.
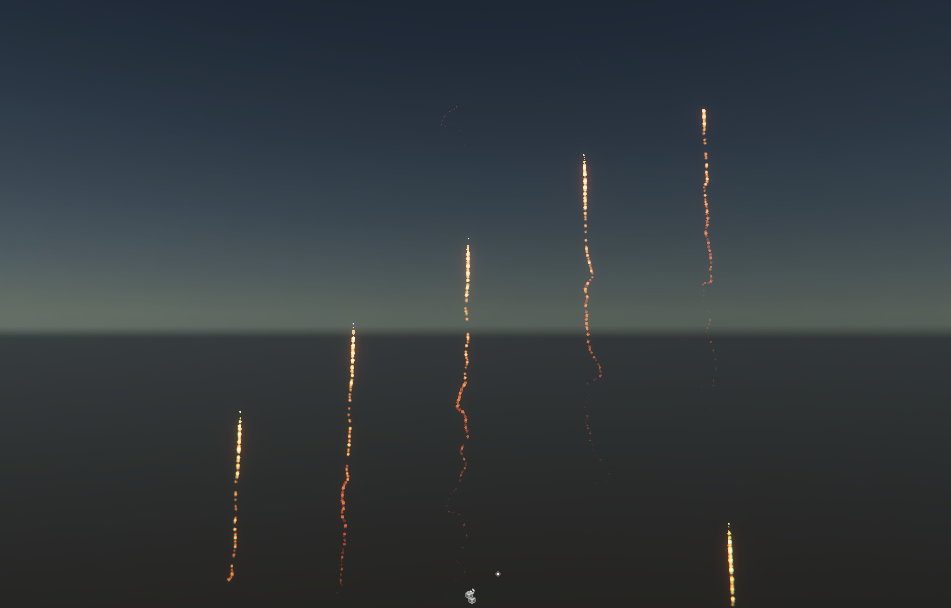
The Visual Effect Graph also has sequential position blocks that allow you to define a grid and cycle through the points on the grid to dynamically sequence the position where particles spawn. This is useful when you want particles to spawn from different positions within a fixed area (Figure 01).
Position blocks can also be layered within a particle system to create more complex shapes and spawning volumes.
This image shows fireworks created in Visual Effect Graph as particles that are spawned from different positions with a sequential line position block:
2. Before you begin
Before you begin this tutorial, install the High Definition Render Pipeline (HDRP) in your Unity project. The Universal Render Pipeline is compatible with the Visual Effect Graph, but has limited features due to the performance limitations of mobile devices.
When you install the HDRP, the Visual Effect Graph package is automatically installed. Make sure that it’s in your project by opening the Package Manager and searching for Visual Effect Graph.
For an introduction to Visual Effects Graph, see Introduction to the VFX Graph.
The guidance in this tutorial can be applied to your own uses of particles in Visual Effect Graph. You can follow the example in this tutorial by importing the Firework Sample Package into your project.
3. Add position blocks to an effect
Visual Effect Graphs are created by adding and connecting functional blocks known as Contexts. Particle effects in Visual Effect Graph have an Initialize Context (Figure 02).
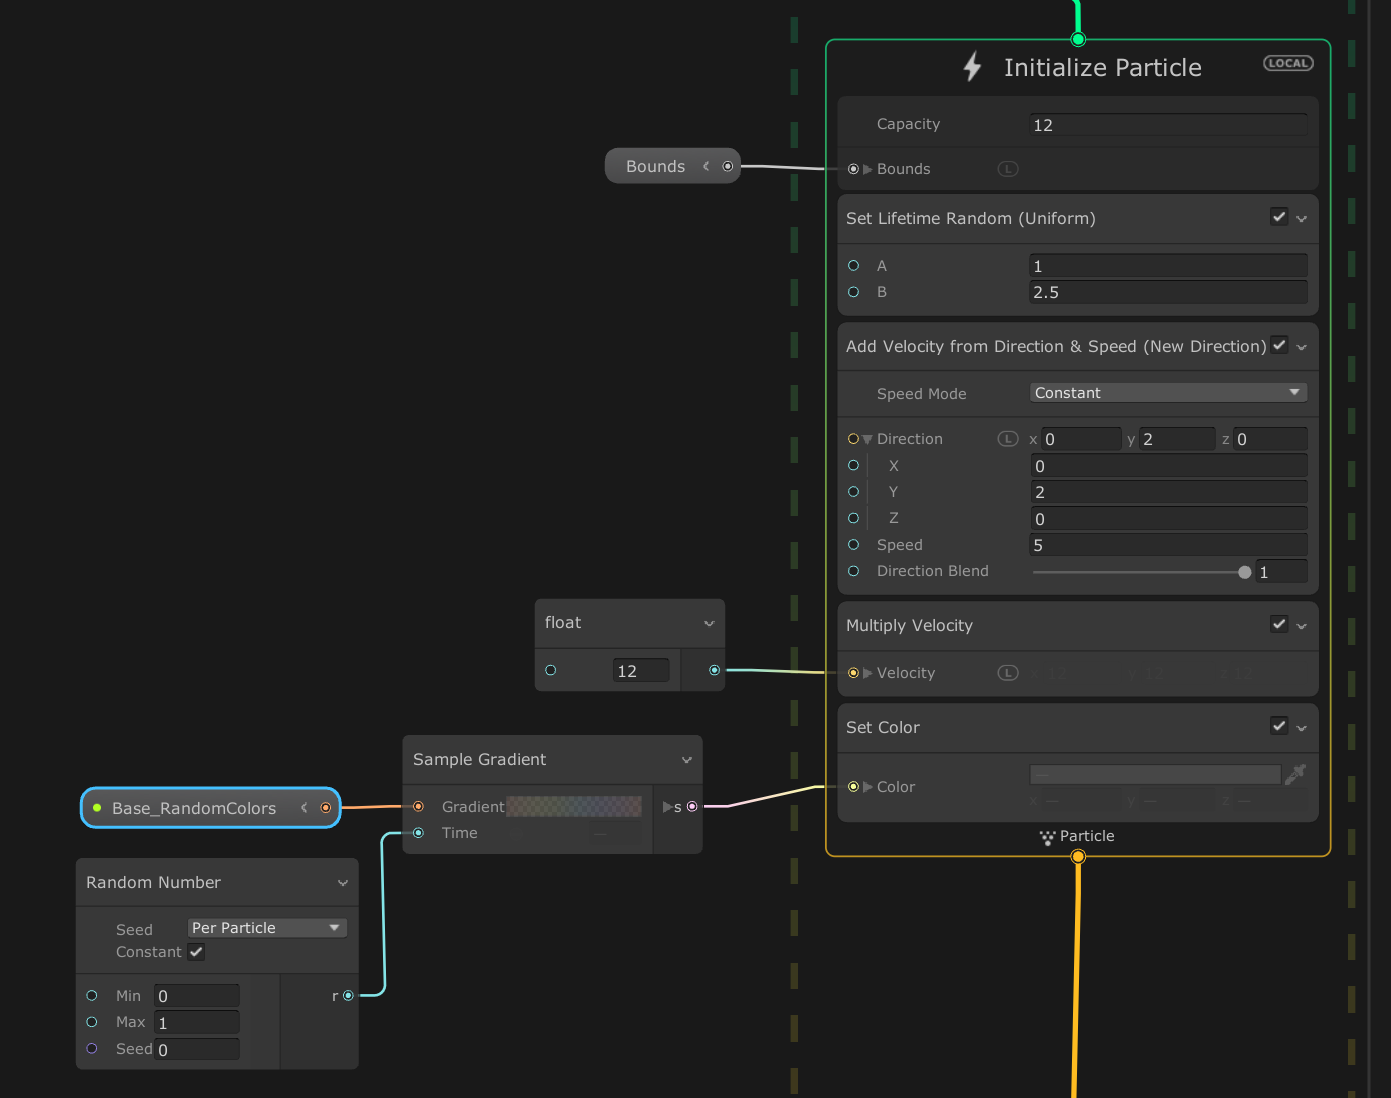
In the fireworks example in the sample package, all the effects spawn from the same point at the same time.
To add position blocks:
1. Select your Initialize Context and press space to show the Search Menu. Begin to type the word position and entries will appear that show you all the available position blocks.
2. Select AABox to apply the Axis Aligned Box position block. AABox is a cuboid shaped
block (Figure 03).
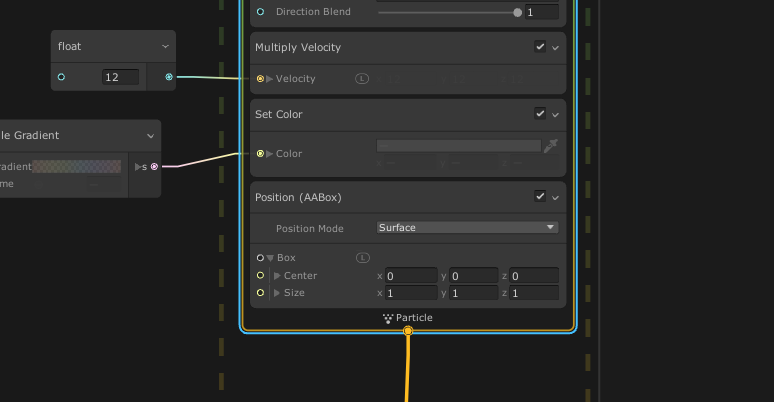
3. You might not notice a change in the particles’ spawning position as the start size of the box is small and the fireworks, or your effect might, work on a large scale. Set the size of the box to 20 x 5 x 20 and you will start to see an increase in the area from which the fireworks spawn (Figure 04).
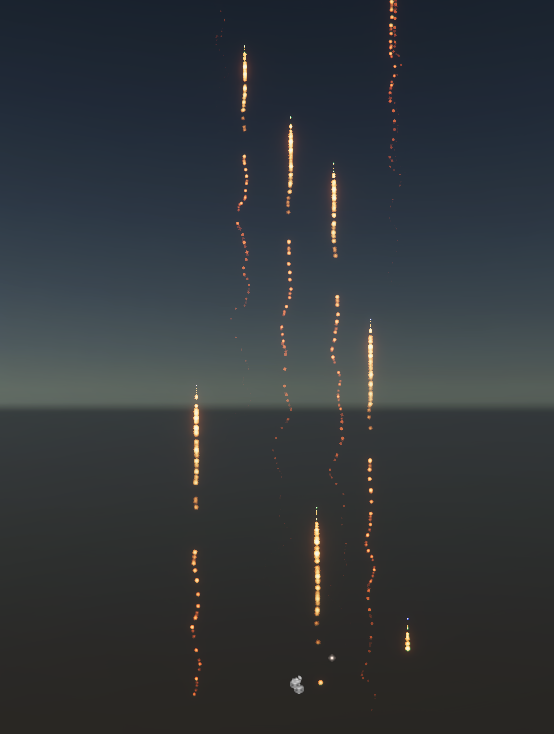
4. This looks great, but what if you want to create a more realistic series of fireworks? One way to do this is with a sequential position block. Similar to how you added the AABox block, now try searching for the Position : Sequential (Line) block and add this to Initialize Context instead of your AABox block.
5. The block has additional values for adjusting the length of the line: Count, Start, and End.
To spawn sequentially along an x-axis that’s 60 units in length with five spawn points, use
the following values:
- Count: 5
- Start: -30, 0, 0
- End: 30, 0, 0
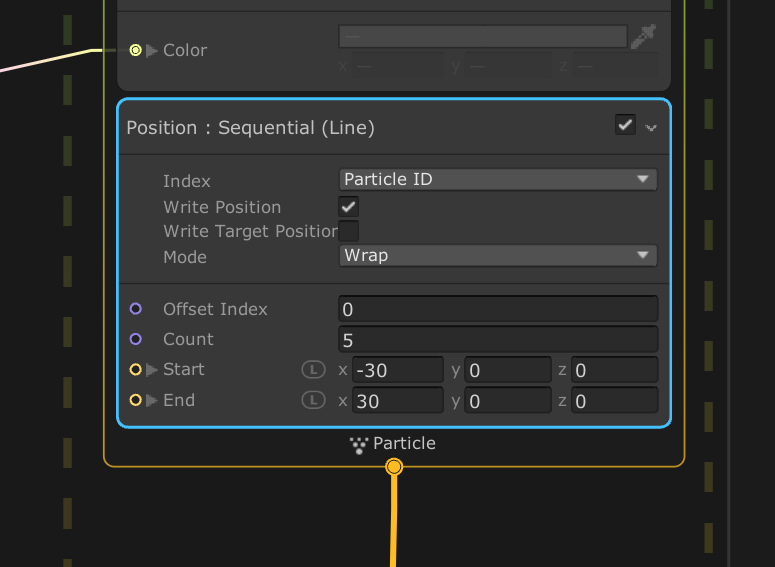
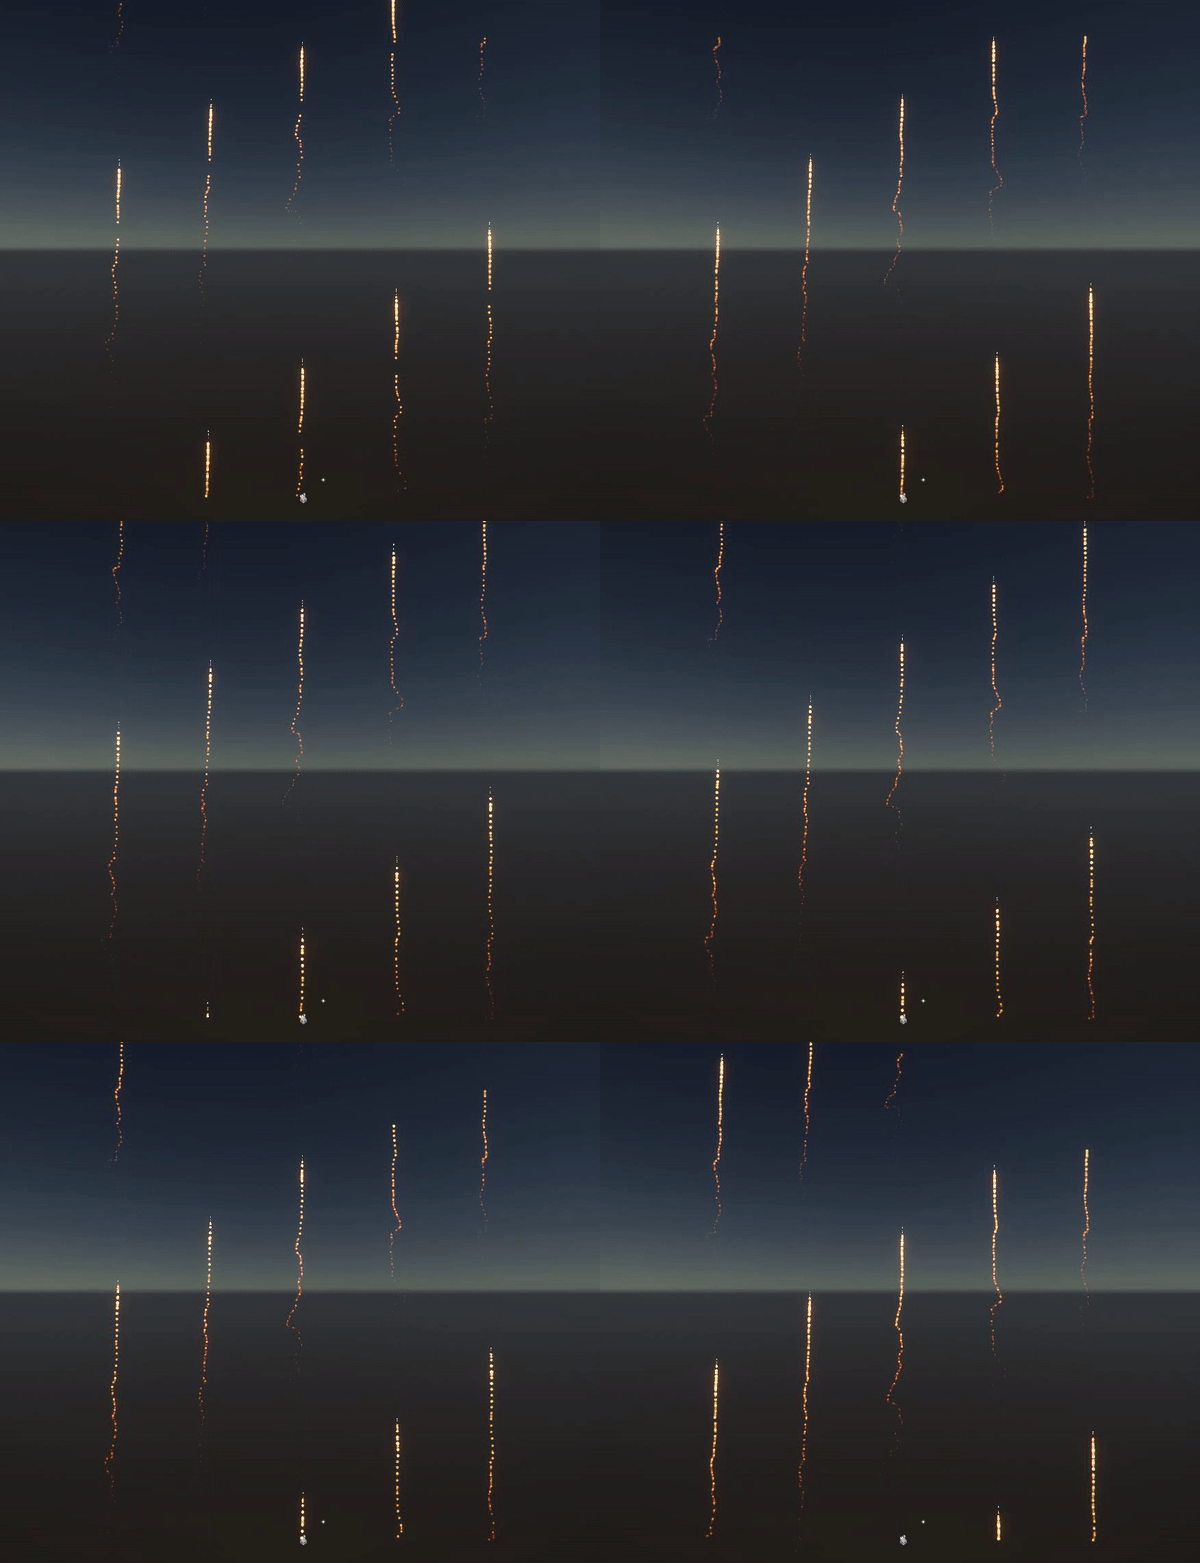
The effect now spawns sequentially along the line at five separate increments (Figure 06).
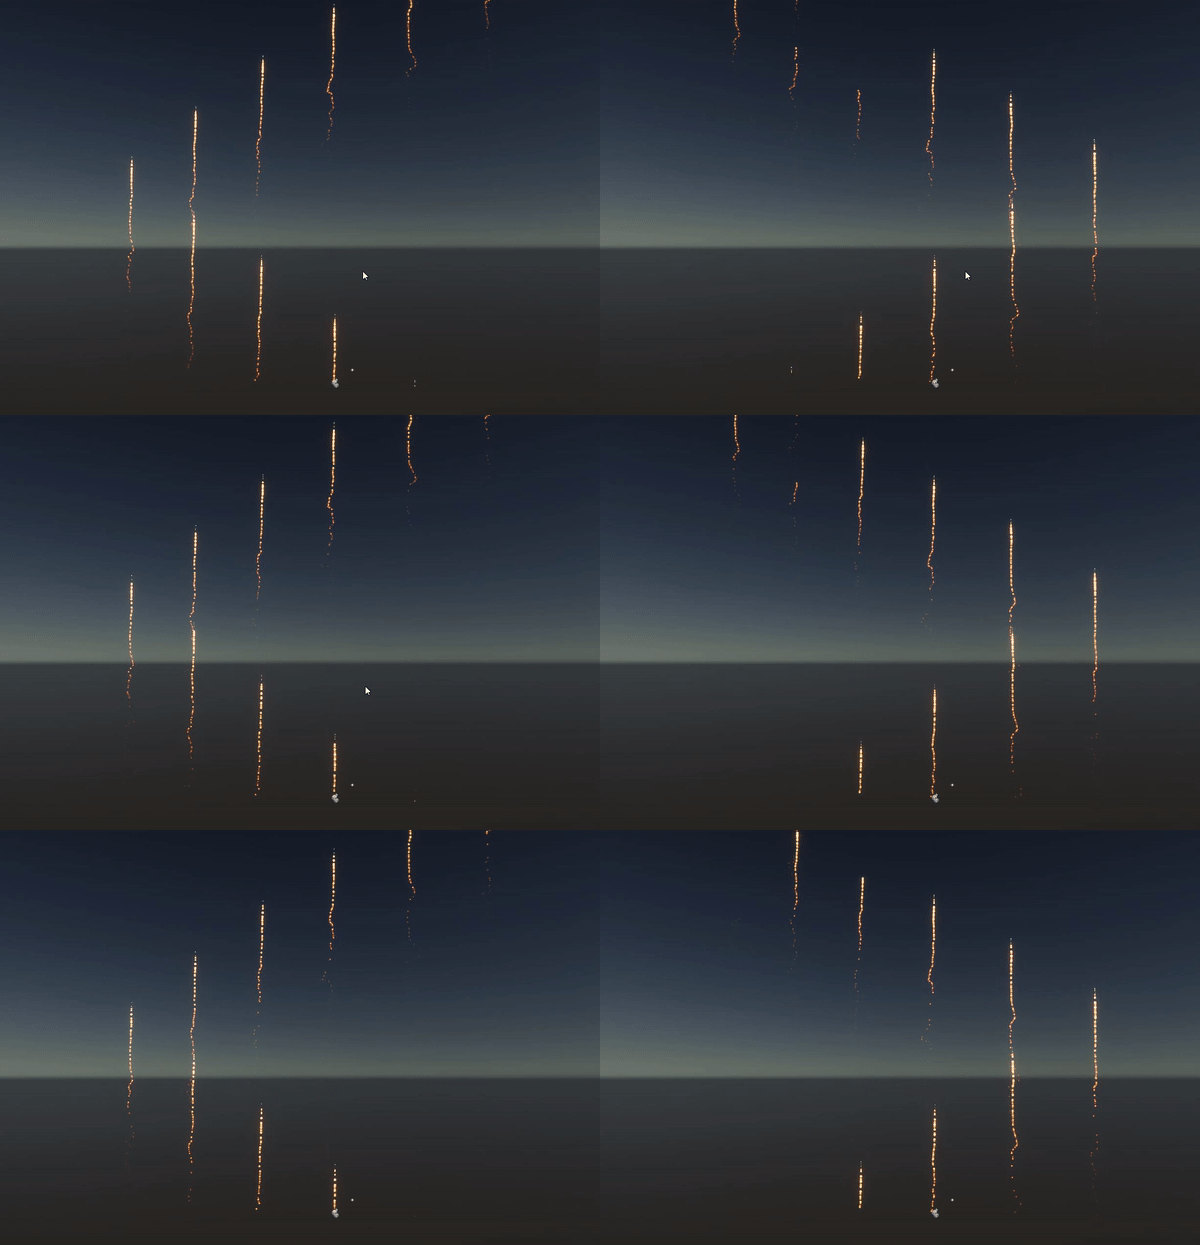
6. The Mode option provides alternative sequencing methods. Wrap mode sets the spawning index to move along the line repeatedly in one direction. Changing the mode to Mirror sets the index to move along the line from start to end and then back to the start (Figure 07).
4. Next steps
In this tutorial, you have learned how to implement a position block in an effect to define a particle spawning area and sequence. Compared with Unity’s other particle solutions, the position blocks in Visual Effects Graph provide an easy way to create sequences of particle spawners.
To build on this knowledge, try experimenting with the other position blocks to achieve different types of effects. Although this tutorial does not cover how to use surface mode on the position blocks, this method can be a useful way to add particles to the surface area of existing models. Examples include adding fire to the surface of a fireball or adding sparks to a sci-fi-style cube that a player might interact with. There are some great examples of this inside the vfx samples pack.