
Creating a New Project with HDRP
Tutorial
Beginner
+0XP
10 mins
(244)
Unity Technologies
HDRP is the ideal rendering path when your project relies heavily on visual fidelity. HDRP’s features allow you to unify your lighting and strive to match the fidelity of AAA projects. You’ll also want to use HDRP when your project is targeting high-end PCs and consoles.
Languages available:
1. Creating a New Project with HDRP
Verified in 2019.4
HDRP is the ideal rendering path when your project relies heavily on visual fidelity. HDRP’s features allow you to unify your lighting and strive to match the fidelity of AAA projects. You’ll also want to use HDRP when your project is targeting high-end PCs and consoles.
HDRP uses different Shaders and lighting units than what’s available with the built-in Unity rendering pipeline. Therefore, it’s best to create a new project to use HDRP rendering. In this tutorial, we will create a new HDRP project.
2. Creating the Project
If you haven’t already, you should install Unity Hub. It will help you keep track of your projects as well as your installed versions of Unity. Unity Hub also allows you to select the templates for, and location of, your projects with ease.
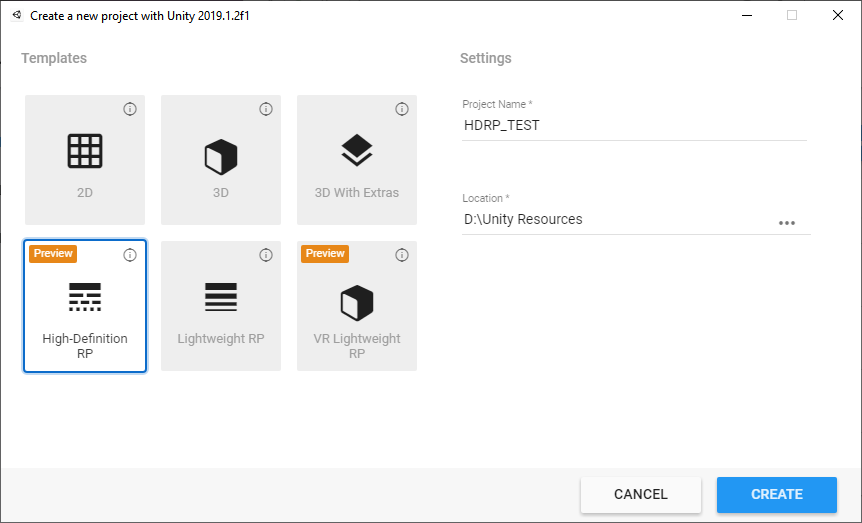
To start a new project with HDRP:
1. Open Unity Hub and click the New Project button.
2. Give your project a name in the Project Name field.
3. In the Template section to the left, select High-Definition RP (Figure 01).
4. Click the Create button.
3. Conclusion
Once that’s done, your new Unity Project with HDRP will be ready to go. When you open it, you will have access to all the latest tools and features to bring visual fidelity to your projects.