Creating a Worldspace UI
Tutorial
Beginner
+0XP
5 mins
Unity Technologies

Unity features several different types of User Interface options that allow users to create UI that precisely fit their applications needs. There are two main types of UI categories: Screen Space and World Space. In this tutorial, you will learn to create a Worldspace UI.
Languages available:
1. Creating a Worldspace UI
This tutorial has been verified using Unity 2019.4.10f1 LTS - https://learn.unity.com/tutorial/creating-a-world-space-ui-2019-3
Unity features several different types of User Interface options that allow you to create UI that fits your needs. There are two main UI categories: Screen Space and World Space. Screen Space projects the UI onto the viewer’s screen and is what most people think of when discussing UI. World Space UI places the interface directly within the Scene environment so that it exists in 3D space. XR applications often make use of this kind of UI, as it helps make the experience feel more natural.
Creating UI in Unity begins by creating a Canvas. The Canvas object defines what is and is not part of the UI system and governs how the UI is rendered on the screen.
1. In the Hierarchy, right-click and select UI > Canvas. The Canvas may not be immediately visible, as it’s extremely large in comparison to the Scene.
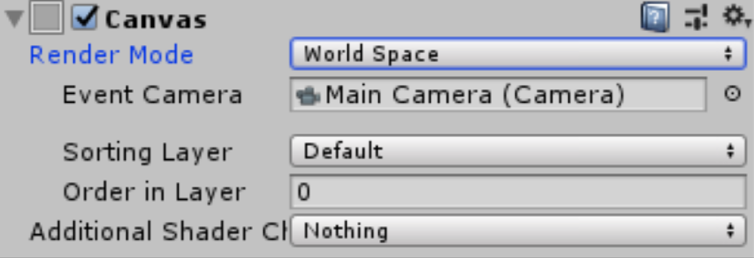
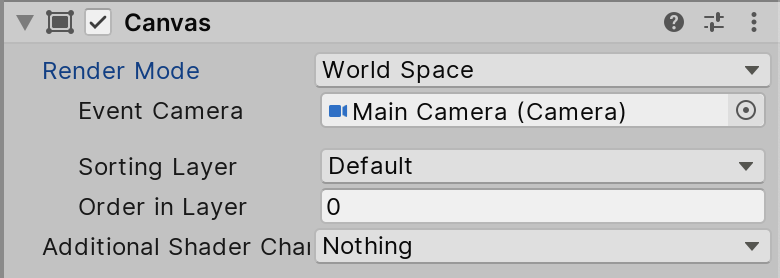
2. In the Inspector, locate the Canvas component and change the Render Mode to World Space.
3. If this UI will be receiving inputs (for example, will have a button to push), drag the Main Camera into the Event Camera slot. (Figure 01)

The Canvas can now be moved freely in the Scene, but it’s still extremely large. The easiest way to scale the Canvas to an appropriate size is to group it beneath an object that already exists in the Scene and reset the Canvas.
4. In the Hierarchy, select the Canvas and parent it beneath an object in the Scene. (Figure 02)

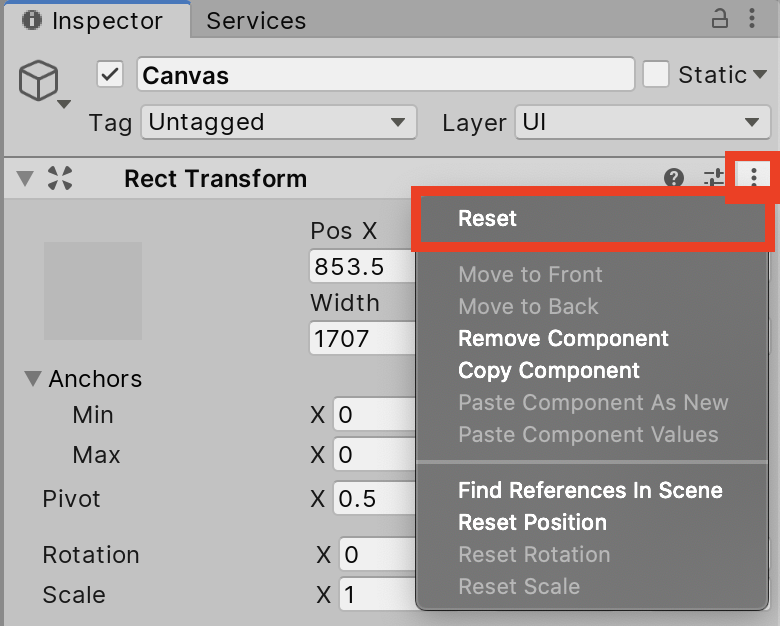
5. Select the Canvas and in the Inspector, click on the gear in the upper-right corner of the Rect Transform component and select Reset (Figure 03).

6. Un-parent the Canvas by dragging it outside of the object in the Hierarchy.
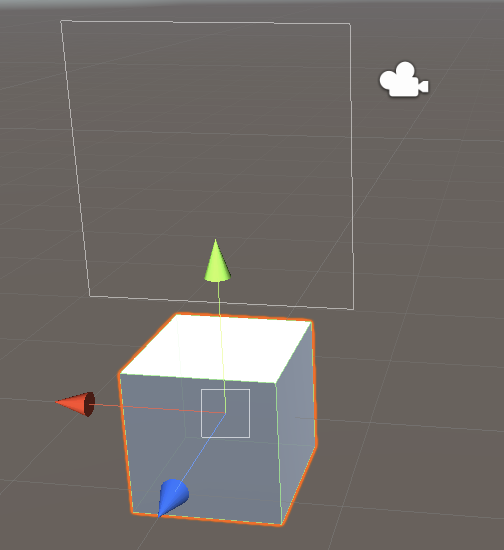
7. Continue to move and scale the Canvas until it appears in the position in the world that you wish it to occupy (Figure 04).
