
Creating the environment
Tutorial
Beginner
+10XP
45m
(35)
Unity Technologies
Creating the environment for the Sustainable Farming Experience.
Languages available:
1. Placing the terrain
If you opened the SustainableFarmingSet scene you can skip steps 1 to 3.
If you are starting from scratch and already have an empty scene open the first thing to do is to add a ground.
Note: to create a scene simply go to File > New Scene.
We have created a Unity Terrain Prefab that you can directly use. Inside the ‘Prefabs’ folder of the tutorial find the Terrain and drag it inside your Hierarchy window. You do not need to place it as it has the position already set in the prefab.
This is how the terrain looks like from far away in the Scene View:
2. Lights
Now let’s change the lighting of the scene to match with the sandy shades of the terrain. Go to Window > Rendering > Lighting Settings.
A new window opens up:
You will be able to change the Skybox material of the scene. The Skybox is like a box around your scene, drawing the sky and the ground. Change the material by the one provided with the tutorial under SustainableFarm>Materials, called “Sky”. You can close the Lighting Settings window.
Then let’s also change the light in the scene. Find in your Hierarchy window the ‘Directional Light’. We recommend the following position and settings to go with the environment:
Feel free to adjust the color and the intensity to your preferences.
3. Creating the setup
Let’s now place our models inside this terrain. Also inside the ‘Prefabs’ folder you can find the following elements:
- House_structure
- Bench
- Shovel
- Soil_flat
- Fence
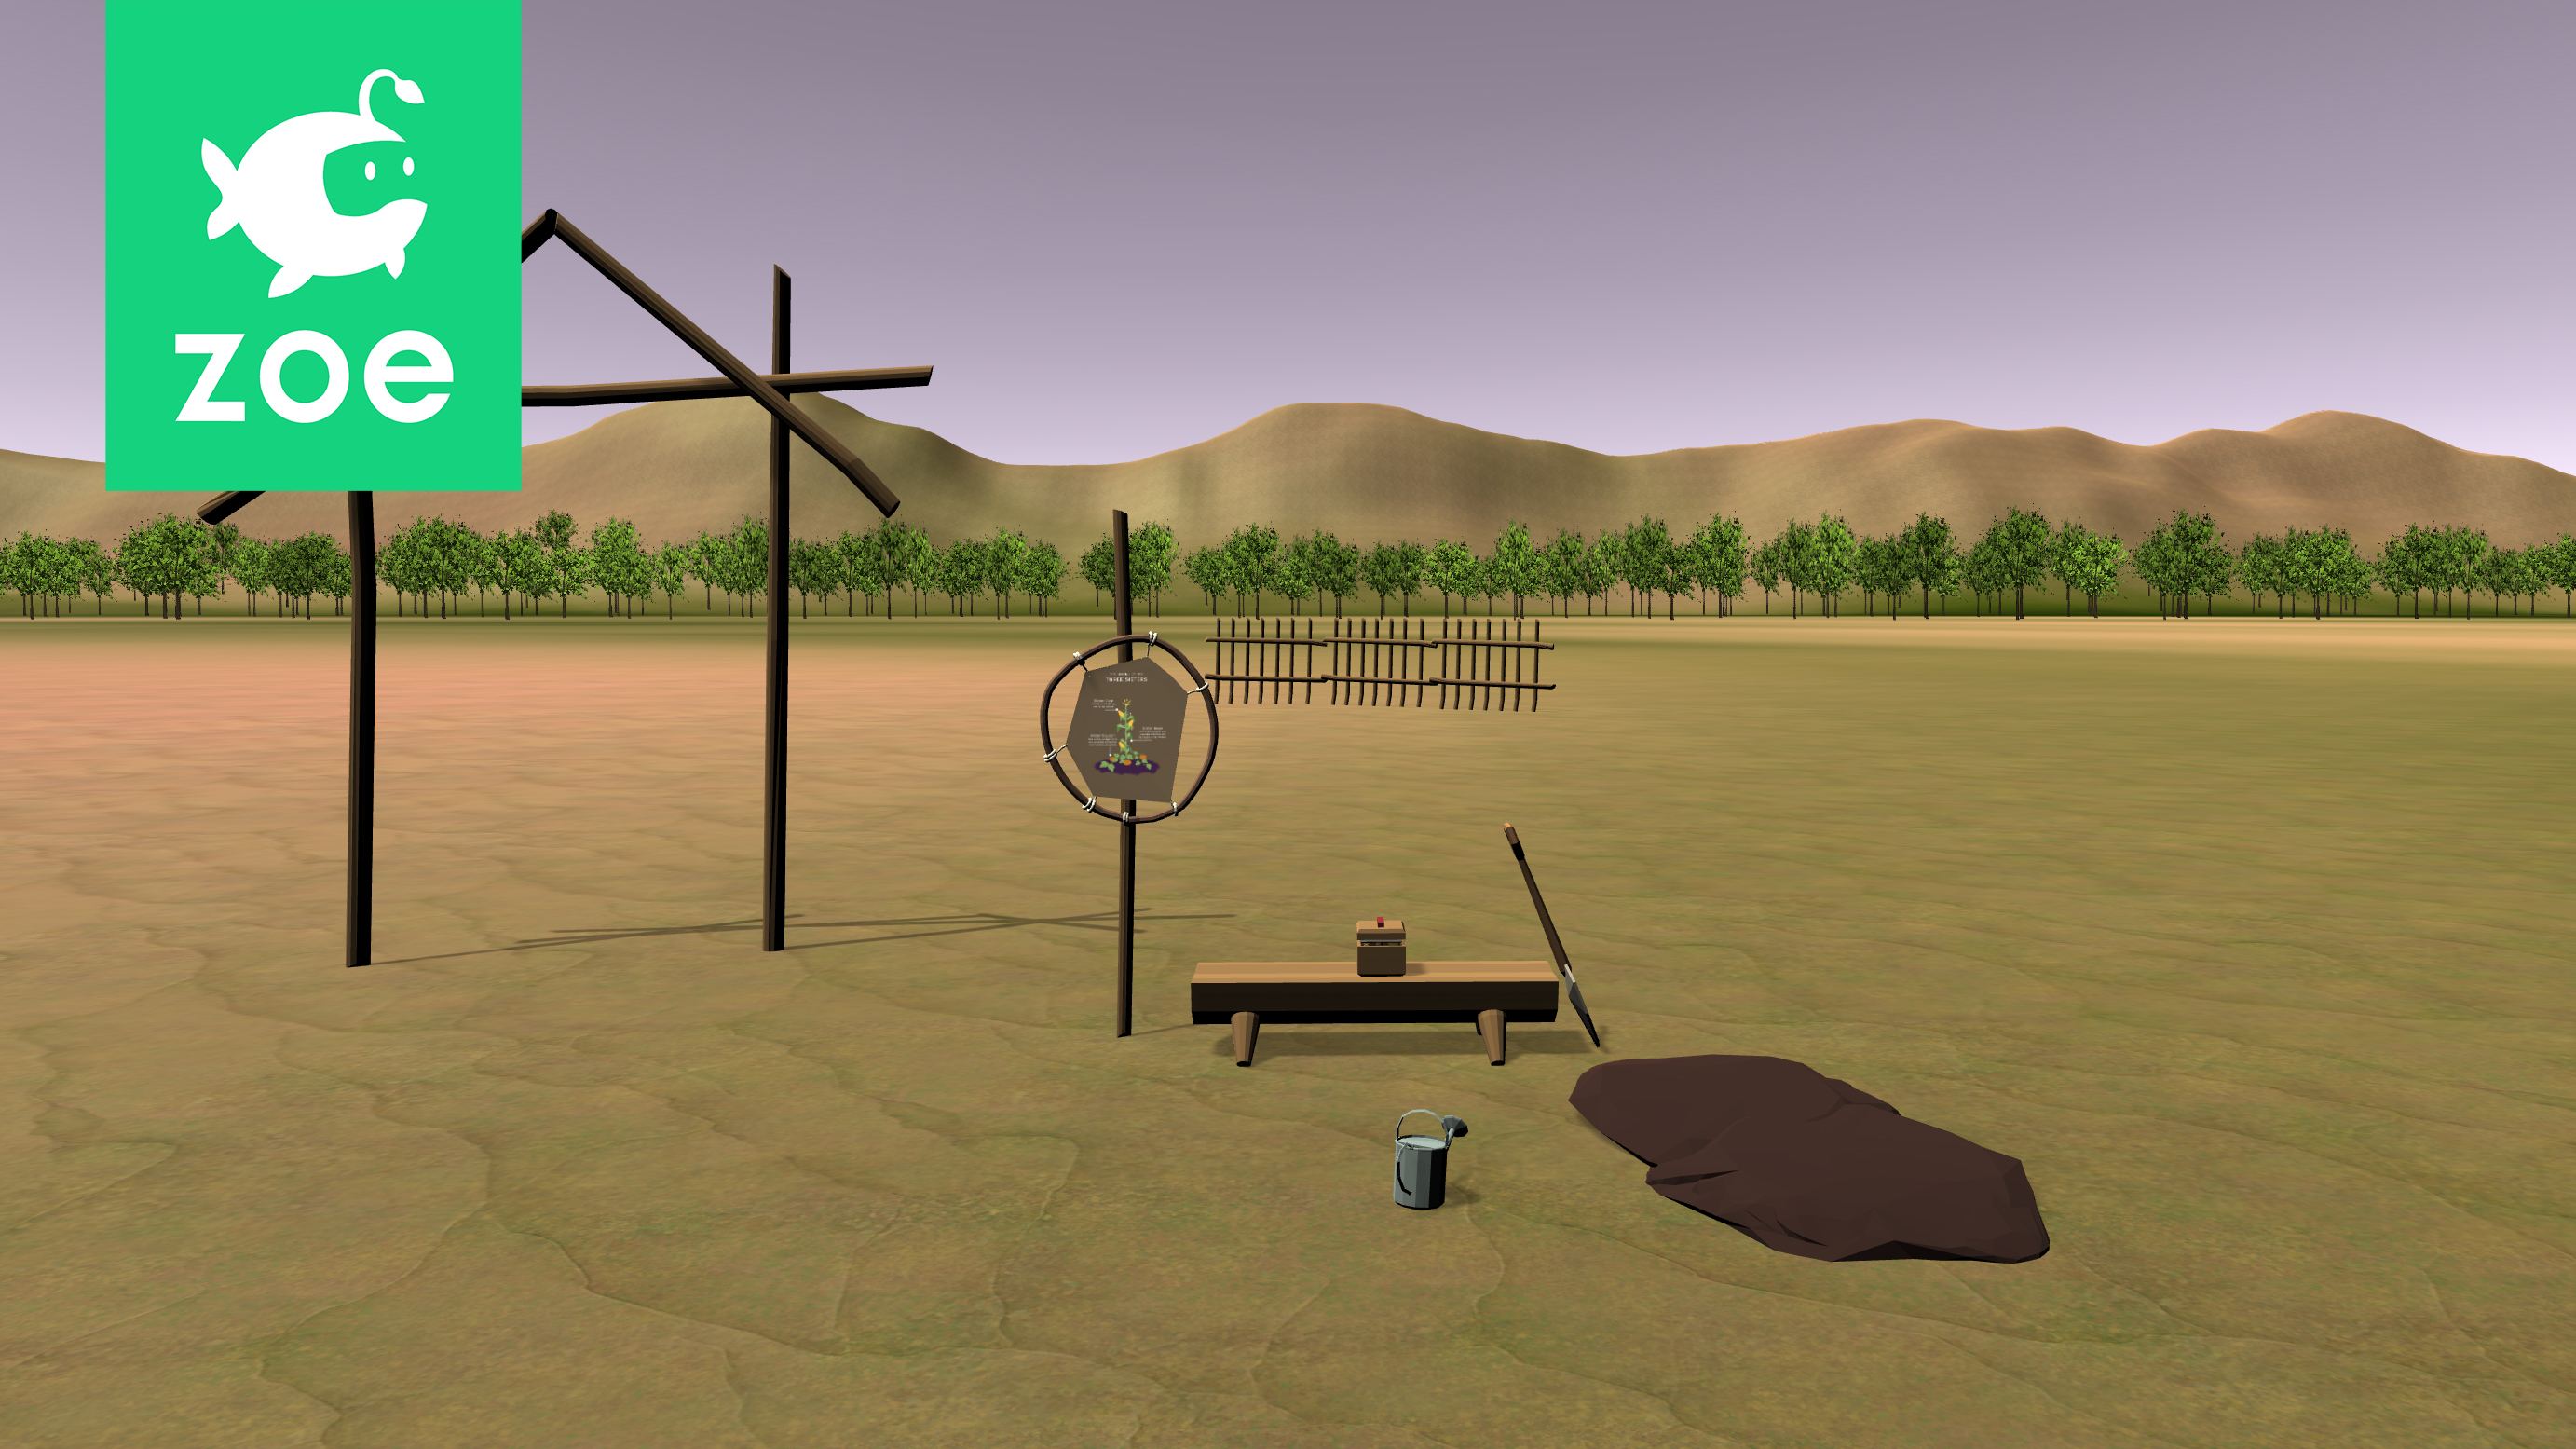
Drag the prefabs into your Hierarchy and use the 'Move' arrows of your scene window to place them. You can do the layout you want, this is the setup we suggest:
Now let’s add smaller objects. Inside the same folder select the following elements:
- Corn_seed
- Bean_seed
- Squash_seed
- Box_base
- Box_lid
- Watering_can
- Diagram
Using again the 'Move' arrows, place the elements as follows:
Seeds should be inside the box:
Finally add the ‘Soil_heap’ prefab on top of the ‘Soil_flat’, this is where plants will be growing from:
You could always do a different layout, however we recommend to place the seeds close to the soil so the user does not do too many back and forth movements for planting the seeds.
4. Creating plants with their growing phases
Once you have the main elements placed it's time to place the plants: the corn, the beans and the squash. Each plant will have three different 3D models for each of their growing phases and at the end we will add the crops.
First drag the following elements inside your scene:
- Corn_phase1
- Bean_phase1
- Squash_phase1
Place the corn in the middle of the heap of soil, then place the bean a bit offset to the outside and the squash even further on the slope of the little heap of soil:
Now let’s place the 3D models for the other phases, drag the remaining prefabs of the plants inside your scene. Put them on top of the first one you just placed. It should look like the image below, we will add the crops later :
5. Adding information
Let’s now create some text bubbles with information about the three plants and how they work together.
Drag the ‘SpeechBubble’ prefab inside your scene and rename it into ‘CornText’
In the Hierarchy expand it, select the Text element and inside the inspector write information about the corn:
Note: to wrap the text press Enter to add a new line of words.
In the Scene view adapt the size of the Bubble and the position of the Tail accordingly. Place the bubble over the corresponding plant phase, for example this one will appear at the same time the corn grows to indicate the next step is to plant the beans:
Duplicate the bubble as many times as needed/wanted and write the different information you want to display. Here are some ideas:
- Corn provides a natural structure for beans to grow.
- Beans pull nitrogen naturally from the air and bring it to the soil to feed the other plants.
- By growing around the corn bean stalks also provide stability.
- Squash leaves provide shade keeping the soil moist and weed-free.
- Prickly leaves also keep away raccoons.
- These are the " Three Sisters" providing soil fertility and healthy food.
You can adjust the final placement later on, when all plants will be properly displayed.
6. Adding instructions
A user in an immersive experience needs to be guided in order to know what to do. So we will also create a few instructions using the same 'Speech Bubble'.
Duplicate again one of the bubbles (twice). Rename them 'SoilInstruction' and 'CornInstruction', for example, then write the following instructions:
- Start by making a heap of soil (with the shovel)
- Sow a kernel of corn and water it.
You can also change the material of the bubble and the tail so that instructions have a different color than the information texts:
Place them above the heap of soil:
You can add more instructions if you feel the user needs to be guided further in the experience. You can also write them differently if you want.
7. Grouping assets
Now that most assets are placed, we are going to group them to help organise our interactions.
Right-click in the Hierarchy and create an Empty Game Object:
Name it 'CornPlant'. Use the 'Move' arrows to place it at the bottom of the corn plant phase assets, in the middle of the heap of soil:
In the Hierarchy, drag all three phases of the corn plant inside, as if inside a folder:
Do the same for the bean and the squash plant.
Then inside each plant select the three phases and deactivate them in the Inspector window to hide them as they will only appear later in the experience.
Group also the texts under a ‘Texts’ GameObject and hide them individually as we are going to show them only when needed during the experience: