
Programming with Interactions
Tutorial
intermediate
+10XP
80 mins
(13)
Unity Technologies
You can now use Zoe to add interactivity and program the planting system of the Sustainable Farming Experience. Allow objects to be grabbed, detect when seeds have been planted, when they have been watered, make plants grow...
Languages available:
1. About Interactions
Interactions are the main feature of Zoe and this is why objects need to be converted into Interactive Objects. They allow to program behaviours for objects according to the user’s actions.
As you remember from the structure of an IO, there is a section/node called Interactions. Inside it there is an Empty interaction which you can duplicate to create all the interactions you need.
Interactions can be created directly inside the objects they act on but you can also create Empty objects that act as managers of other objects. It is flexible enough for you to decide the best way to organise your project.
An interaction is a series of conditions that trigger a series of actions. Interactions can be linked to one another to create chain reactions.
Let’s check the settings of an interaction. Select an IO from your scene and select the Empty interaction inside the Interactions' node. In the Inspector window you can see the Interaction Setup:
- Dependencies allow you to activate interactions one after the other.
- Delay adds a waiting time after dependencies (or after the start of the experience).
- Repeat is for keeping an interaction in loop as by default it only triggers once.
- Deactivate allows for example to disable “branches” of interactions inside an experience depending on choices made by the user or to disable an interaction after some time to create a challenging game mechanic.
For more details you can check the documentation here.
2. Using the Gaze condition
The first thing we want the user to do is to read the diagram and the box on the bench. Only then we want the planting to start.
For this we are going to ensure the user looks at the diagram before enabling the planting to happen. Go inside the Diagram (IO) object and duplicate the Empty interaction. Rename it into ‘LookAtDiagram’ for example.
In the Inspector window go directly to the ADD CONDITION list and select Gaze.
Automatically the Diagram (IO) is set as the target object. Keep the mode ‘Gaze At’ as we want to detect when the user aims at it.
As the condition could validate when the user is simply looking around from a distance you can make sure the gaze lasts a few seconds before actually considering it valid. For this check “Minimum Duration Required” at the bottom of the condition and set between 1/max 2 seconds. Only after the user has completed this time gazing at the diagram the condition will validate.
The Gaze condition uses the Gaze collider inside each Interactive Object. So make sure it is big enough and the position of the collider matches the actual diagram:
This interaction will be used to indicate when the diagram has been read. You don’t need to add an action for the interaction to be triggered, as soon as the conditions will be valid the interaction will act as a way to notify other interactions what the user has done. We will make other interactions be dependent on this one.
Note: if you don't want to rely on the user reading the Diagram you can skip the duration or the condition all along, you can directly show instructions and indicate faster to the user what they can do in the scene.
3. Detecting when the shovel is on the soil
Now we want the user to prepare the soil using the shovel. The goal is to create a small heap of soil on which the seeds will be planted.
To do this, we first need to hide the heap model and make it appear only when the shovel approaches the soil. Go inside Soil_heap(IO) > Visuals and deactivate the model/prefab “Soil_heap” (it will appear greyed-out in the Hierarchy):
Duplicate the Empty interaction and rename the new one into ‘FormHeap’.
In the Inspector window select the collision condition from the ADD CONDITION list. Set it to detect the collision between the Shovel (IO) and the Soil_Flat (IO) (you can directly drag the IOs on the slots):
Before adding the action check the position and size of the Proximity colliders from the Soil_Flat(IO) and from the Shovel(IO).
As Proximity colliders are responsible for detecting the collision between objects, rotate, resize and move it properly in order to have the proximity of the soil matching the soil model and be slightly off from the ground (to detect the Shovel):
The Proximity of the shovel should be placed at the bottom, on the metal part which is the one colliding with the soil:
Finally add the 'Activate' action and set the Soil_heap model to show.
Now press the 'Play' to test the interactions of the diagram and the soil. Adjust if necessary.
4. Preparing the seeds and the targets for planting
Before programming the interactions, now that each individual seed has all its settings ready you can duplicate the Bean and the Squash seeds in order to have four and six respectively. You can even create an empty object named ‘Seeds’ to group all of them, as follows:
Now let’s hide all the targets as they will be showing at different moments during the experience.
For this we recommend typing “target” in the Hierarchy Search field:
Make sure to select the sprites and not the (IO)s and deactivate them all at the same time from the Inspector Window.
We recommend now to create an empty GameObject called 'TargetManager', convert it into an IO; it will help managing all the interactions concerning the targets. Inside it create a new interaction called 'ShowCornTarget'. Make it also dependent on the 'FormHeap 'and simply use the Activate action to show the corresponding sprite ‘CornTarget’:
5. Planting seeds
Next step is to detect when seeds have been planted. The Drag&Drop system allows us to know when a target has been occupied.
Inside the CornTarget (IO) create another interaction called ‘CornSeedDrop’, dependent on the one showing the target. As a condition use the ‘Drop’ one, set the CornSeed(IO) as the Drop Object and the CornTarget(IO) as the target. Leave the Mode to ‘Drop’ as this is what we want to detect:
Now inside every seed, for the beans and the squash you can repeat this process. Create an interaction using the Drop condition, detecting when the corresponding seed(s) have been dropped. For multiple targets simply press the ‘+’ button under Target(s), as follows:
For doing this in an efficient way you can duplicate an interaction from a seed(IO) that is already set and place it inside a new seed(IO), in the 'Interactions' node in the Hierarchy (and also changing its position to 0,0,0). Another option is to set a first interaction inside one of the seeds, then using ‘Copy Component’ and pasting the values or the component itself ('Paste Component as New') on an interaction inside another seed:
Now we are going to hide the Corn target circle when the seed has been dropped. Inside the TargetManager(IO) create a new interaction called 'HideCorntarget'. Make it dependent on 'CornSeedDrop' and simply add the 'Activate' action to hide the corresponding circle:
6. Making plants grow - Part 1
Inside the CornPlant (IO) create a new interaction called ‘CornPhase1’ which will show the first phase of the plant. This should happen after the corn seed has been planted and the user has watered it.
Under the Interaction setup check 'Dependencies' and make the interaction dependent on the CornSeedDrop one from the CornSeed(IO).
Add the Collision condition detecting the collision between the WateringCan (IO) and the Soil_heap(IO):
Resize and place the Proximity collider from the Watering Can so the collision happens when the user approaches it from the soil heap:
Finally add the ‘Activate’ action to show the Corn_phase1 model (and hide the seed at the same time):
Now it’s a good moment for testing the experience, make sure interactions are triggered at the right moment. Adjust anything if necessary.
7. Making plants grow - Part 2
Just as the user should first plant the corn, the beans should also be planted before the squash. In order to follow what the system says we will show the targets for the seeds only at the right moment.
Inside the Target Manager (IO) create an interaction called ‘ShowBeanTarget’s. Make this interaction dependent on the ‘CornPhase1’:
Add the activate action to show the corresponding Target sprites:
Here we also added the other targets to show but you could as well duplicate the interaction showing the right sprite every time. It is a compromise between a clear hierarchy and an optimized set of interactions.
Next step is to actually hide all these circles when all bean seeds have been placed on the targets. Create an interaction 'HideBeanTargets' dependent on all the ‘BeanSeedDrop’ interactions (the interactions detecting bean seeds have been dropped). Make sure you check ‘Require All’ so all interactions have to be triggered for this one to be active:
Add the 'Activate' action to hide all the target sprites from the bean targets:
8. Making plants grow - Part 3
Now you can make the beans grow. Inside a BeanPlant (IO) create an interaction called ‘BeanPhase1’. Make it dependent on the interaction hiding the targets.
Go to the ‘CornPhase1’ interaction and copy the Collision component values as we are also detecting when the watering can is close to the heap of soil. Then ‘Paste Component as New’ inside your new interaction.
Finally add the ‘Activate’ action and set it to show the corresponding Bean_phase 1 model inside Visuals of the plant and to hide all the Bean seeds*:
*Note that we hide all the seeds while we only show one of the plants. This is because we don’t know which seed has been dropped in the current target position. As this interaction will be the same for all plants this is just to make sure all seeds are hidden properly.
Duplicate the interaction or copy the component values so you have the same interaction inside each BeanPlant (IO). Make sure to replace the GameObjects to Activate with the right model. Each interaction should show its correspondent Bean_phase 1 model.
9. Making plants grow - Part 4
Now let’s make the squash grow. Just as for the beans, create an interaction inside the TargetManager(IO) that you can call ‘ShowSquashTargets’. Make it dependent on the ‘BeanPhase1’ interaction.
Add the ‘Activate’ action and set it to show all the target circles of the squash targets:
Then create another interaction ‘HideSquashTargets’ that will be dependent on all the interactions detecting the squash seeds have been dropped. Remember to check ‘RequireAll’ so the interaction waits until all seeds have been dropped:
Add the 'Activate' action and hide the Squash targets sprites:
Next, inside a SquashPlant (IO) create an interaction called ‘SquashPhase1’. Make it dependent on the interaction hiding the targets.
Copy again the values of the collision condition between the WateringCan(IO) and the Soil_heap(IO) (you can find this in 'CornPhase1' interaction from the CornPlant(IO)) and use them in this interaction.
Finally add the ‘Activate’ action and set it to show the corresponding Squash_phase 1 model inside Visuals of the squash plant and to hide all the Squash seeds.
Duplicate the interaction or copy the components values so you have the same interaction inside each SquashPlant (IO). Make sure to drag the correct model to show inside the slot.
10. Making plants grow - Part 5
Now we need to show the other phases of the plants when the user waters the plants again. Every time the watering can approaches the soil around the plants a new phase will appear. This means that as the corn was the first to be planted when the bean grows its first phase the corn will grow its second phase, and so on.
Inside the Corn(IO) create an interaction called 'CornPhase2'. Make it dependent on one of the 'BeanPhase_1' interactions:
Use the ‘Activate’ action to show the next phase and hide the first one:
And so on duplicate interactions from the corn, the beans and the squash and set them to show the different phases of the plants. Make them dependent on each other as follows:
- BeanPhase2 depends on SquashPhase1
- CornPhase3 depends on BeanPhase2
- BeanPhase3 depends on SquashPhase2
- SquashPhase2 depends on SquashPhase1
- SquashPhase3 depends on SquashPhase2
As the squash is the last one to grow you need for the phase 2 and 3 to also detect the collision between the watering can and the soil:
Note: for phases 2 and 3 of the beans and the squash you could also show all models inside one interaction only. Again this is up to you, if you want to optimise the number of interactions or if you want a very clear hierarchy with interactions of every plant inside each plant. Just remember if you are duplicating interactions from one (IO) and placing them inside another one to always reposition to 0,0,0 and to act on the respective models.
Now test the experience and make sure the planting happens as expected. Something that you will probably need is to add a delay of at least 1 second between some of these interactions if you don’t want that two steps overlap because the user stays with the watering can close to the plants. Add and adjust delay values if necessary.
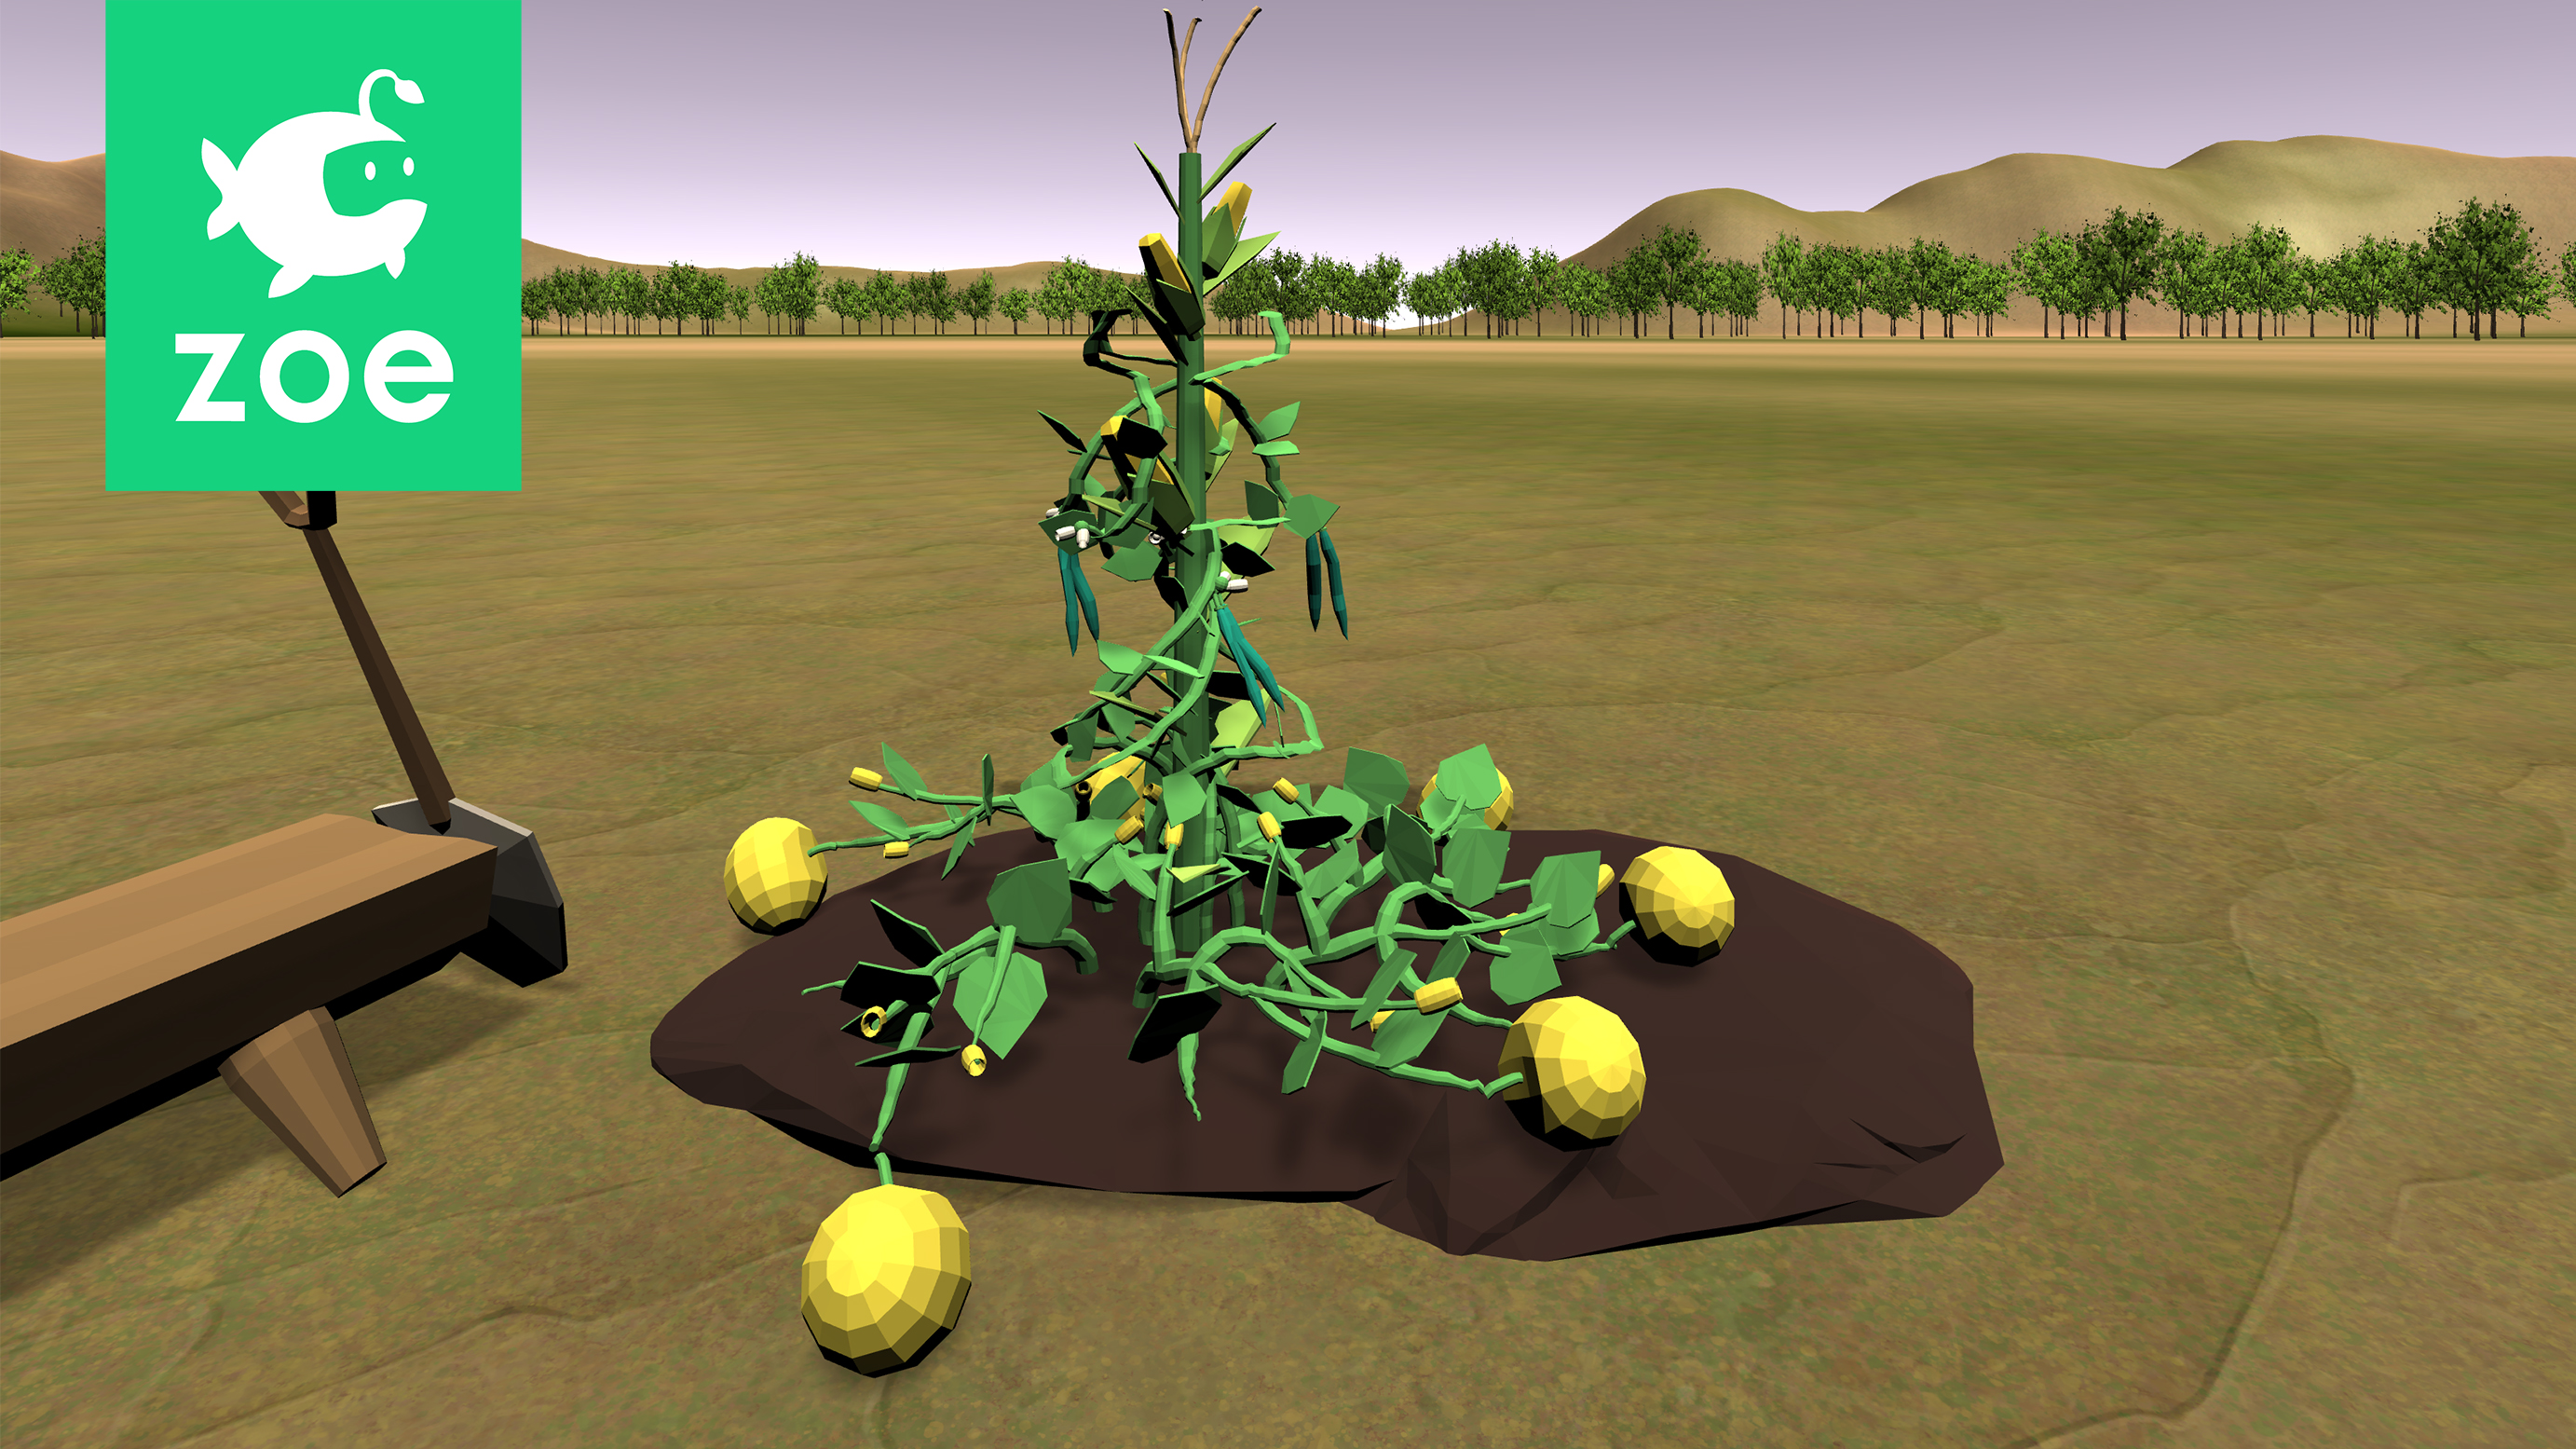
11. Growing crops
The last phase of the plants will be to grow the crops. Let’s make the corn crop grow.
Go inside the CornPlant(IO) and same as before create a new interaction called ‘CornPhase4’. Make it dependent on CornPhase3:
Detect again the collision from the WateringCan(IO) with the Soil_heap(IO) and add the ‘Activate’ action to activate all the Corn(IO) crops that you placed in the scene.
Repeat this process for all Bean(IO)s and Squash(IO)s with interactions dependent on the Phase 3 of each plant.
12. The harvest
Once crops have grown we want the user to be able to harvest them. This is possible as all crops have the manipulation enabled already. However if the user would pick them up and release them crops would not react to gravity.
Let’s create an interaction to change this. Inside a Corn(IO) crop create an interaction called ‘CornHarvest’. Add the ‘Manipulate’ condition. Select (or leave the default) ‘Either’ hands option. Then inside Mode, choose ‘Release’ as we want to know when the user has released the crop:
From the ADD ACTION list select the ‘Physics’ one. It should have the corn(IO) already set as target. Check ‘Affected by gravity’ and ‘Enable Collisions’ so that the crop reacts properly to physics, colliding with other volumes or surfaces inside the scene.
Duplicate this interaction and place it inside all the other crops. Remember to position the interaction inside the Interactions node, and to reset its position to 0,0,0 in the Inspector window:
Inside the condition and the action make sure to drag the right objects:
Test the experience and make sure steps happen when they are supposed to. Add delays whenever you feel it’s needed.