
Customizing Post-Processing Effects
Tutorial
intermediate
+10XP
10 mins
(8)
Unity Technologies
In this tutorial you will look at where the post-processing profile is stored in the Unity Reflect Viewer Prefab and how to adjust it to fit your needs.
Resources
Languages available:
1. Overview
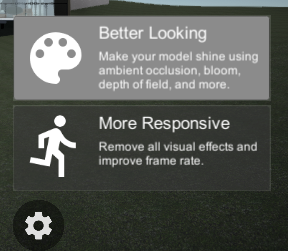
The Unity Reflect Viewer makes use of the Universal Rendering Pipeline and has a Post-Processing Volume already assigned to the scene.
2. Adjusting the Post-Processing Effects
You will find the Volume script in the Inspector when you select the Post-processing Volume GameObject in the scene Hierarchy. This script contains all the applied effects and their respective settings. (Figure 02).
3. Changing or adding Post-Processing effects
1. Select one of the existing effects to access the settings or select the Add Override button to add additional effects (Figure 03).
4. Next Steps
You may now go ahead and change the Post-Processing effects to suit your specific needs. The effects will be applied to the scene in the viewer when the project is run.