Design a Simple Puzzle
Tutorial
Beginner
+10XP
20 mins
224
Unity Technologies
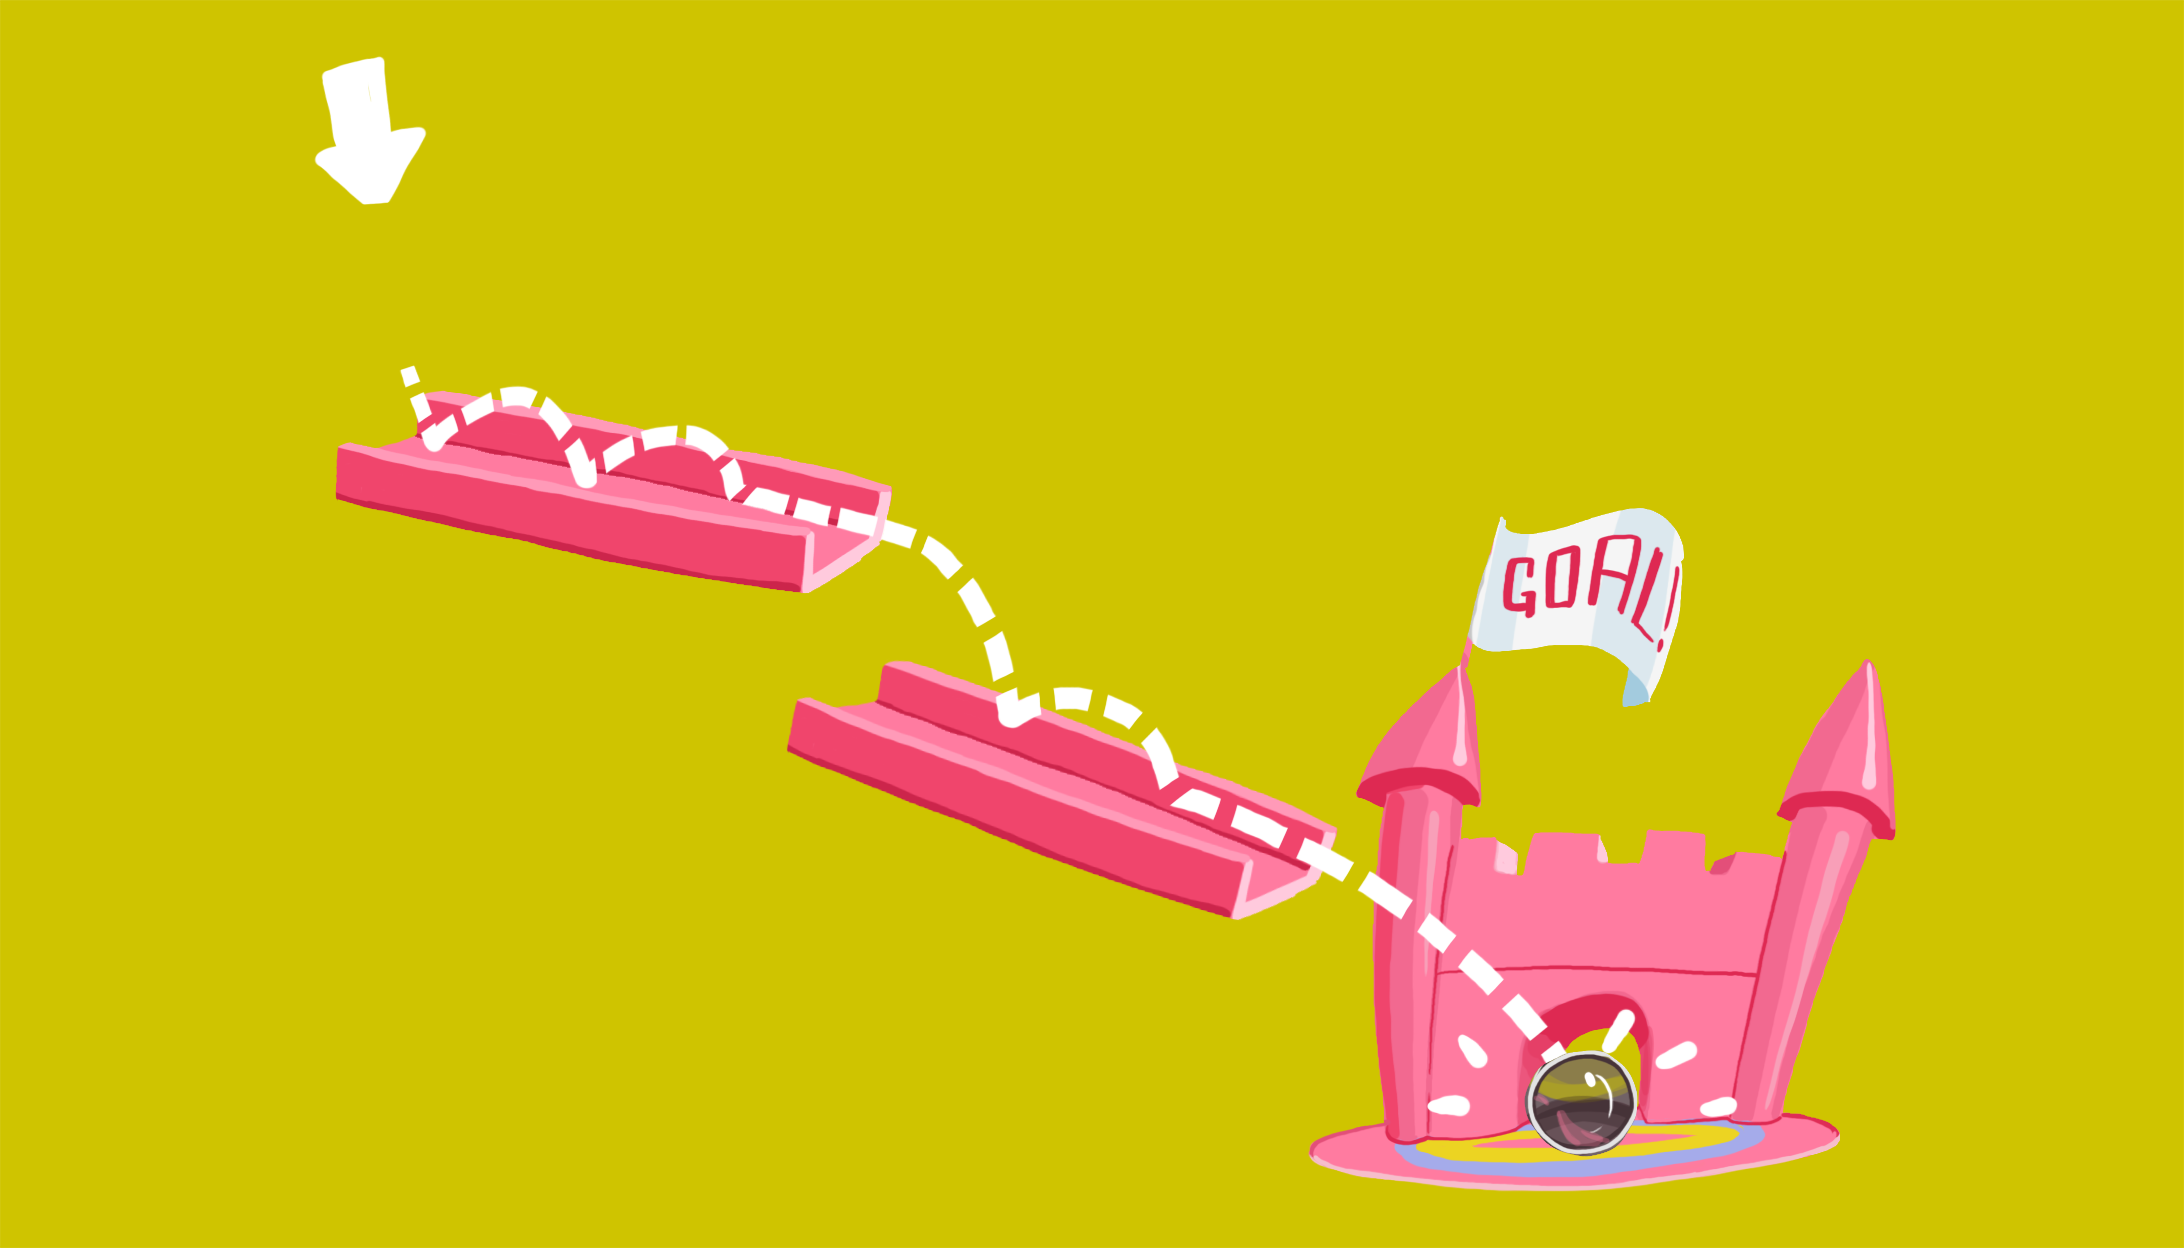
In this Creator Kit, you’ll use connectable puzzle pieces to build tracks which are used to guide a marble to a goal. In this tutorial, you’ll:
- Set up a new game
- Design a ramp system for your puzzle
- Test your first level
Languages available:
1. How to Use the Menu and Level System
In Unity, areas of the game that a player can interact with are generally made up of one or more Scenes. Small games may only use one Scene; large ones could have hundreds. In this Creator Kit, the Scenes either represent:
- A single puzzle (a level)
- A place for the player to choose which puzzle they would like to do next (a menu)
We’ve built a system for this kit which connects the menu and level Scenes. This means that players can choose which puzzle they want to complete, if there is more than one available. It also enables you to create puzzles that are unlocked when the player has achieved a certain completion speed.
Important
The instructions in this tutorial will guide you through creating menus and levels successfully using the Creator Kit. There are lots of ways to do things in Unity, but if you use a different approach here (for example, duplicating a level Scene to create a second one), your game will break.
When you make a build of your game for players, you will only be able to include one menu in it. Make sure that any levels you want to group together are created with the same menu, as you won’t be able to change this later. (Don’t worry — you can create multiple game builds with this Creator Kit.)
2. Create a Menu
First, let’s start by creating a menu:
1. From the top menu, go to Puzzle Kit Tools > Create Menu.

This will create a new Scene called newMenu.
2. Find newMenu in the Project window, at the file path Assets/Creator Kit - Puzzle/Scenes/UserCreated.
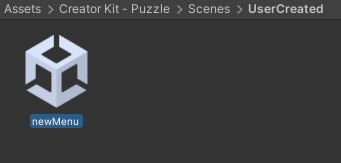
3. Double click on newMenu to open the Scene and begin to create different game levels.
4. In the Hierarchy window, select the object called MenuCanvas.
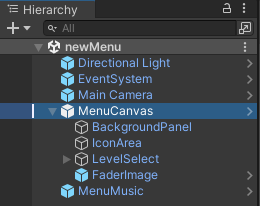
5. In the Inspector window, find the Scene Menu component. Components are used to add different features to GameObjects in Unity. At the bottom of the Scene Menu component you will see a list of levels, which is currently empty.
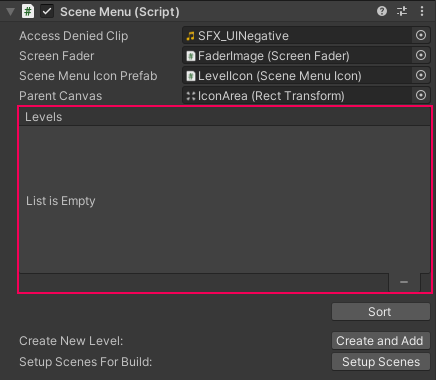
Now you can add a level to your game.
3. Create a new Level
To set up your first level:
1. Click the Create and Add button at the bottom of the component to create a new level. This will create a default level linked to the menu, which you can customize.
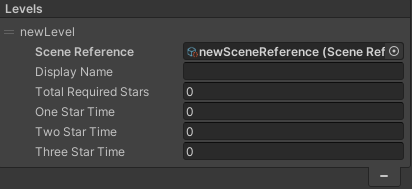
2. In the level list, you will see the Scene Reference field for your new level. This is an Asset specific to this game, which allows information to be transferred between the level and its menu. You don’t need to make any changes to this field.
3. Give your level a name in the Display Name field. This will be displayed in the menu that players see, instead of the level’s automatically generated Scene name.
4. The next field is Total Required Stars. When players complete a level, they earn stars which will allow them to move on to a new one (if this is available). Since players have no stars when they begin, this first level should have a requirement value of 0.
5. Finally, select times for the three Star Time fields in seconds. The faster players complete a level, the more stars they should receive: your Three Star Time should have the lowest value, and One Star Time the highest.
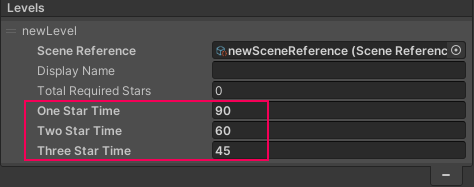
6. Press Ctrl + S (Windows) or Cmd + S (macOS). Alternatively, go to File > Save to save your menu Scene.
That’s all there is to creating levels for your game — you’re ready to begin puzzle design!
4. Open the Layout Editing System
Now that you’ve set up the first level for your game, the creative part begins. First, open the layout editing system that you will use to design your puzzle:
1. In the Project window, double-click on your newly created level in the Project window to open it for editing.
2. Check that you are in the Scene view. If not, select the Scene tab at the top of the Scene view.
3. In the Hierarchy window, select the LevelLayout GameObject.
4. In the Inspector window, find the PuzzleLayout component. This will enable you to choose puzzle pieces to use in your level and snap them together.

5. With the LevelLayout GameObject selected in the Hierarchy window, move your cursor over the Scene view and press F to focus on the LevelLayout GameObject.
The first puzzle piece will always be placed in this location when you select it.
6. Click the Editing Layout button at the top of the Puzzle Layout component in the Inspector window to turn on editing.
Below the button are two boxes of puzzle pieces you can use to construct the puzzle. The pieces in these boxes are ramps which snap together to make the puzzle easier to construct.
5. Design a Simple Ramp Puzzle
Now you can start to create your puzzle by designing a simple ramp system for the marble:
1. Click the StraightRampPieces box button. This will show all the straight ramp pieces available to you.
2. Select the sloping straight piece — starting with a slope will help get the marble rolling.
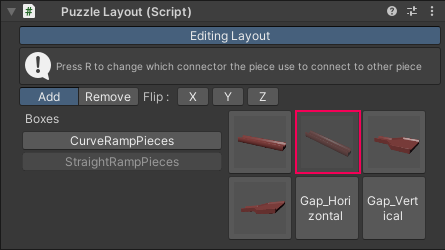
Selecting the piece in the component will place a preview of the slope in the level. Click in the Scene view to add the piece as a child of the LevelLayout GameObject.
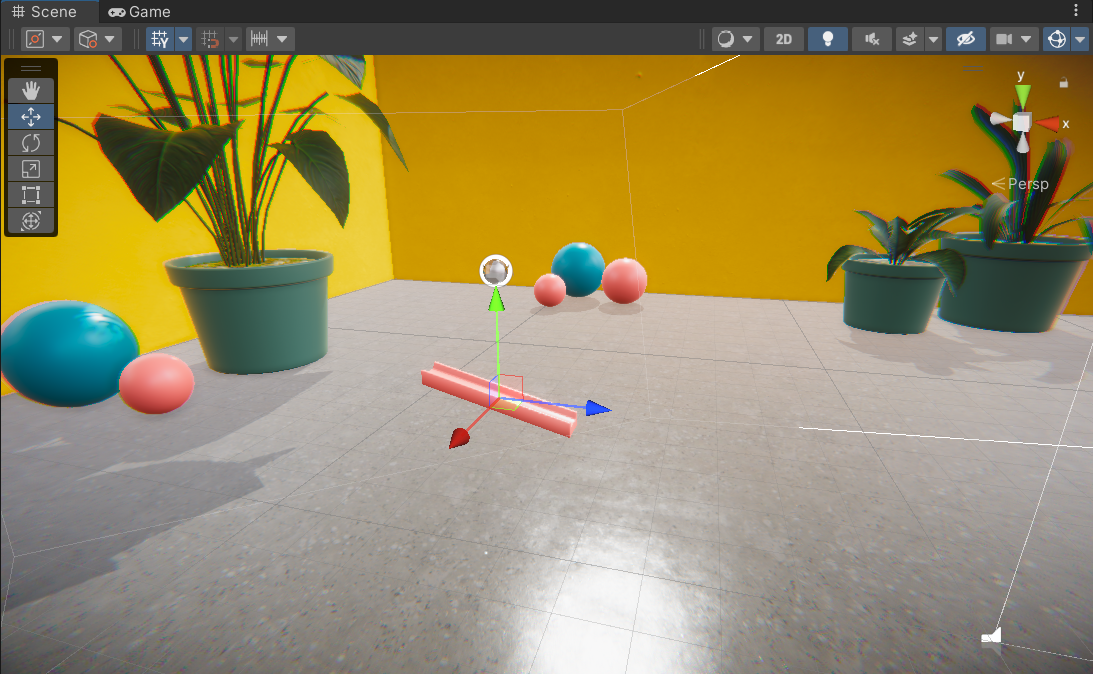
3. Place additional puzzle pieces by selecting them in the Puzzle Layout component and then clicking on the Scene view near the end of the ramp you have already created.
4. When you’ve finished adding ramp pieces, click the Editing Layout button again to turn off editing mode. Remember to save your changes!
As you add more puzzle pieces, especially curved ramps, you may want to change the orientation of a piece. You can use the Flip field buttons to:
- Turn the puzzle piece from left to right using the x-axis button
- Turn the puzzle piece back to front using the z-axis button
- Flip the puzzle piece upside down using the y-axis button
You can also press R to change the connector the piece will use to snap to the next one.
TIP: Flipping the puzzle piece on the y-axis means that the marble will not be able to follow the channel built into the ramp, and should be used with caution.
Remember to save your progress frequently to avoid losing any of your puzzle.
6. Position the Marble and Goal
Your puzzle is currently quite simple, but it’s important to test it before you make the level design more complex. To do this, you will need to make sure your marble and goal are in the correct locations.
Whenever you create a new level, marble and goal GameObjects will be ready for you in the Scene that is generated. When the marble reaches the target in front of the goal, the player will see fireworks and the end of the level will be triggered. Then they will have the opportunity to retry the level or return to the menu.
To place the marble and goal correctly:
1. In the Hierarchy window, select the Marble GameObject. Next, hover your mouse over the Scene view and press F on your keyboard to center the view on the marble. You can zoom out if you need to.
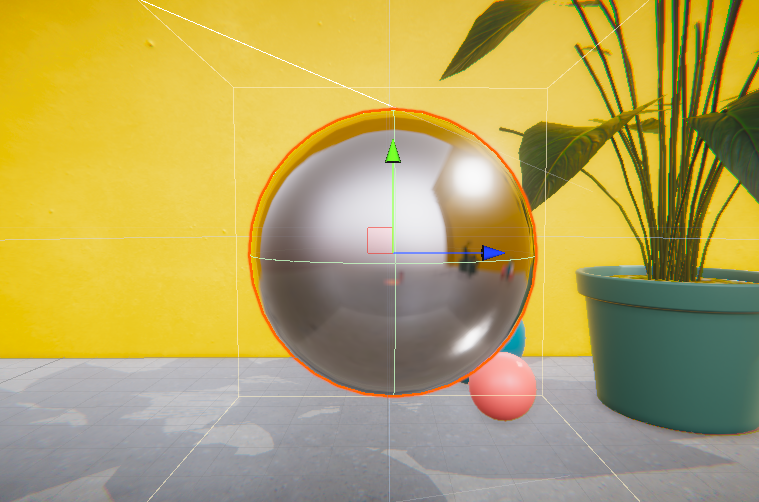
2. Select the Move Tool in the toolbar.

You’ll be able to see three arrows (blue, green and red) overlaid on the object. If the Marble GameObject is not properly aligned to the start of the puzzle, drag on these arrows to move it.
3. Return to the Hierarchy window and select the Goal GameObject. Repeat the process to center the view on the Goal, and move it to the end of your puzzle.
That’s it! Now you can test the puzzle — click Play in the toolbar to begin. If you get stuck, you can restart the level by pressing the R key.
When you’ve finished, click Play again to stop the game and leave Play Mode.