
Enabling VR
Tutorial
Beginner
+10XP
5m
(20)
Unity Technologies
Enabling VR development in Unity takes just a few steps. In this workflow, we’ll configure a standalone project for VR using the OpenVR platform.
Languages available:
1. Launching the Package Manager Window
If you are using Unity 2019.3 or above, click here.
To develop VR experiences, you’ll need to install the VR SDK for your target OS and VR platform. The VR SDKs are installed via the Package Manager.
- Select Package Manager from the Window drop-down (Figure 01).
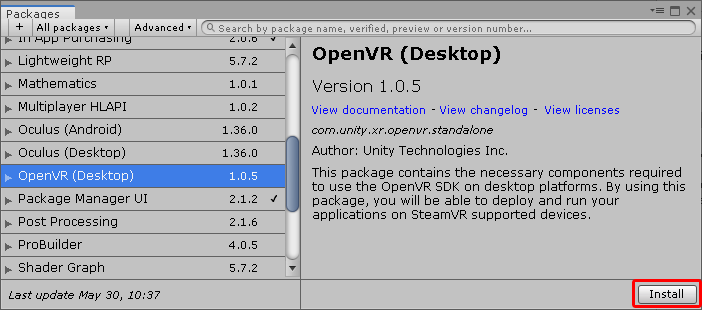
- In the left column, click OpenVR (Desktop). Click Install (Figure 02).
Other supported platforms include:
- Android
- Google VR Android
- Oculus Android
- Desktop
- Oculus Desktop
- OpenVR (Desktop)
- iOS
- Google VR iOS
2. Enabling VR support in project settings
With the VR SDK installed, we’re ready to enable VR.
- Select Project Settings from the Edit drop-down (Figure 03).
- Click Player (Figure 04).
- At the bottom of the Project Settings window, click XR Settings to expand that section. Check the box marked Virtual Reality Supported (Figure 05).
- Once VR is enabled, you’ll need to add at least one VR SDK. Click the + sign and select OpenVR (Figure 06).
- Close the Player Settings window.
3. Conclusion
Your Unity project is now configured for VR development.