Explore a Microgame
Exercise
foundational
+60XP
30 mins
Unity Technologies
In this tutorial, you’ll complete the in-Editor tutorials for a Unity Microgame. In the Microgame tutorials, you will:
- Create a simple game experience without code.
- Iterate and customize your design, to make something interesting to you.
- Playtest and refine your game throughout the process.
- Share your game on Unity Play to get feedback from the community.
To complete the requirements for this Mission, submit your Microgame to the gallery in this tutorial. (You may share it with others or keep it private.)
Languages available:
1. Overview
In this tutorial, you’ll take the time to complete the in-Editor tutorials for your chosen Microgame. You’ll also have the opportunity to submit what you create here on Unity Learn.
When you’ve done this, make sure to return to this Learning Pathway: your next Mission is Start learning, where you’ll find guidance from established Unity creators and information about all the resources available to you.
To get started:
- If you installed Unity as a First-time user, then you already selected a Microgame in the installation wizard. Open it in the Unity Editor, then skip ahead to the Re-open the Tutorial window step.
- If you installed Unity as a returning user, follow the instructions in the next step to create a new project for the Microgame of your choice.
- If you’ve already created a Microgame build, skip ahead to the step: Submit your Microgame in our Gallery and share away!
2. Open a new Microgame
If you haven’t yet selected a Microgame, there are four you can choose from. To create a new Unity project using a Microgame Template:
1. Open the Unity Hub.
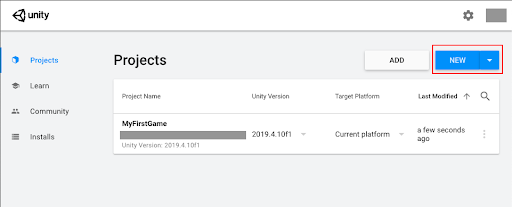
2. In the Projects tab, select New.
3. Hover over the tile for your Microgame. You might see a Download prompt, and if you do, select Download, and then Install on the next pop-up window. The Microgame Template files will be added to your selected Unity version.
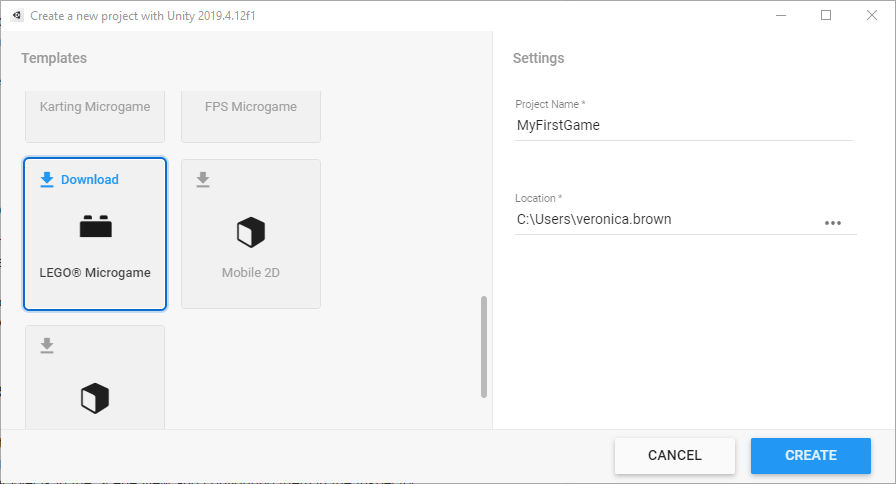
4. Select a Microgame Template, enter a name for your project, and select Create.
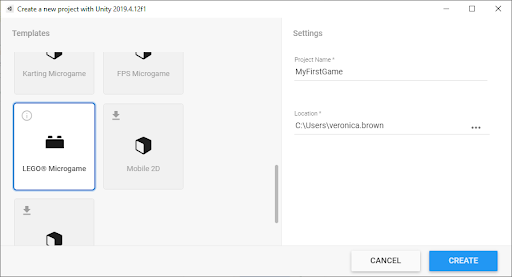
5. Name your Microgame project and select Create.
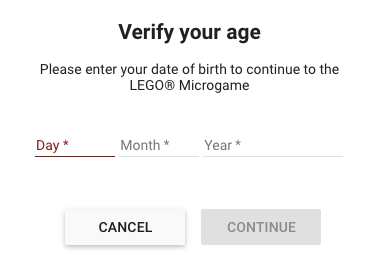
6. If you’ve selected the LEGO® Microgame, you’ll need to verify your age and agree to terms of use. If you’ve selected another Microgame, you won’t need to do this.
Don’t worry if it takes a few minutes for the project to open for the first time.
3. Re-open the tutorial window
To re-open the window that you closed in Explore the Unity Editor:
1. In the top menu, go to Tutorials > Show Tutorials.
2. The Tutorial window will open again in the far right of your Editor interface.
3. When you’re ready to begin, select the top tutorial in the list — Get started.
4. Complete the in-Editor tutorials
Now you’re ready to complete the in-Editor tutorials for your Microgame. Everything you need is in the Unity Editor itself! Follow the instructions in the welcome window, and use the tutorial panel to complete your custom game. When you’ve finished, return here.
Important! Be sure to save your Microgame project. You will use it later.
If you chose the LEGO® Microgame, you can also complete some Microgame Creative Mods before you share your game build on Learn.
5. Explore the submissions
Find the submission gallery at the bottom of this tutorial. Why not take a few minutes now to explore the games other learners have submitted?
If others have asked for feedback in their project descriptions, make sure that anything you share is helpful, specific, and kind.
6. Submit your Microgame in our Gallery
We encourage you to upload your game to the Foundations Microgame Gallery, to share with others who are starting out, just like you.
When you’re done creating, complete the Build and publish in-Editor tutorial, which will guide you through creating and publishing a WebGL build of your game.
When you have the link for your Microgame project, submit it below to add it to the Foundations Microgame Gallery.
Please login to submit
Complete this Tutorial
Submission Gallery
Play

Lego Microgame Unity Learn
Just like the tutorial said, nothing added. I hoped to do some coding but I get that these kind of projects have to start from the very beginning.
Play
My Lego MicroGame
My First Microgame with unity. Im just testing how to publish.
Play
Sams Way Home
this is a platforming game the way you move is using the arrow keys and to jump use space.
Play
kill the bots there a lot make sure u kill them all
This is my first game that I made in unity and I hope you enjoy my first game.