
Explore the sample project
Tutorial
foundational
+10XP
15m
(379)
Unity Technologies
In this tutorial, you’ll take some time to review the project briefly and explore the Unity project for the application you’re going to work on. You’ll also consider all the resources that are available to support before you begin.
Resources
Languages available:
1. Overview
Now that you’ve set up version control, you’re ready to explore the main project that you’ll use to both practice programming and connect the principles of object-oriented programming (OOP) with your own code.
Let’s get started!
2. Before you begin
Before you continue, open the version of the project that you created in the previous tutorial:
1. Check that you have installed Unity 6 LTS or higher. If it’s not installed, a warning notification will be displayed below its listing in the Unity Hub with a prompt to install the correct version.
2. Open your project in Unity Editor.
3. Welcome to the project
The Unity project you will be working on is a resource management simulation application. Resource management is at the heart of a popular genre of games, but these simulations are also commonly used in educational contexts (for example, to explore sustainability and economics) and in industry.
This type of project is a particularly good fit to help you explore programming systems and architecture, as they often include:
- User interaction, to enable them to influence the simulation
- Transitions between scenes, to enable further customization by the user
- Systems designed for extension, to increase the complexity of the simulation
4. Explore the simulation
We’ve provided a basic resource management simulation in the Junior Programmer Starter Files project. Let’s take a moment to explore it.
1. In the Project window, go to Assets > Scenes and open the Main scene.
2. Select Play to enter Play mode and review the simulation.
3. At the moment, you’ll find:
- Two different types of Resource Pile (objects on a pallet), which both produce resource items at a speed of 0.5 per second
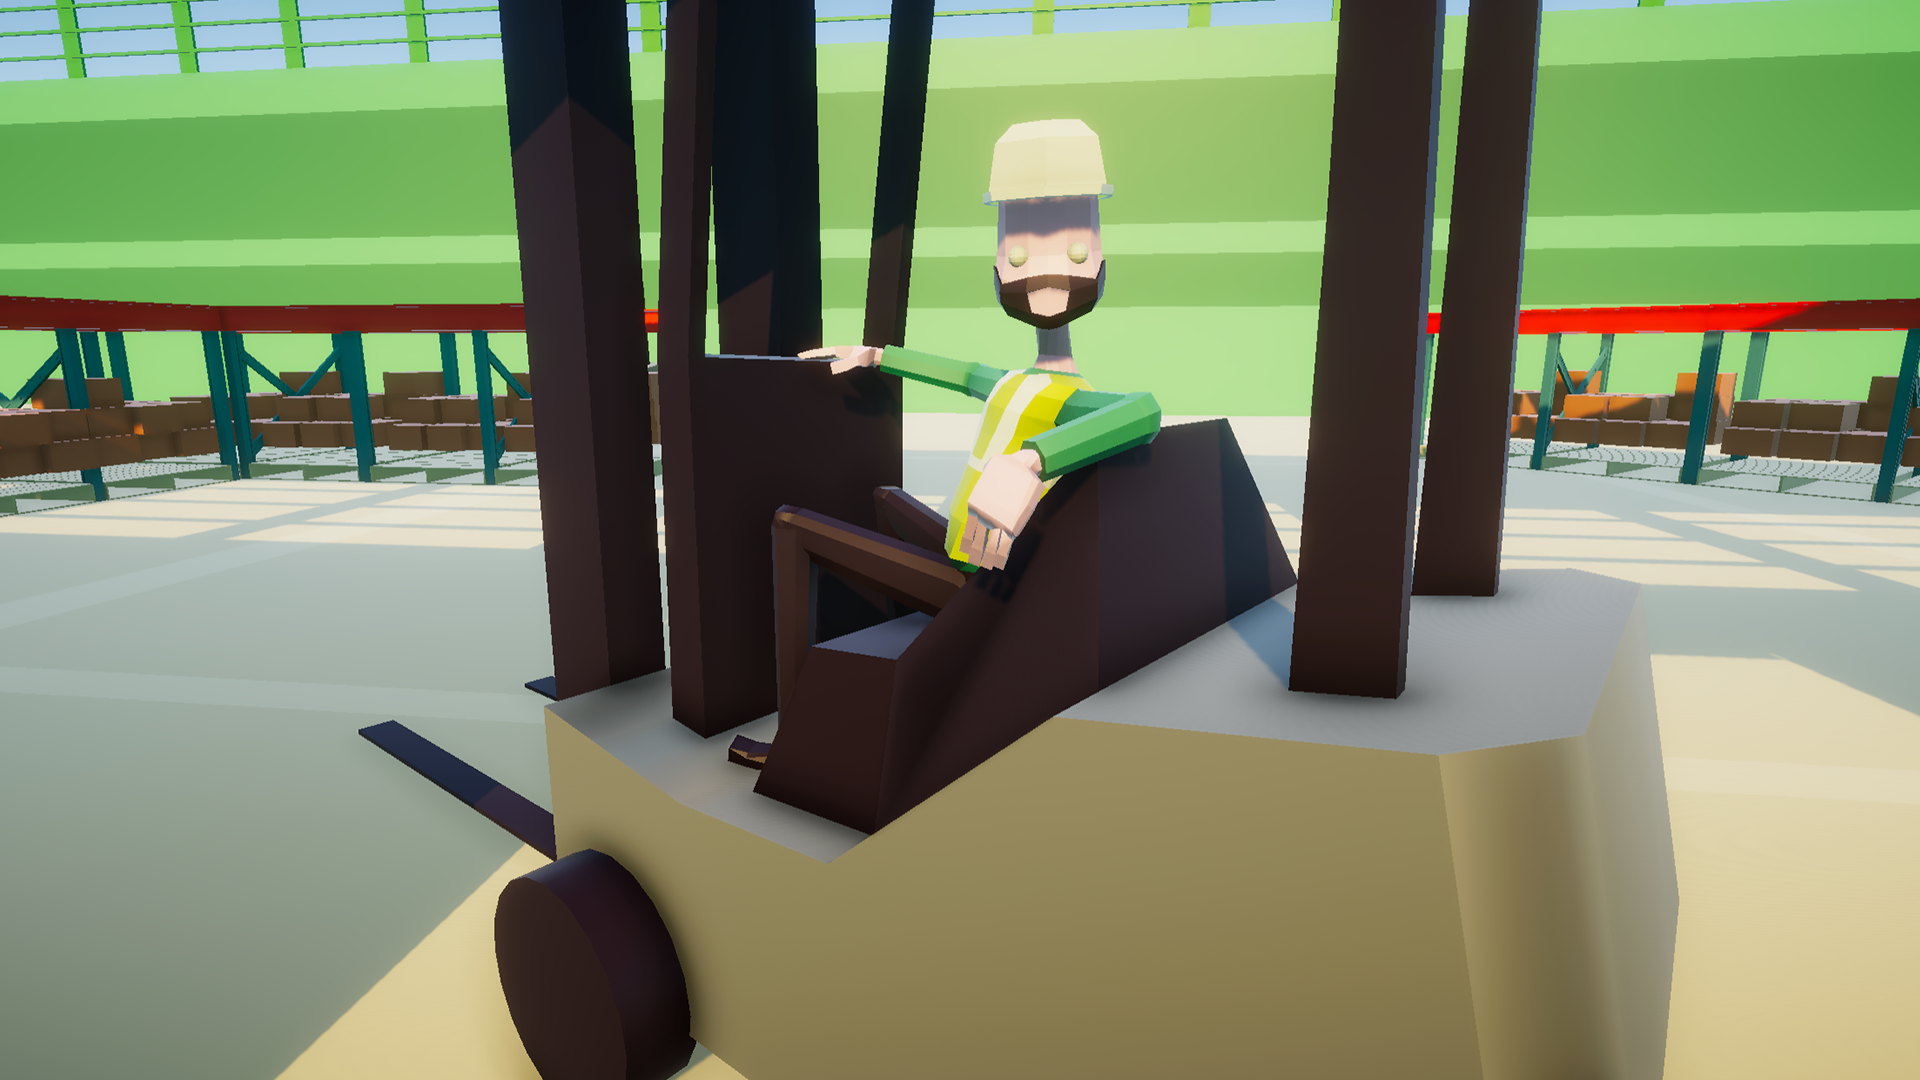
- Three Transporter Units (forklifts), which transport resources to a defined base (the space in front of the truck marked with a red circle)
Left-click any Transporter Unit or Resource Pile to bring up a user interface information overlay with its details.
Note: You can use your arrow keys (or WASD) to move the camera around the warehouse space.
4. Left-click a Transporter Unit — a green arrow icon will appear above it to indicate that you have selected it.
5. Right-click one of the two Resource Piles. The Transport Unit will begin moving towards the Resource to collect its resource units and transport as much as it can carry to the drop point.
6. Experiment with what you can do with the Transport Units! Try sending one to a different place in the warehouse or changing its associated Resource Pile when it’s active.
7. When you’ve finished, remember to select the Stop button to exit Play mode.
5. Review the project brief
Now that you’ve reviewed the basic functionality of the simulation, it’s time to go deeper. We’ve created a project brief, which will guide you through:
- The contents of this Unity project
- The basic functionality of the simulation
- The additional functionality you’ll implement over the next two missions in this pathway
Take some focused time to go through the brief:
1. Download and save the project brief.
2. Review the document with the project open in Unity Editor, so you can refer to the project as you do so.
3. You might find it useful to open the script files and explore them in more detail — how much do you know about what they do, based on your previous work in this pathway?
6. Your goal in this mission
In this mission, you’ll focus on getting the application functionality working. You’ll implement:
- The necessary scene flow and user interface buttons
- Data persistence between scenes, so the user can choose a color in the starting menu and apply it to the Transporter Units (forklifts) in the simulation
- Data persistence between sessions, so the last color a user chooses is pre-selected when they launch the application again
For your final submission, you’ll apply your learning and implement data persistence in a simple game project.
In the next mission, you’ll then focus on object-oriented programming principles as you refine code and add new functionality to the simulation.
Customize your application
Want to customize as you go? Please do! Although the focus of this mission is Programming Systems and Architecture, you’ll find opportunities here to customize the project and consolidate your skills you learned in previous missions — we’ll highlight some clear opportunities for you, but take initiative and be bold!
7. Next steps
Remember, this project brief is a resource that’s available to you throughout this learning experience. Refer back to it if you need to refresh your memory of the project, or want to get a high level view of what you’ll be working on.
In the next tutorial, you’ll explore the basic principles of object-oriented programming that underpin your work in this second half of the Junior Programmer pathway.