
Explore the Unity Hub
Tutorial
Beginner
+0XP
10m
(2701)
Unity Technologies
In this tutorial, you’ll learn how to download the Unity Hub, install Editor versions, and add essential modules to start creating your first project.
Languages available:
1. What are the Unity Hub and Unity Editor?
The Unity Hub is a standalone application that streamlines the way you navigate, download, and manage your Unity projects and installations. From the Hub, you'll download and manage various versions of the Unity Editor. The Unity Editor is the application where you'll build your interactive experiences that will later be shared with the world.
System requirements
Make sure the computer you're using meets the minimum hardware requirements to run the Unity Editor. Generally, if you have a PC running Windows or a Mac running macOS that was purchased in the last few years, your computer is probably ready for Unity.
Note: While you can use the Editor to build applications that run on many platforms, it requires Windows, macOS, or Linux. The Editor won’t run on a Chromebook or tablet.
For details about the latest verified system requirements, check out the System Requirements page of the Unity Manual.
Unity plans
If you'll use Unity as an individual, you'll be enrolled in a Unity Personal plan by default. This is Unity's standard free plan. Individuals, hobbyists, and small businesses using Unity to provide services to others are eligible to use Unity Personal if their respective clients, in the aggregate, have less than $200K of revenue or funds raised in the prior 12 months.
2. Install the Unity Hub
Download the Unity Hub
To download the Unity Hub, follow these instructions:
1. Go to the Unity download page.
The system automatically identifies your operating system and shows you the corresponding download option.
2. Select Download For [your operating system] and choose where you want your file to be saved.
A file named UnityHubSetup will then be downloaded. This name might vary depending on the version you are downloading and your operating system.
Note: If you're a more experienced user looking for guidance for your specific installation needs, review the documentation guidance on installing Unity.
Launch the Unity Hub
To launch the Unity Hub, follow these instructions:
1. Locate the UnityHubSetup file you downloaded previously.
2. Double-click the UnityHubSetup file to launch the UnityHubSetup installer.
3. Follow your platform instructions to install the Unity Hub.
If you haven't already set up your Unity account, you'll be prompted to do so during this process.
4. Proceed until you see the window that prompts you to install the Unity Editor, which we'll walk you through in the next step.
3. Install a version of the Unity Editor
Unity releases a new major version of the Editor each year—like 2022, 2023, or Unity 6 (version 6000). Each major version might include multiple updates (for example, 6000.0, 6000.1, 6000.2, etc.), and each of those may receive patch updates over time (for example, 6000.1.1f1, 6000.1.13f1, etc.), which include bug fixes and quality improvements.
When starting a new project, it’s recommended to use the latest Long Term Support (LTS) version. These versions are marked with an LTS label in the Unity Hub and are considered the most stable and reliable version of the Editor. LTS versions receive critical fixes and support for a longer period, making them ideal for production work.
Install a new Unity Editor version
To install a new Unity Editor version, follow these instructions:
1. Open the Unity Hub and select the Installs tab.
The Installs tab shows you all of the Unity versions that you already have installed on this computer.
2. To install a new version, select Install Editor.
3. Browse until you find the version you need and select Install.
Note: If the version you’re searching for isn’t listed on the Unity Hub, go to the Unity download archive, search for your required version, and download it from there.
Add modules to a Unity Editor version
Once you’ve selected the version of the Editor you want to install, the Add modules window appears, listing add-on modules for the Unity version you selected.
Modules are optional components you can add to your selected version of the Unity Editor to suit the needs of your project. You can limit the Editor download/install size if you only select the modules that you require.
To add modules to a Unity Editor version, follow these instructions:
1. Select any modules that you want to add. These include the following:
- Dev tools: Such as Microsoft Visual Studio Code for code editing in Unity.
- Build support: Allows you to share the experiences you create to different platforms (WebGL, Windows, Mac, and Linux).
- Documentation: An offline version of the Unity Manual for your chosen Unity version.
5. To complete the installation, select Install.
You might be prompted to accept additional terms and conditions for certain modules.
Troubleshoot your download
If you see any errors while the new version of the Editor is downloading, consider the following tips and workarounds:
- Do you have enough memory and disk space?: Check the minimum system requirements for the Unity Editor version you’re installing to make sure your computer is ready. Open the Version dropdown in the upper-left corner of the System requirements page to find the right Unity version.
- Check the release information page for your current version: In the Unity download archive, find the version you’re installing and select Read in the Release notes column. Check for any known issues that might be causing your problem.
Contact Unity Customer Support: Be sure to sign in before proceeding to the relevant support page. Here you can browse articles, consult the community, or select Submit a request to explain your situation to a Unity expert.
4. Add modules to an installed Unity version
You can also add modules to Unity versions you’ve already installed. To do so, follow these instructions:
Note: Make sure you save and close any open Unity projects before installing new modules for a Unity version that you’re using.
1. Open the Unity Hub and select the Installs tab.
2. Open the Manage (⛭) dropdown of the version of the Editor you want to add modules to, then select Add modules.
3. Select any modules that you want to add. These include the following:
- Dev tools: Such as Microsoft Visual Studio Code for code editing in Unity.
- Build support: Allows you to share the experiences you create to different platforms (WebGL, Windows, Mac, and Linux).
- Documentation: An offline version of the Unity Manual for your chosen Unity version.
4. To complete the installation, select Install.
You might be prompted to accept additional terms and conditions for certain modules.
5. Create a new Unity project
In Unity, a project is the collection of files, assets, code, and settings that you’ll use to create your game or application inside the Editor.
To create a new Unity project, follow these instructions:
1. Open the Unity Hub.
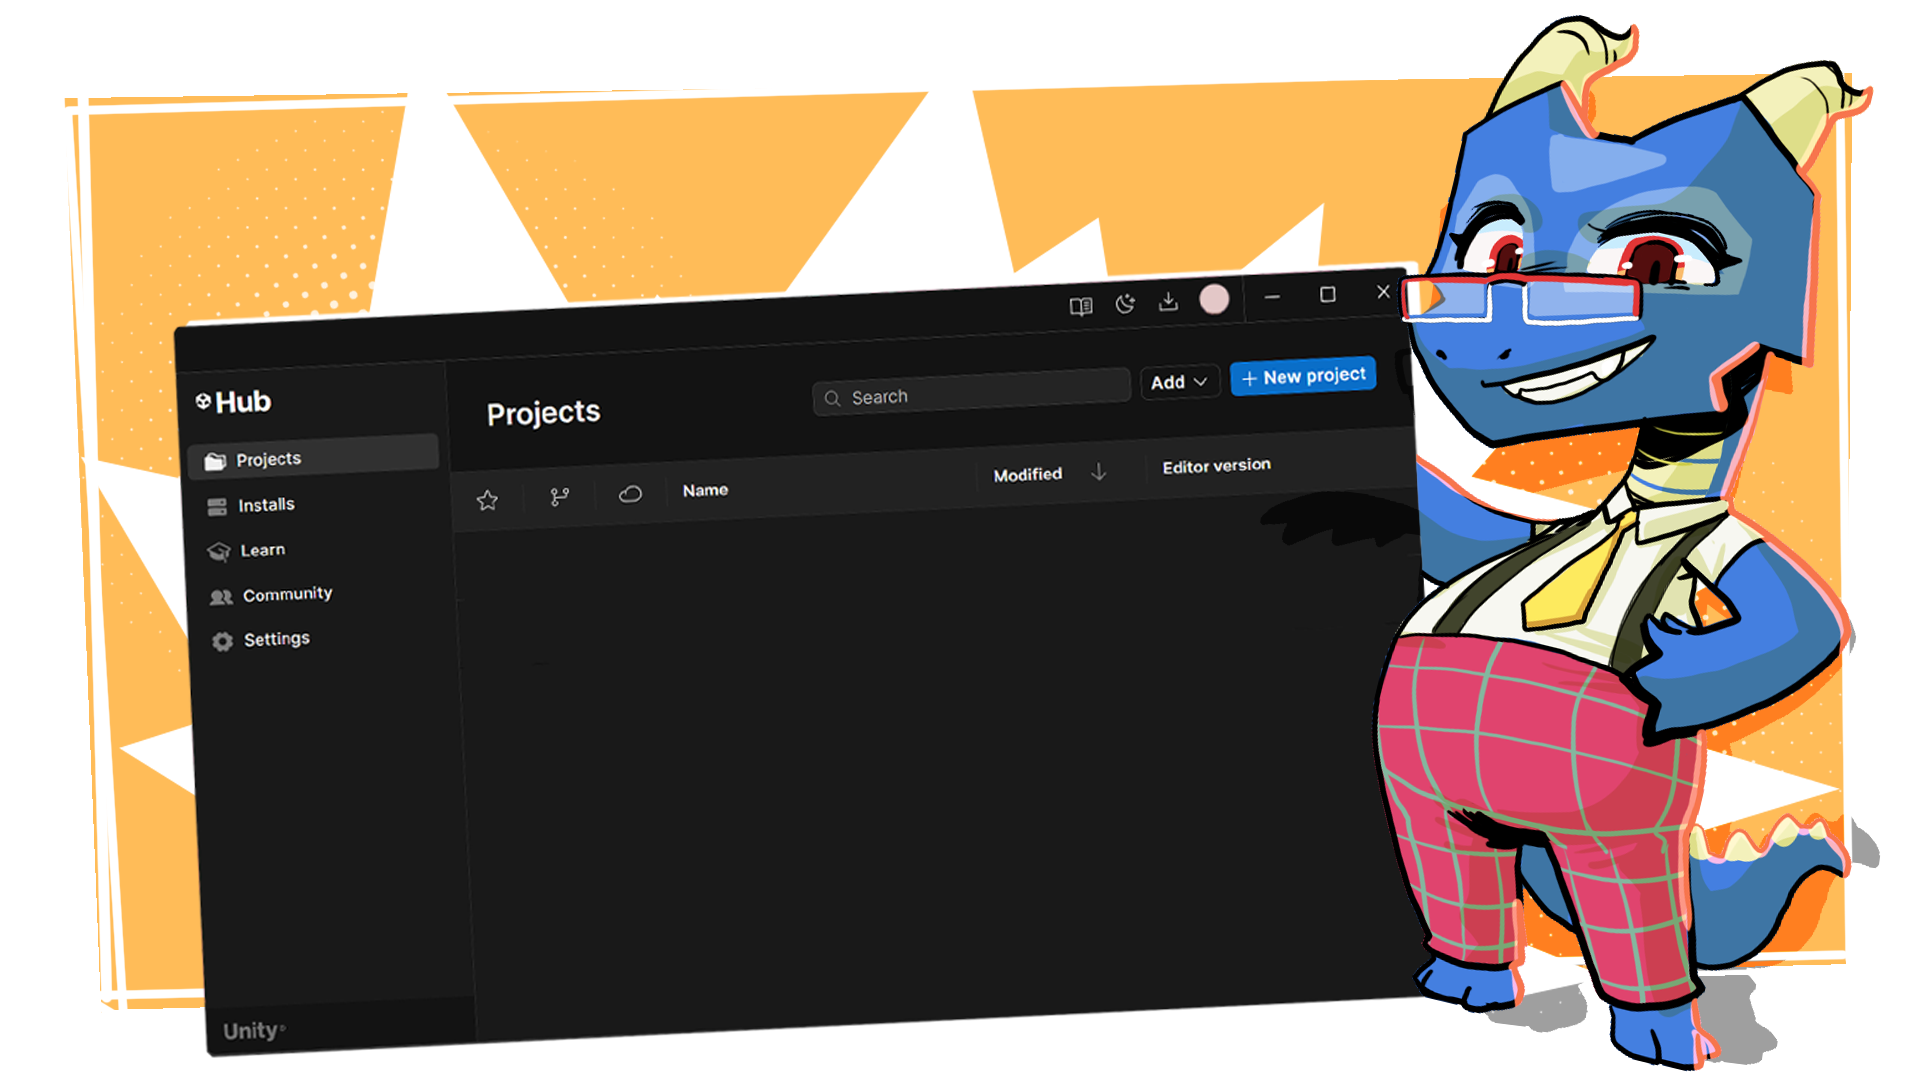
2. In the Projects tab, select New project.
3. Open the Editor version dropdown and select the Unity version you want to use. Ensure Unity 6.1.0 (or later) is selected.
4. Select the template that you want to use.
In most Learn tutorials, we'll instruct you on the correct template to choose for your learning experience. There are three main categories you can choose from:
- Core: Empty projects that are pre-configured for specific needs (Universal 3D, Universal 2D, VR, AR, and mobile).
- Sample: Premade projects that showcase Unity's versatility, scalability, and power for VR, film, or landscape experiences.
- Learning: In-Editor tutorials that guide you through project creation directly within Unity.
If you see the download (↓) icon, that means you’ll need to download the template or update it before you can use it.
5. Select the organization the project should be associated with.
Organizations are created and managed in your Unity Account Dashboard. You can create your own organization or be assigned to an existing one by an organization administrator.
6. Name your project and set the location where you want to save the project on your computer.
7. Select whether or not you want to use Unity version control in your project.
Unity Version Control allows you to collaborate remotely on the same project with up to three people on the Unity Personal plan.
8. Select Create Project.
After the Unity Hub downloads and installs all the files, your project will open in the Unity Editor.
6. Add a project on your computer to the Unity Hub
You might load Unity projects onto your computer after downloading them from .zip files, version control software, or the Asset Store. To add a project from your computer to the Unity Hub, follow these instructions:
1. In the Projects tab, open the Add dropdown and select Add project from disk.
2. Navigate to the root folder for the Unity project and then select Select Folder.
The project will appear in your Projects tab list.
Important: If the file path to a project on your computer is more than 260 characters long, or if there are spaces in that file path, you might encounter errors when you initially open your project from the Unity Hub. To avoid encountering these errors, we recommend that you do one or more of the following steps:
- Check that the folder you’re organizing your Unity projects in isn’t at the end of a long file path.
- Remove any spaces from the folder names in the file path to your Unity projects.
- Name your project without spaces. You can use underscores (_) if this is helpful.
Troubleshoot a project’s original version not installed
If the project uses a version of the Unity Editor that you don’t have installed, you’ll see a warning in the Editor version column.
In this case, you can complete one of the following actions:
- Go to the Unity Download Archive to find and install the missing Unity version.
- Select Choose another Editor version and open the project using a newer version of the Editor that you have installed previously.
- When you open the project, you'll be prompted to confirm that you want to upgrade the project to a different version of the Editor.
Important: Don’t open any Unity project with an older version of the Editor — this is known as downgrading and can cause errors to your project.
7. Next steps
If you're learning Unity for the first time, the best place to start is the Get Started with Unity in-Editor tutorial direct from the Unity Hub! This guided journey will take you through the basics of navigating in the Editor and give you some hands-on experience as you create your first 3D scene.
Then, work through the Essentials in-Editor Pathway. Here you’ll learn the foundational skills of creating with Unity, such as 2D/3D building blocks, programming, audio, and more, providing you with the essential knowledge you’ll need to bring your creative ideas to life.