
Explore Unity’s DevOps tools and workflows
Tutorial
Beginner
+10XP
20m
(467)
Unity Technologies
Unity DevOps tools and workflows have been created to help you work as efficiently and effectively as possible. By the end of this tutorial, you’ll be able to do the following:
- Identify key tools and workflows that support the different stages of the wheel of DevOps.
- Explore the DevOps dashboard as you learn about the tools.
Note: This tutorial is part of Get started with Unity DevOps. Explore the rest of the course to learn more about how DevOps can support your work as a creator.
Languages available:
1. Overview
In What is DevOps?, you learned about the basics of the DevOps approach and how it can be supported by a framework of continuous integration, delivery, and deployment. In this tutorial, you’ll explore the specific Unity Gaming Services tools and general DevOps workflows that can help you at each stage of the wheel of DevOps.
2. Before you begin
New to Unity?
If you’re new to Unity, welcome! The Unity Essentials learning pathway has been designed to help you get set up and ready to create in the Unity Editor. We recommend you complete this initial pathway before continuing with this DevOps tutorial.
Confirm access to the Unity Dashboard
To review the Unity DevOps tools and workflows on the Unity Dashboard as you work through this tutorial, you’ll need to activate a subscription for Unity DevOps and access your account on the Unity Dashboard.
Important: Unity DevOps is free to use and doesn't require a credit card. The paid version will only be required if you add more than three users to or use more than 5 GB data on the DevOps account.
Sign in to Unity DevOps
Follow these instructions to sign in to your Unity DevOps Dashboard if you have an active DevOps subscription:
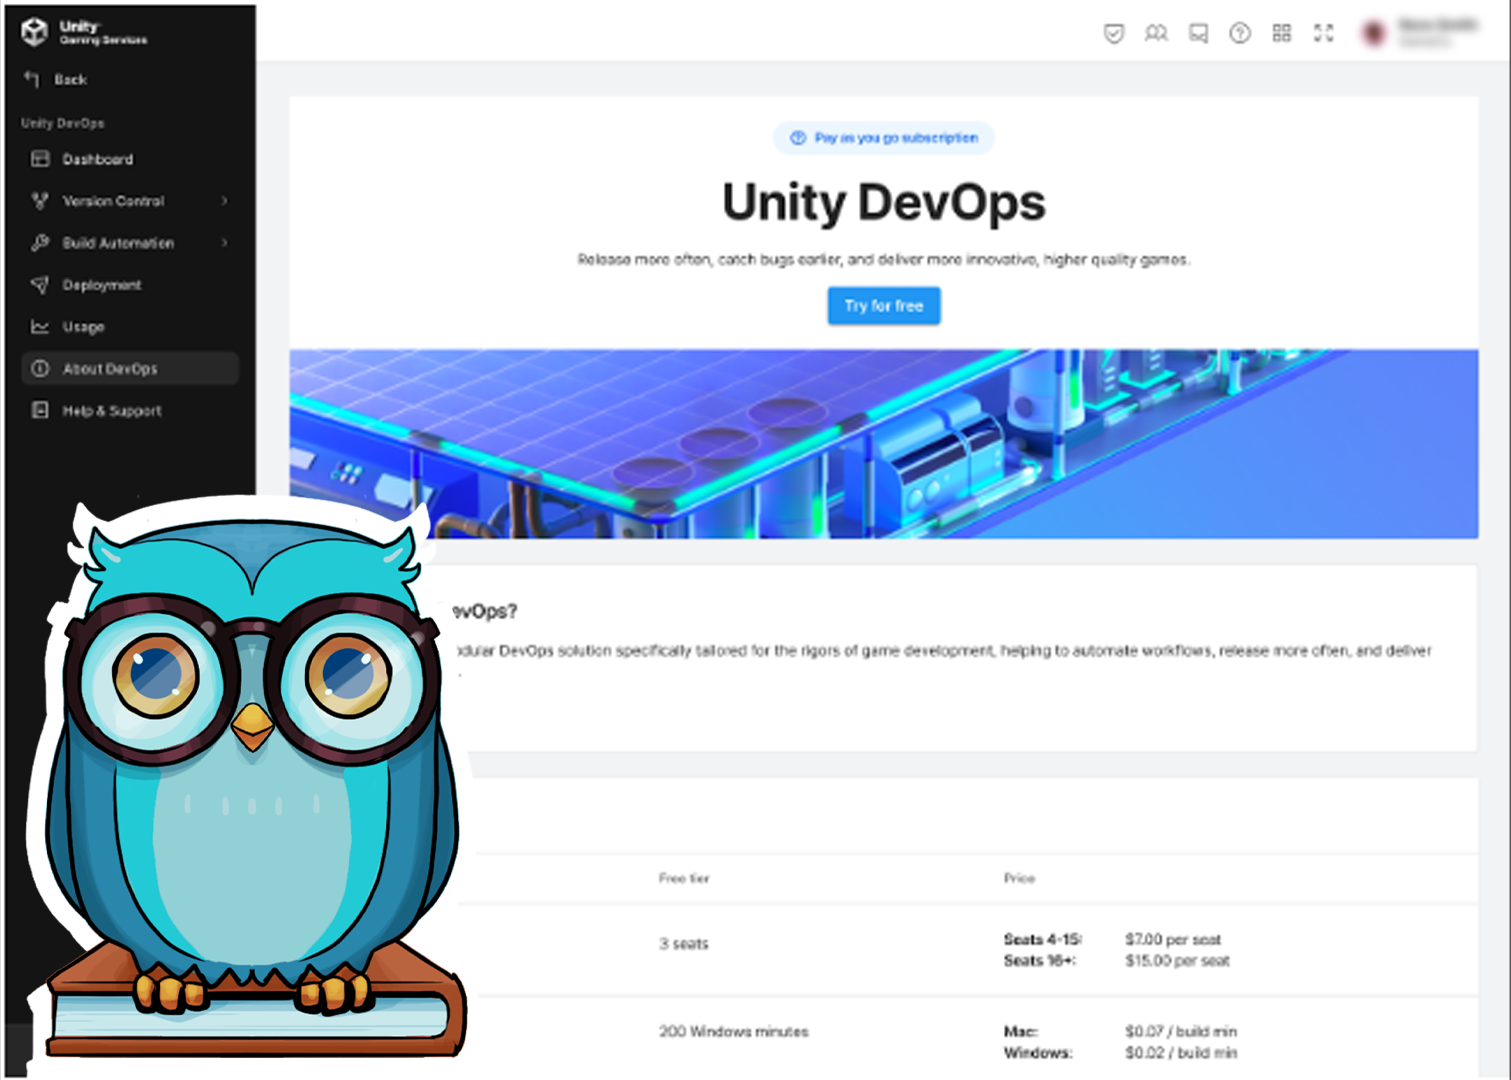
1. In your browser, navigate to the Unity DevOps page.
2. If you’re not already signed in to your Unity account, select Sign in. Once you’re logged in, your Unity Dashboard will be visible.
3. Select About DevOps on the leftmost menu to display your DevOps Dashboard, see the different pricing tiers, and try it out for free.
3. Create your project with Unity Version Control
During the game development process, you will create and add various models, textures, animations, audio files, designs, levels, and code lines to your project. This data is usually all stored locally on the hard drive of your computer. However, there are several disadvantages to this method: your computer could break, you could lose your laptop, or your data could become corrupted.
Luckily, DevOps has a solution to avoid data loss or corruption: version control. Version control saves your data in the repository, on a separate server or on the cloud. Unity’s version control tool is called Unity Version Control and it is free to use until you meet one of the following two conditions:
- Adding more than three users.
- Using more than 5 GB of cloud storage space.
Important: Unity’s Version Control is engine-agnostic, which means that you can also use it in other game engines, such as Unreal Engine. You can also use Unity Version Control with other applications, such as an IDE (Visual Studio, Visual Studio Code, Rider), a Sound editor (FMod, WWise) or CI/CD system (Jenkins, TeamCity, Bamboo).
Set up Unity Version Control for a project
You can use Unity Version Control in your Unity project in the three following ways:
- On the web: with this method, there’s no need to install anything, but you do need to sign in with your Unity ID and have an active DevOps subscription.
- With the Unity Version Control app: this method requires the installation of a separate application.
- Directly within the Unity Editor: to use this method, you need to activate the Version Control plugin. To do this, from the main menu, select Window > Unity Version Control. You will then see the Unity Version Control window at the bottom of the Editor window.
Advantages of Unity Version Control
Working with Unity Version Control means that you can do the following things:
- Control what files your collaborators have access to and who can work on those files at the same time.
- Handle merge conflicts (when two collaborators have made conflicting changes to the same file) efficiently.
- Revert to a previous version of your project, if something breaks or you want to iterate your game in a new direction.
4. Transform your project with build automation
Now that you have learned about version control, let’s check out the next step in DevOps: build automation.
When you are satisfied with your game’s state and want to test it, you will likely use the integrated Unity Editor build export tool. This is the most natural option for many developers, but it can take a bit of time to export a working build, and during that time your computer is busy and can’t really be used for anything else.
If you’re working on a game for multiple platforms, you might also have to create multiple builds with different configurations to share with collaborators and relevant stakeholders. It could quickly become overwhelming to keep track of all the variant builds! In short, building on your own computer doesn’t scale very well.
This is where another useful DevOps tool comes in: build automation. Build automation allows you to compile and export multiple game builds faster and more efficiently by using servers located in the cloud. With Unity’s build automation tool, Unity Build Automation, you can even add triggers so that the tool starts exporting a new build automatically every time you have something new saved to your repository, for example.
Unity Build Automation not only saves you time, but it also provides you with the following convenient tools and valuable information in one place:
- A configuration panel for build targets and source control project settings.
- A past build history, including how much time the build took on average, what the build’s size was, how many builds succeeded, and how many builds failed.
- A panel for setting up notifications and alerts that can be sent out to your team whenever a new build is exported.
Another big advantage of Unity Build Automation is that you don’t need to purchase expensive hardware: you can use Unity’s cloud servers to export your game on multiple different platforms: Windows, Mac, Android, Linux, and Web.
5. Store your builds with Artifact Center
Over time, as you generate more and more builds - like executable files or packages - it can become difficult to remember which artifact corresponds to which build and code change. You therefore need a good system to manage artifacts and to keep track of all these different versions.
DevOps’ upcoming solution to this problem is called Artifact Center. Artifact Center acts as a repository of all your past project builds. With Artifact Center, you can see the build attempts and source code changes which your build artifacts have come from. You’ll also be able to tag, filter, search, distribute and share artifacts more easily!
Artifact Center’s integration with Build Automation allows you to follow your favorite builds and tag their artifacts in ways that support your team’s workflows for evaluating builds and automating their eventual deployment.
6. Deploy your builds
Once you have successfully built your game executable files, you can deploy your game version to a specific environment, such as the development, staging, or user acceptance test (UAT) environments, which are where you and your team members can test your game to check that there are no bugs. This approach of having multiple testing environments is typically used for internal playtests or if your QA team needs to review the latest version of your game before it can be released to the public.
The final environment where you deploy your game is called the production environment.
This environment is where your game is public and can be purchased or downloaded.
Unity Version Control and Unity Build Automation allow you to send your game files to these test servers or digital stores, either manually or automatically. You can set up these tools in such a way that when a developer approves a new version of your game, that version gets deployed to the staging environment and sends a notification to your QA team so that they can start downloading and testing the build right away.
You can set up this storage and deployment flow for each project you’re working on.This workflow will work seamlessly in the background, based on the triggers you’ve given it. This approach makes development less complicated because you don’t have to think about all the different steps you need to take at each stage: Unity DevOps takes care of that for you!
7. Validate your game with automated testing
Validation is a very useful DevOps step that allows you to run automated tests whenever you export or deploy a build. You can also automate this testing stage and let it run while you work on other things. This function is particularly useful because you will receive valuable information about bugs and other issues that you need to fix without having to spend a long time manually playtesting your game.
Of course, it’s still useful to run manual tests with the rest of your team, simply because this allows you to find particularly well-hidden bugs that can only be found on specific hardware configurations or after doing certain actions inside the game. But for some of the more generic and repetitive tests, like graphics performance for example, automated testing saves you a lot of time.
8. Release your game to players
This final DevOps step is called release, and this step allows you to put your game into players’ hands.
Releasing your game is similar to deploying it: once you’re happy with the final state of your game and are ready for the public to enjoy it, you can use DevOps to easily deploy the final game version to digital game stores such as Steam, the Epic Games Store, Google Play, and many others. However, many of these digital game stores also have their own rules, configurations, and requirements that games must adhere to.
Luckily, the DevOps approach makes it easier to configure your game for the digital stores you’re targeting. Instead of having to manually configure your game for each, you can automate this process by using a dedicated DevOps tool, and you can avoid any human mistakes in the process, too!
9. Next steps
Now that you have a better understanding of Unity DevOps, it’s time to practice what you’ve learned.
In the next set of tutorials in this course, you will create a new project from scratch, store it in the cloud, and activate version control in order to collaborate with other developers in your team.
Share your feedback
This learning experience was created by the Unity DevOps team. If you have any feedback, please share it in the DevOps forum.
Further resources
If you want to learn more about DevOps beyond these tutorials, here are some useful resources: