
Export a project to Unity Reflect from Revit
Tutorial
foundational
+0XP
10 mins
(17)
Unity Technologies
Reflect projects are created by exporting computer-aided design (CAD) and building information modeling (BIM) models from third-party CAD, BIM, and other modeling software. You can see a list of the currently supported software applications on the Unity Reflect Documentation page.
This tutorial will cover the process of exporting your project from Revit, but tutorials for all other supported software are maintained on the Unity Reflect Documentation website.
Languages available:
1. Sync a project to Unity Reflect from Revit
Once the Revit plug-in is installed, you can start the Reflect service from inside Revit to begin real-time syncing.
1. Open Revit. If prompted to grant permissions to the plug-in, select Load Once (or Always Load to avoid future prompts).
2. Open the Revit project you want to sync and select the Unity Reflect tab.
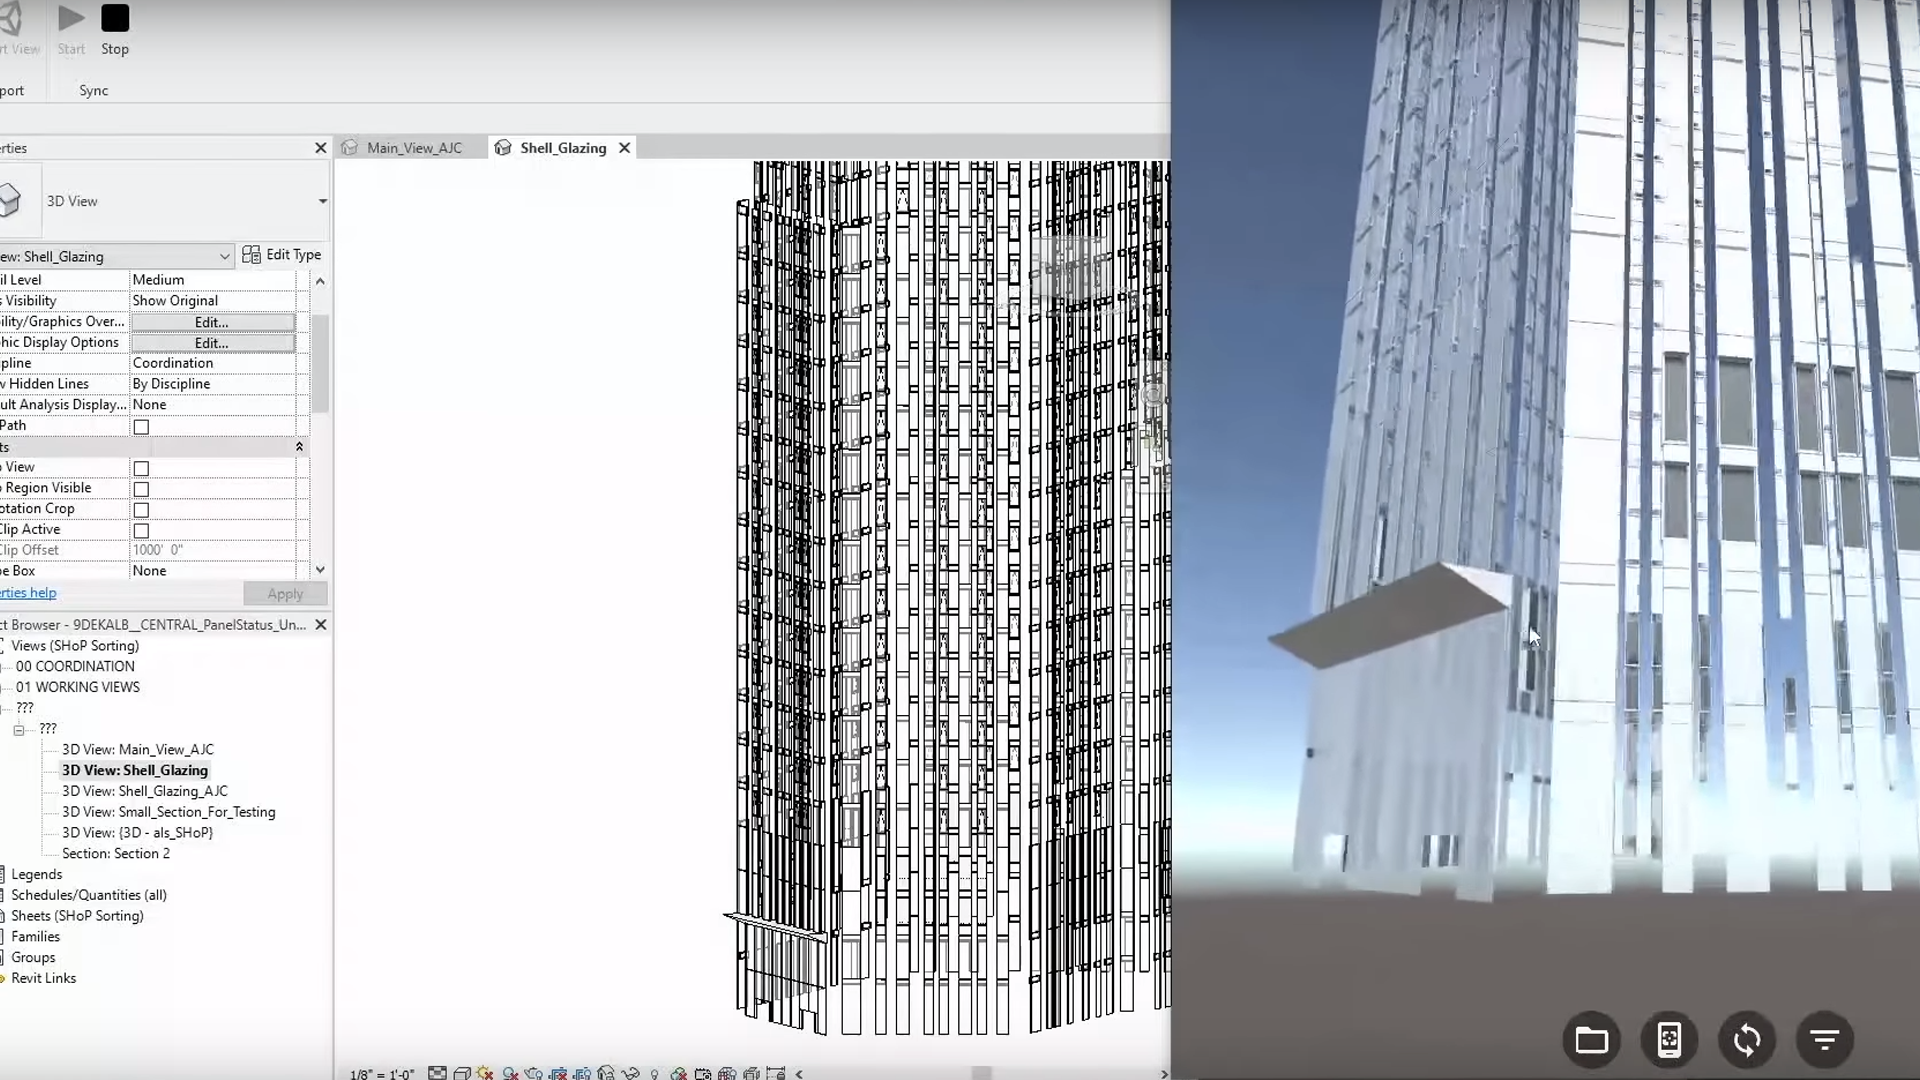
3. Select a 3D view to publish with Reflect. You can select a view from the project browser or select the default Revit 3D view.
4. Select Sync to enable real-time syncing with Reflect.
2. Export to Reflect
You can export your project to Reflect from the Unity Reflect tab on the Revit toolbar.
1. Open Revit. If prompted to grant permissions to the plug-in, select Load Once (or Always Load to avoid future prompts).
2. Open the Revit project you want to export and select the Unity Reflect tab.
3. Select a 3D view to publish to Reflect. You can select a view from the project browser or select the default Revit 3D view.
4. Select Export View to export your view to Reflect.